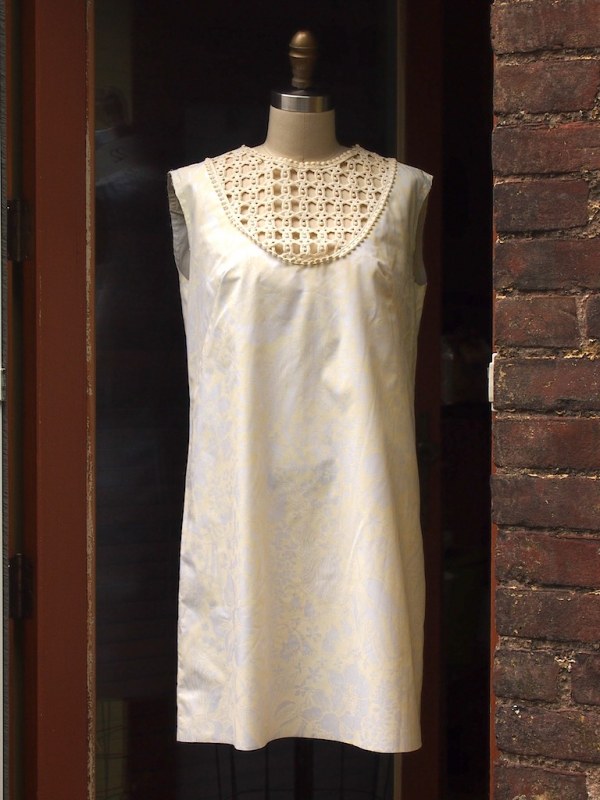
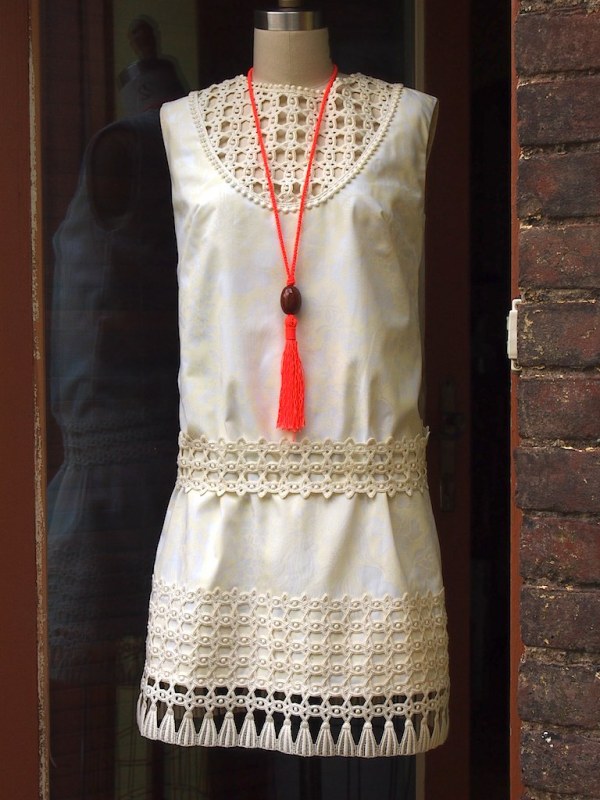
before and after: pulitzer dress
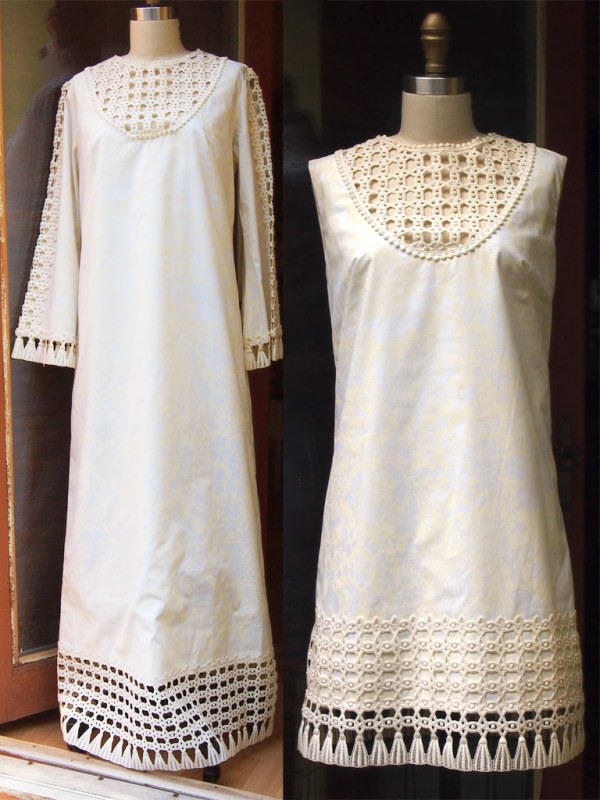
original:
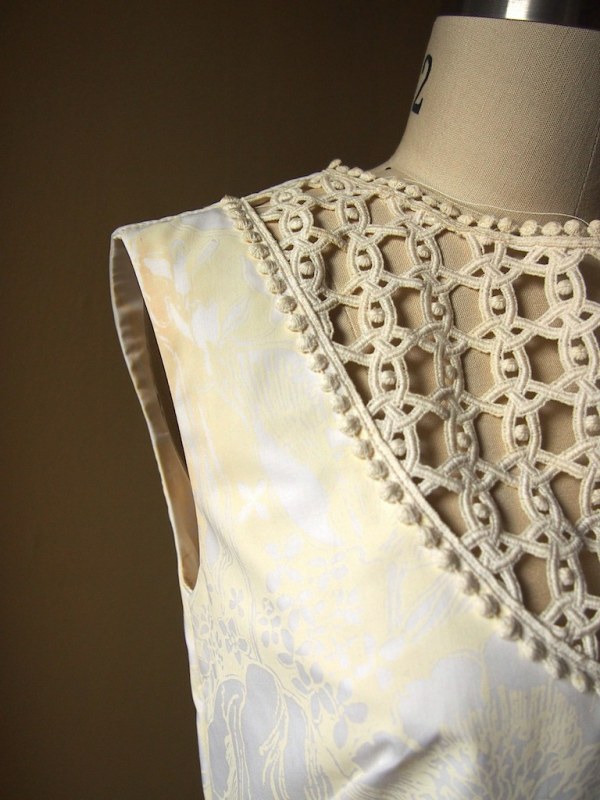
this lilly pulitzer was acquired some years ago, and i can't even remember why. it should've been obvious that i'd never wear a maxi dress with bell sleeves. but it's so pretty, and the trim is gorgeous and the fabric is so cute. it took a lot of soul searching to summon the courage needed to alter a perfectly good vintage dress, but it will absolutely see the light of day now.
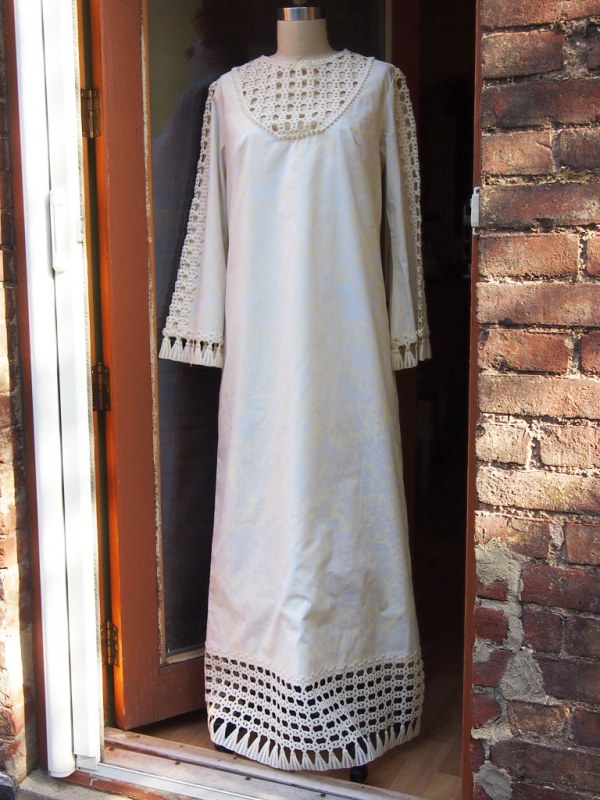
demolition:
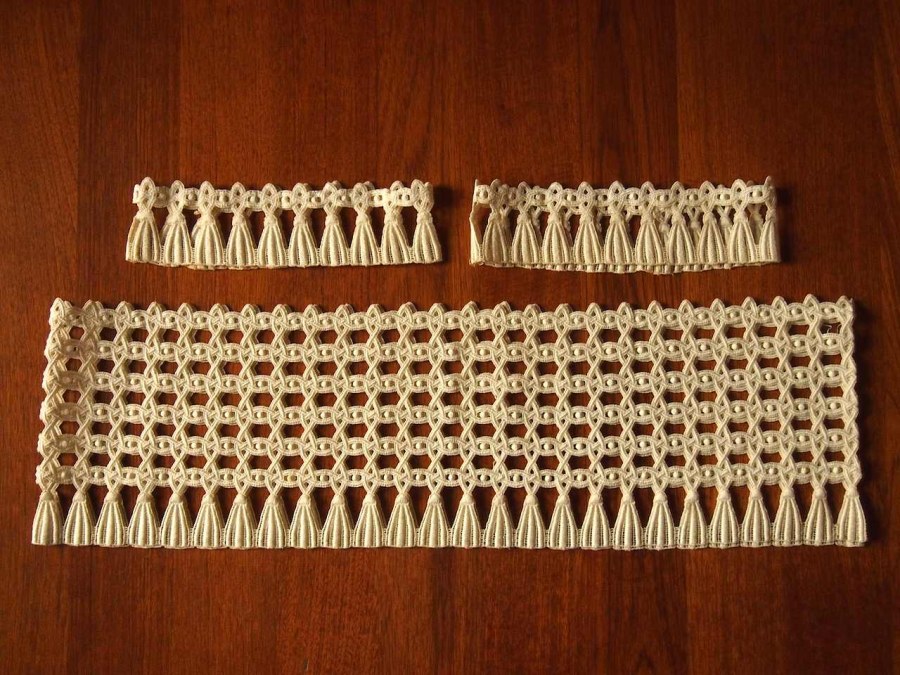
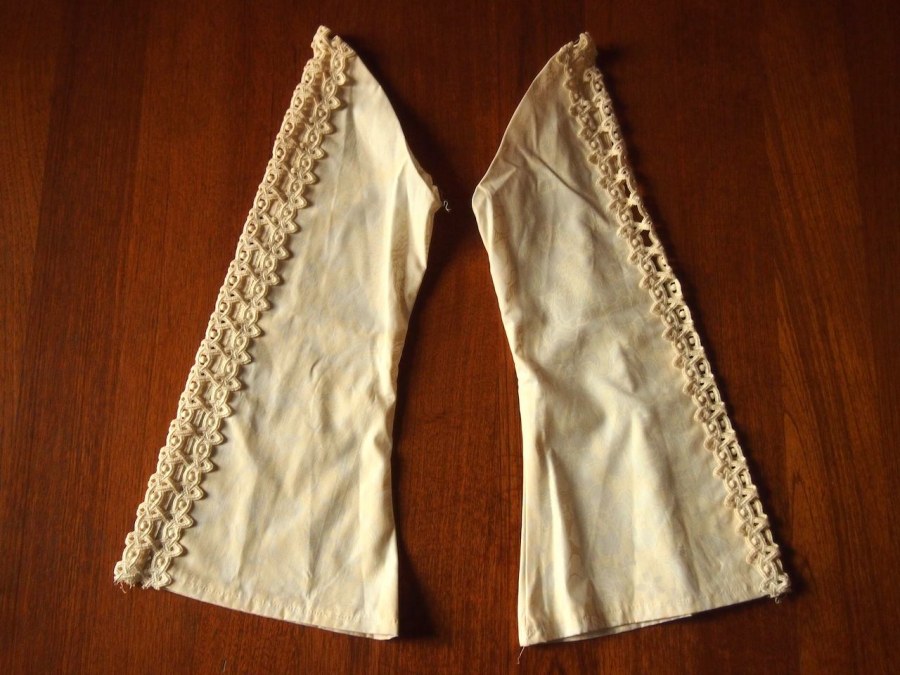
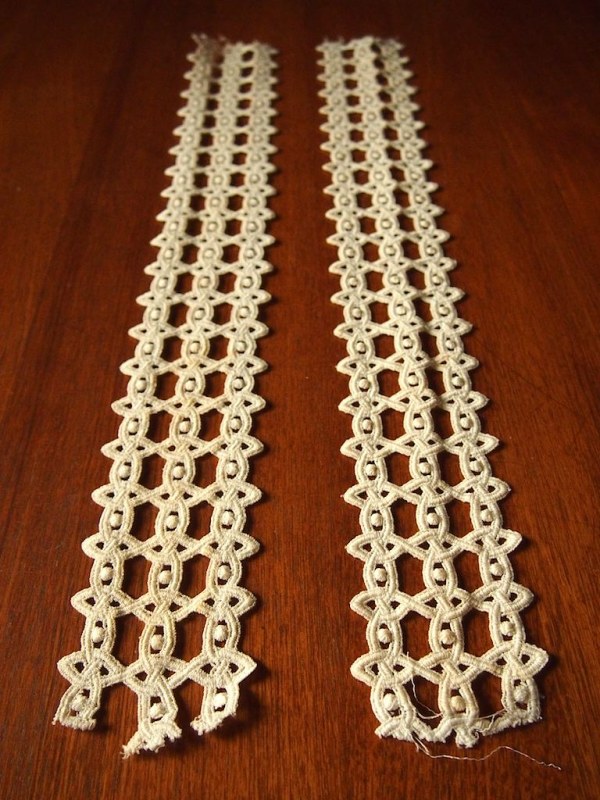
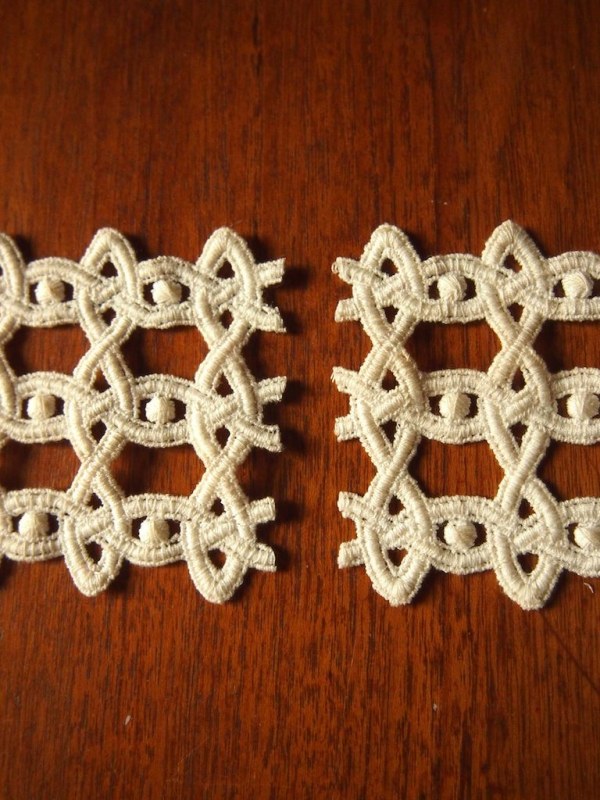
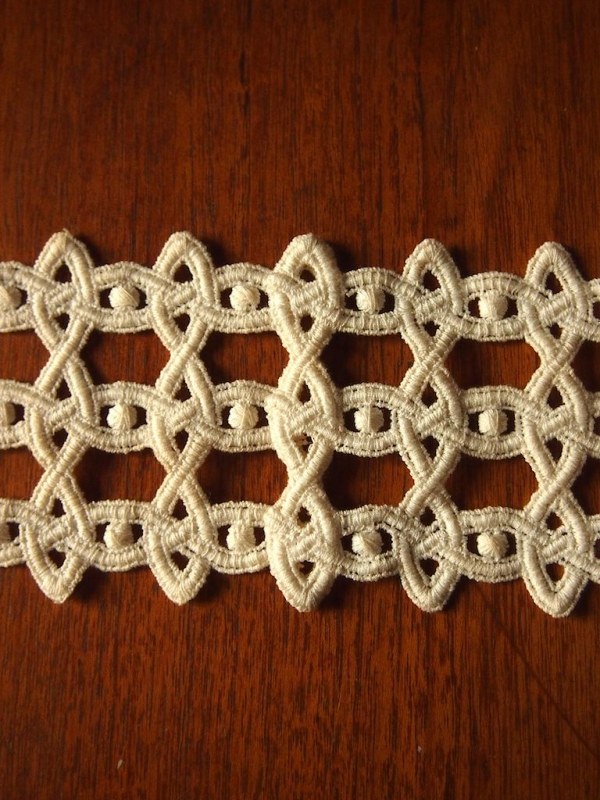
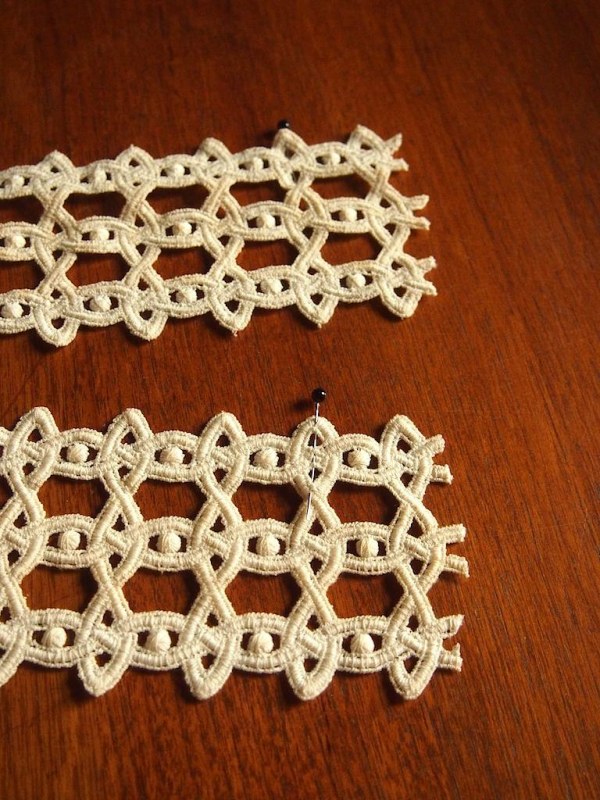
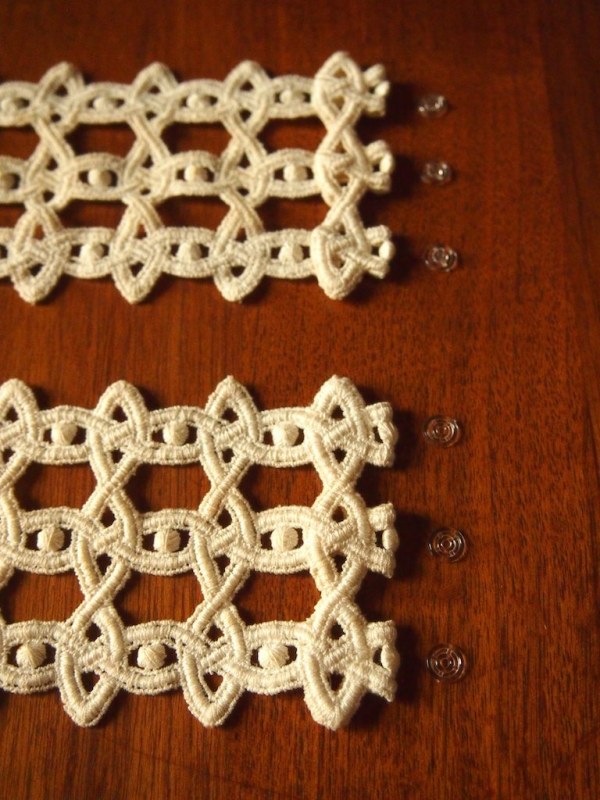
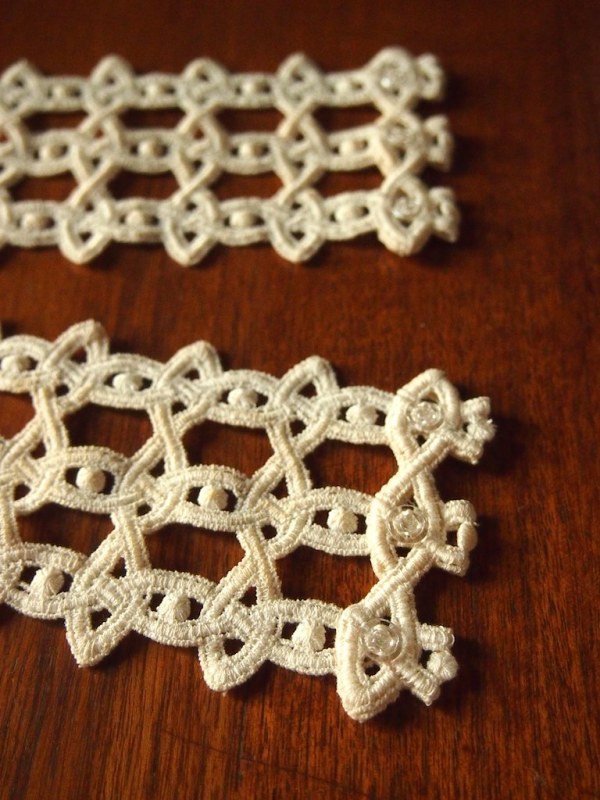
first thing to go was the trim. i tried to keep it as much intact as possible, because it was unclear how much would go back on the dress. next up was the sleeves. and then a whopping 15" was hacked off the bottom. it ended up looking like this:
still about 2 sizes too big, but waaaaayyy more attitude. let's do something about those side seams.
side seams:
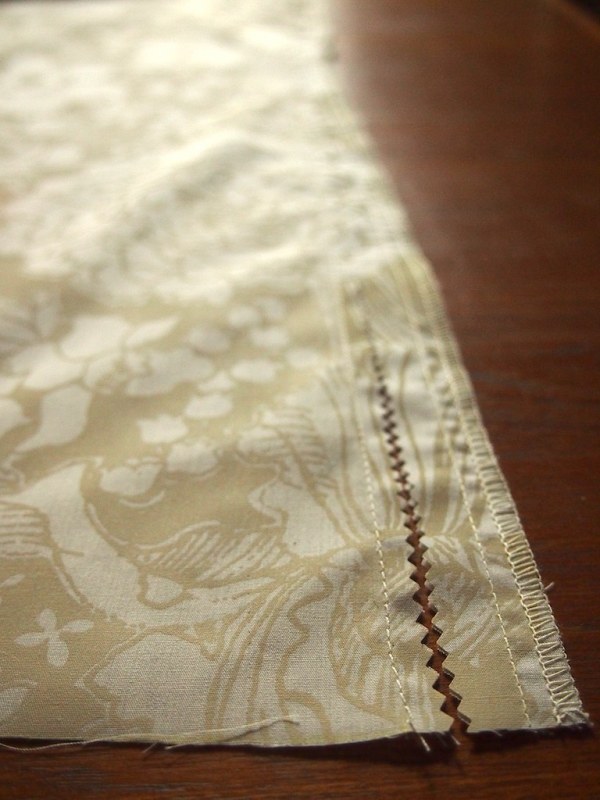
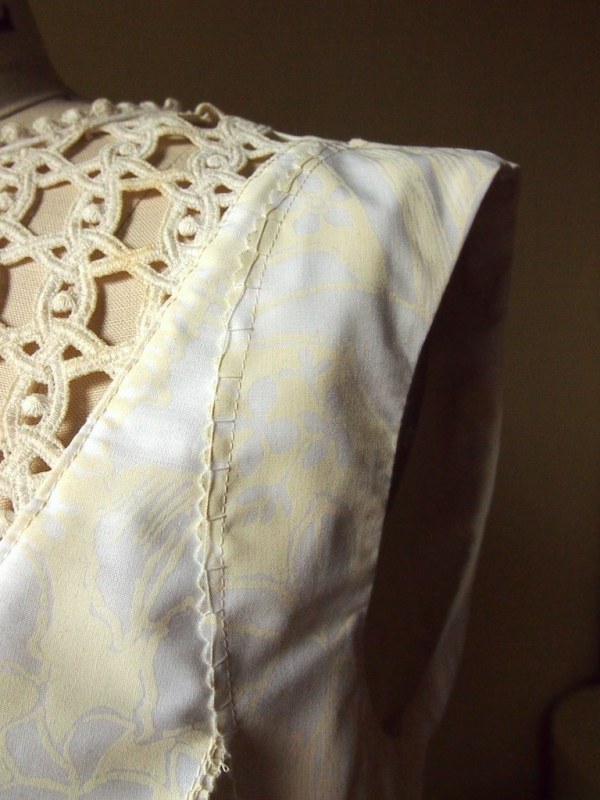
it was able to come in a full inch on each side. usually when altering vintage, i like to keep the original edge finishes, but in this case, that would make the seam allowances 2" wide. after both seams were ripped out and pressed flat, i stitched a line down both sides of the front and back panels, where the original seam had been. then, i pinked the edge (a serger is a luxury i don't have room for- and this is a very vintage treatment). then the front and back were lined back up and stitched at the new side seam lines.
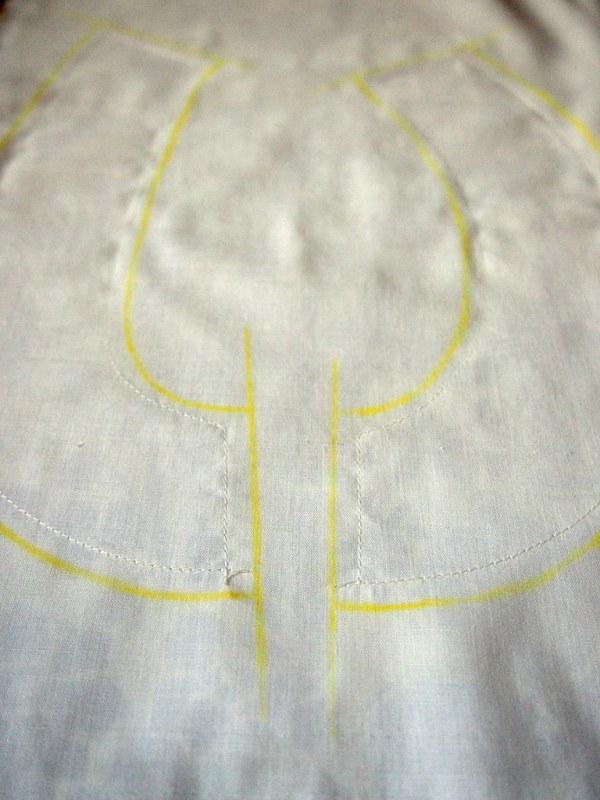
arm facings:
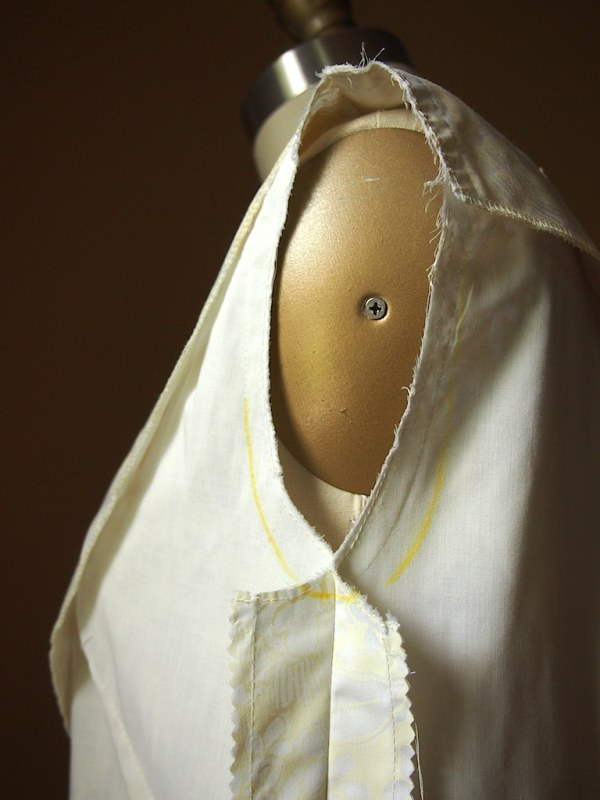
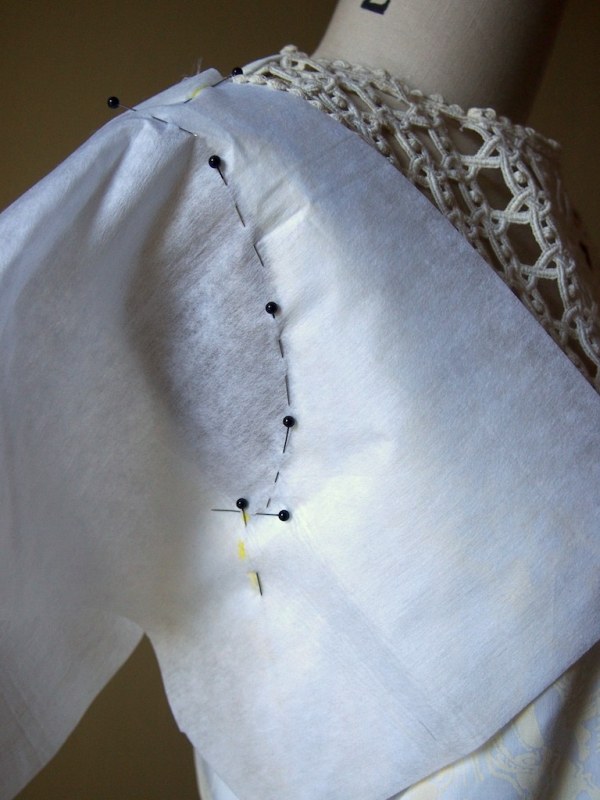
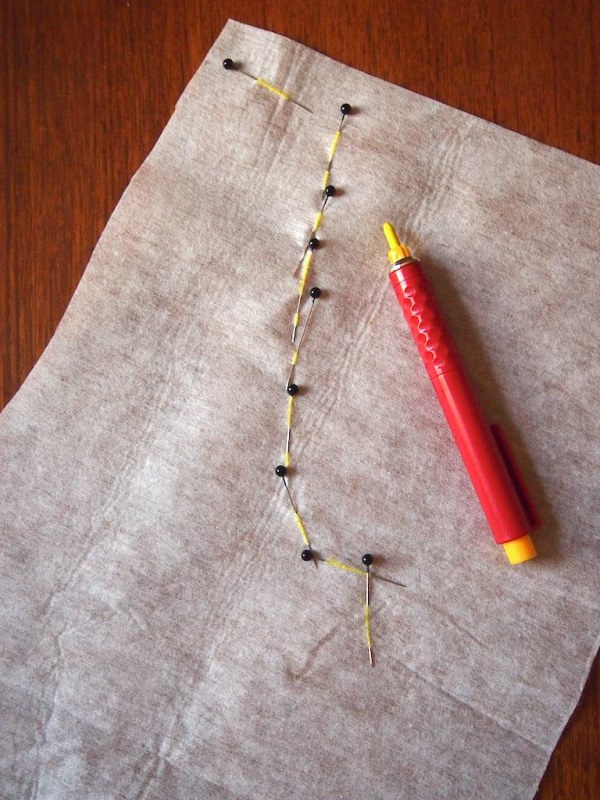
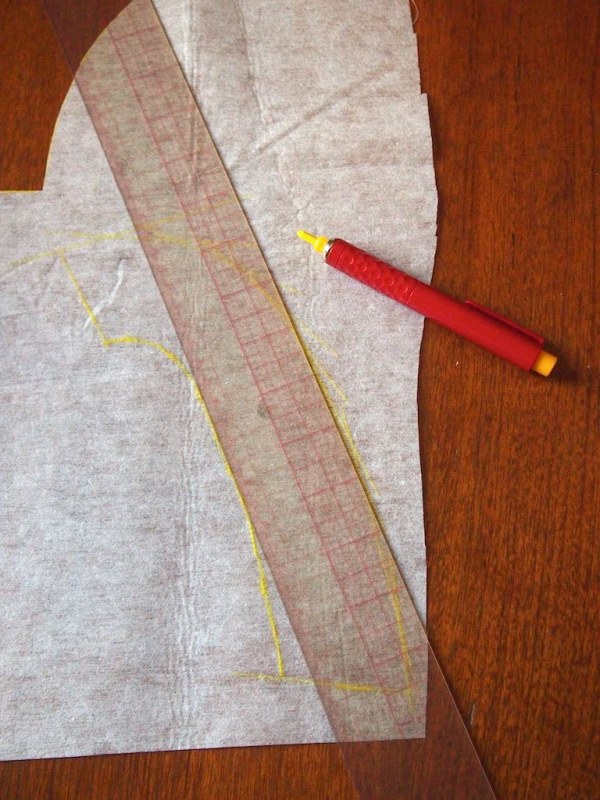
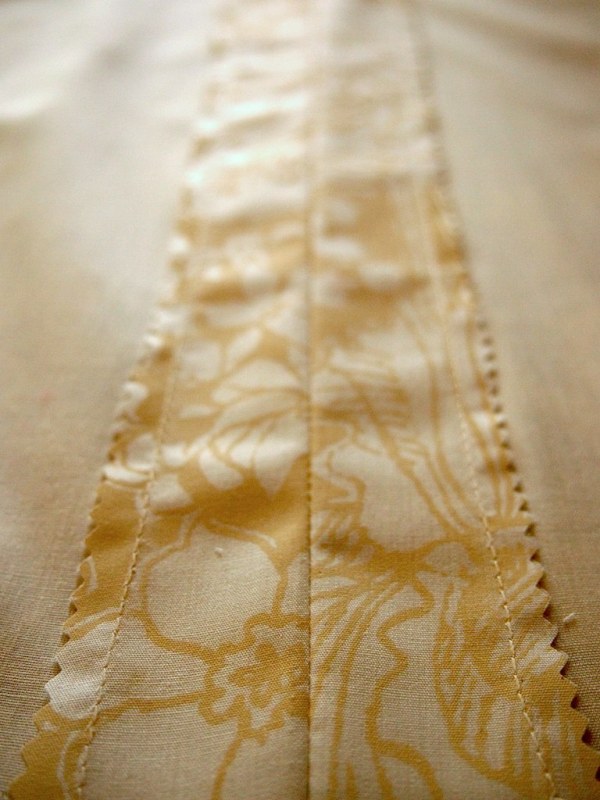
taking in the side seams of a garment that much significantly alters the arm holes. they should be about horizontal at the side seam. once the new shape was sketched on the interior of the garments, a stay stitch line was sewn just outside that line, around the entire arm hole. then the fabric was pinked close to that line. the facings were created by draping a piece of pellon over the hole and marked all along the edge. connecting the dots gave the shape of the inside curve, and a 2" ruler marked the width of the facings.
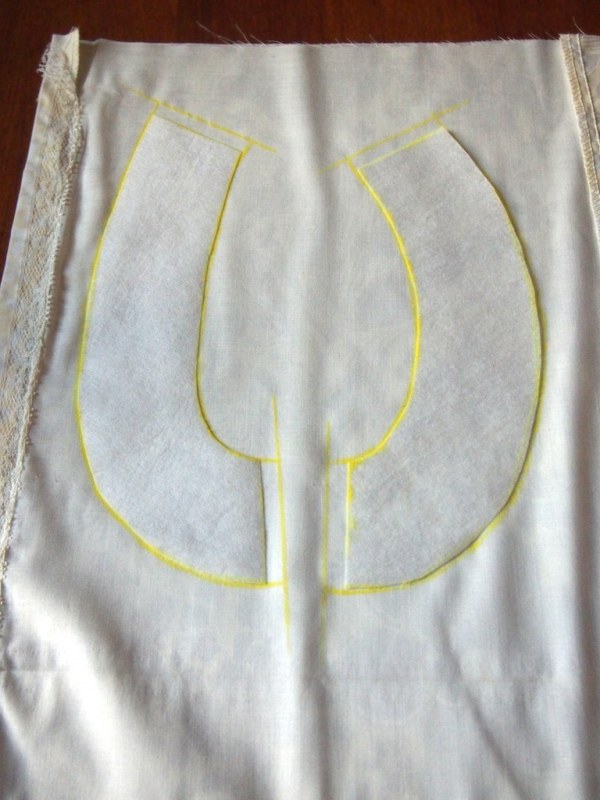
the lined bottom panel really came in handy for use as the facings. after adding 1/4" to the short sides of each piece, the lining and exterior fabric were sewn together before cutting them out.

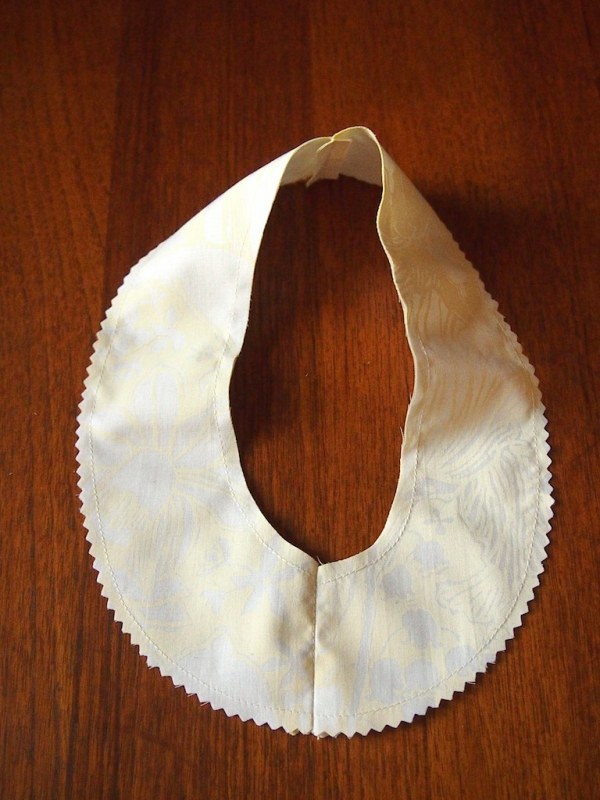
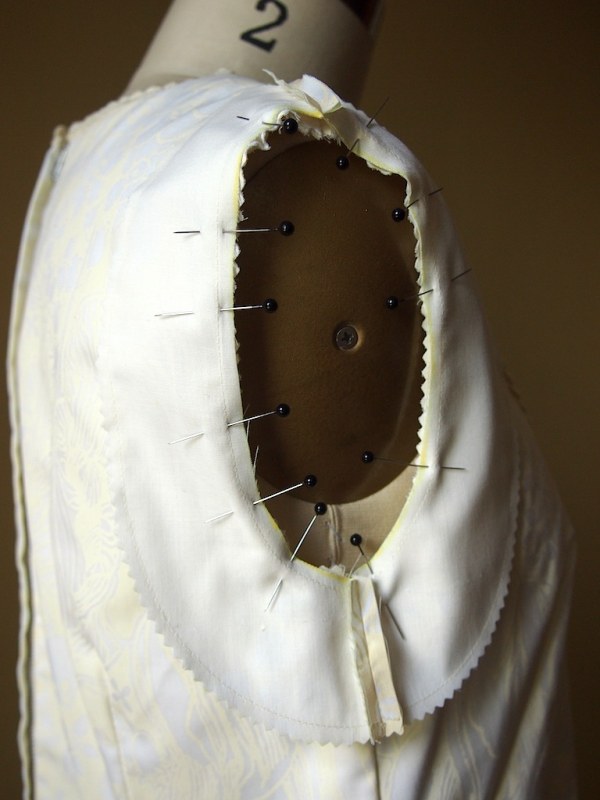
the outer curve of each piece was pinked to finish it, but the rest were all cut straight. after the top and bottom seams were sewn and pressed open, the whole shebang was pinned to the dress, right sides together. this facing was stitched to the armhole, with a 1/4" seam which was clipped around the curves, and then meticulously and carefully turned and pressed to the inside of the garment.
to finish the facings, they were tacked to the interior with blanket stitches around the outer curve. this was by far the most time consuming part of the whole thing, and it didn't end up looking too spectacular after all the work. no sleep will be lost worrying about this detail.
hem:
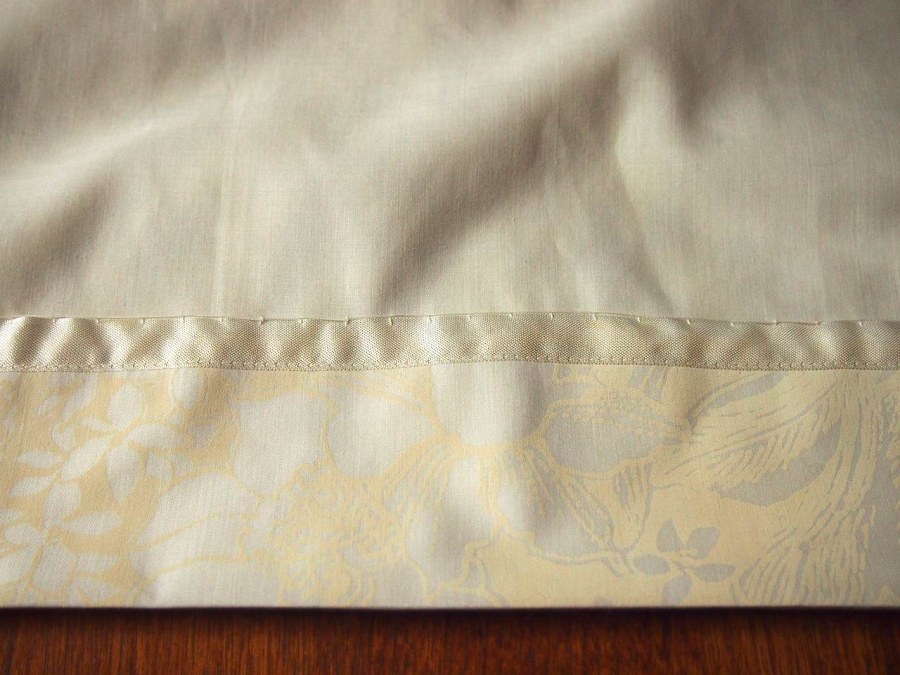
the original hem was 3", so why not follow it? hem tape was used to finish the raw edge, and then the whole thing was blanket stitched to the lining.
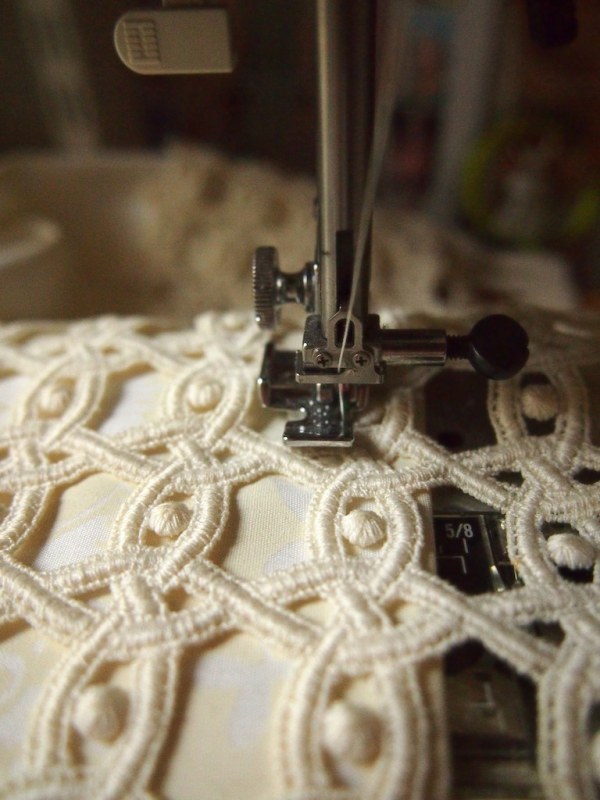
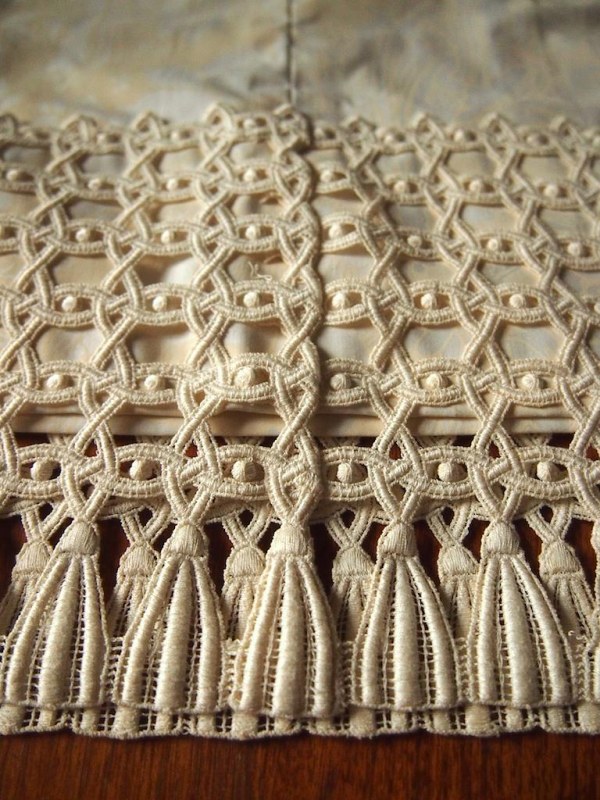
it seems silly to put so much work into hand stitching the interior and machine stitching the trim on the exterior, but this is verbatim how it was done on the original- machine basted around the bottom row and the top row with the center back overlapped, edges tucked under.
belt:
i won't be wearing this with a belt on the regular, but tomorrow is the jazz age lawn party, so there needs to be a bit more flapper going on. the sleeves provided plenty of trim and all it took was joining them and adding a few snaps to make a belt.
20s via 60s is my style comfort zone, and this fits right in. this retro flapper has a picnic to plan...
