braided poly rope bracelet 2
June 6 2012, 9:31 pm
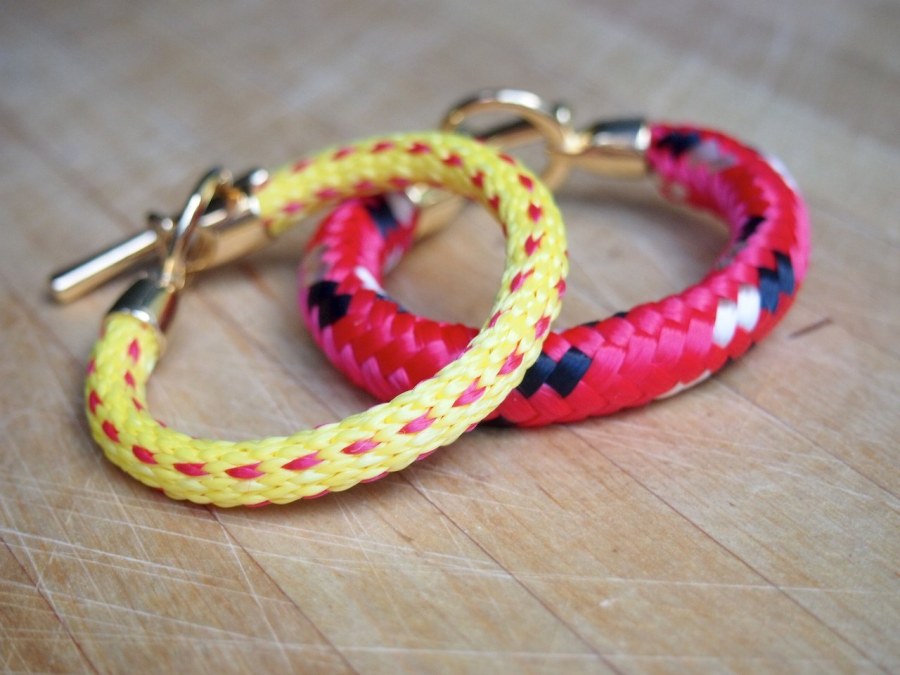
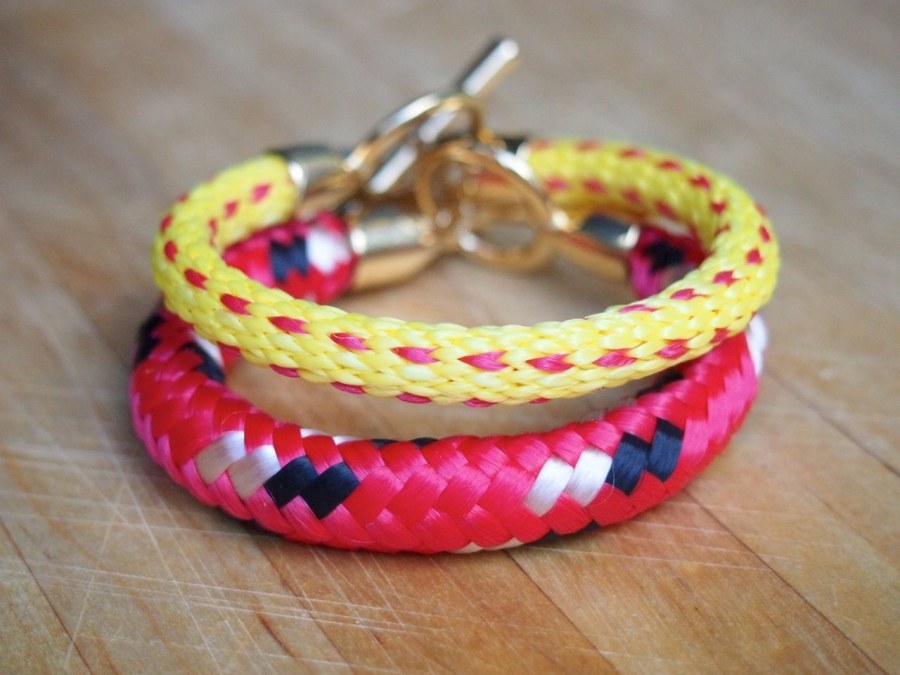
take 2.
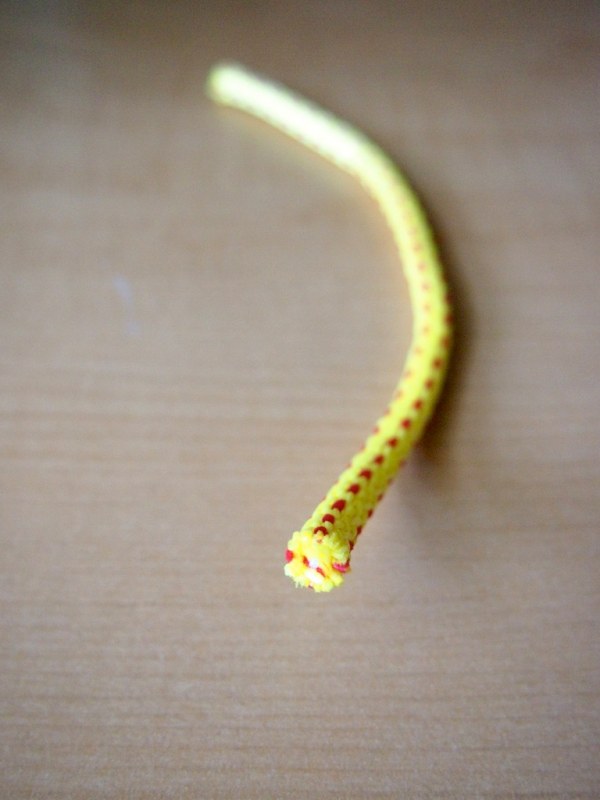
it didn't take me long to decide that i needed another poly braid bracelet. i jumped at the first opportunity to go to a hardware store and buy more poly rope. there was a catch though- despite the fact that it had the same label as the last rope, with the same 3/8" diameter, it was entirely different. not just in size, but also construction:
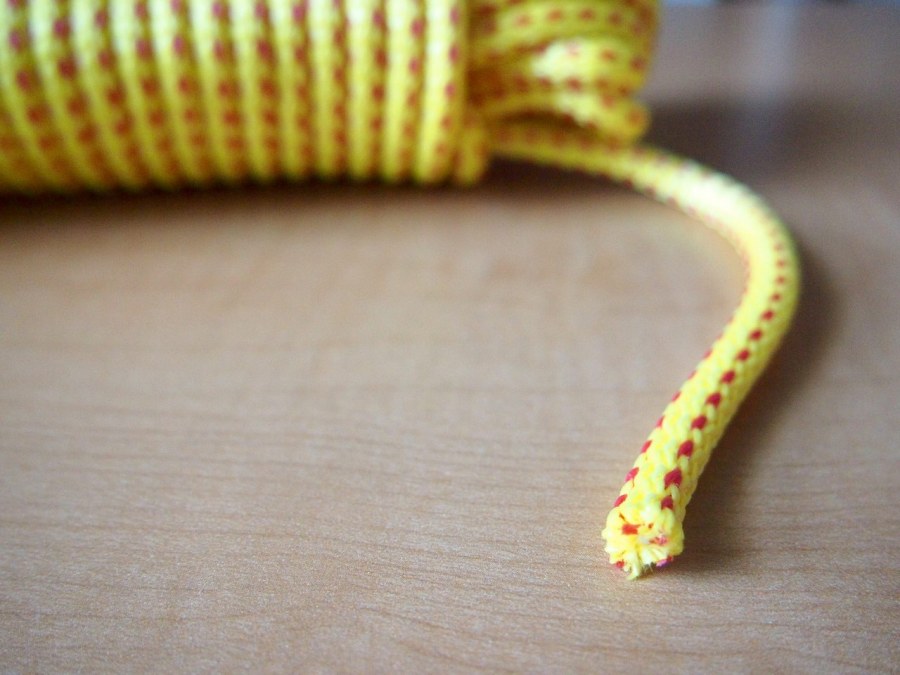
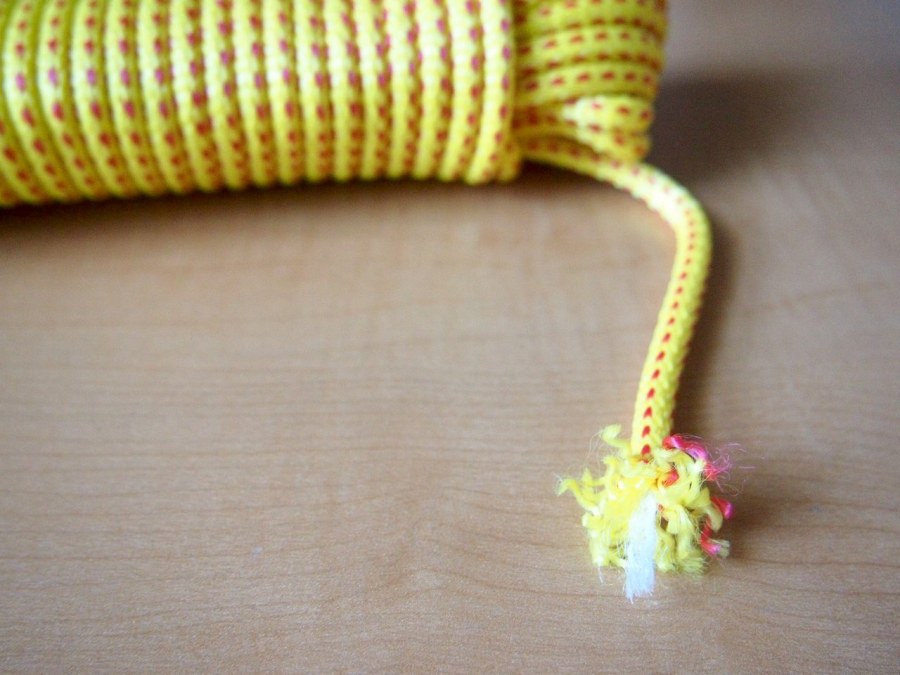
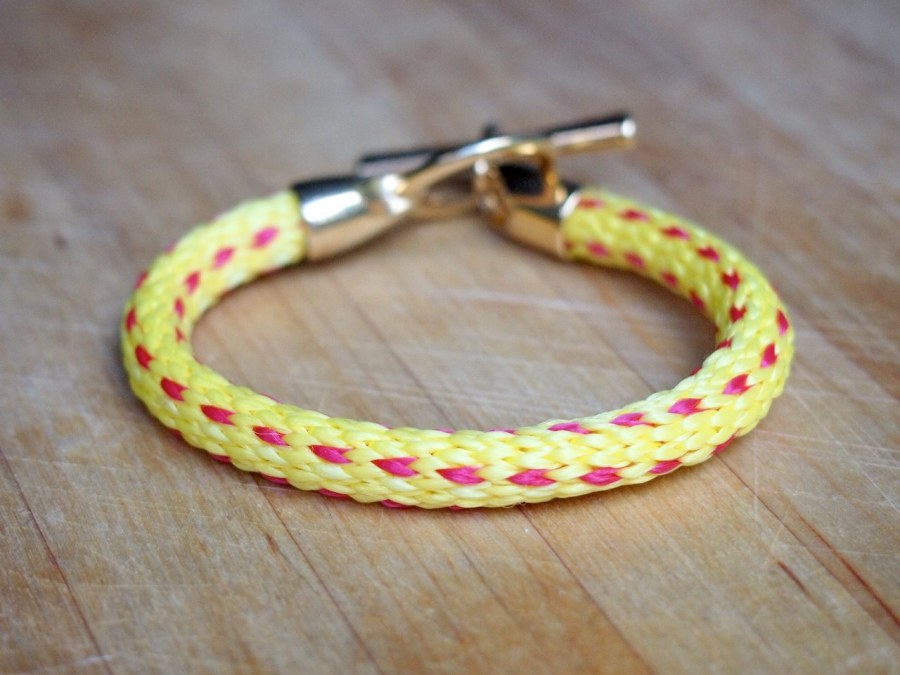
the last rope was a thin braid surrounding a thick central cord. this rope only had a skinny central thread, and the rope itself was knit to create the thickness. at first i wasn't happy about the difference, but it didn't take long to realized that it fit perfectly in the clasps with less fooling around. that's right- it was even easier than the last one.
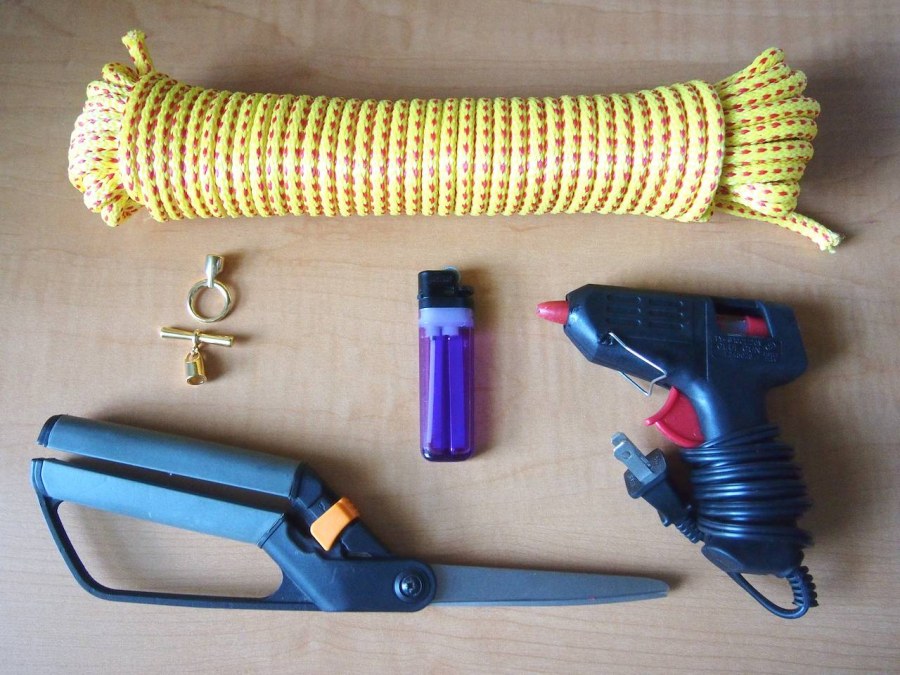
- 3/8" diamond braid polypropylene rope
(i can't tell from any of the amazon photos which type of rope this is)
- 6.2mm gold toggle clasp with end caps
- lighter
- scissors
- glue gun and glue sticks

- heat up the hot glue gun. while it's getting up to temperature, work on the braid.
- cut the rope longer than what will fit around your wrist. at one end, use the lighter to melt the ends, ever so slightly. carefully pinch the tip together while it's warm (i did burn my fingertips, being impatient). keep lighting up and pinching the end until it fits snugly into the toggle's end cap.
- try on the braid and check the fit. mark where you need the braid to end, taking into account the length of the toggle. when using a toggle it's important to give yourself a little bit of extra length- i made this one snug, and getting it on and off is tricky. cut off the other end and melt/pinch it as before.
- add a drop of melted glue to the inside of the toggle cap. quickly fit the rope into the cap, making sure that it's stuck securely. repeat on the other side.
