Clothespin Kids
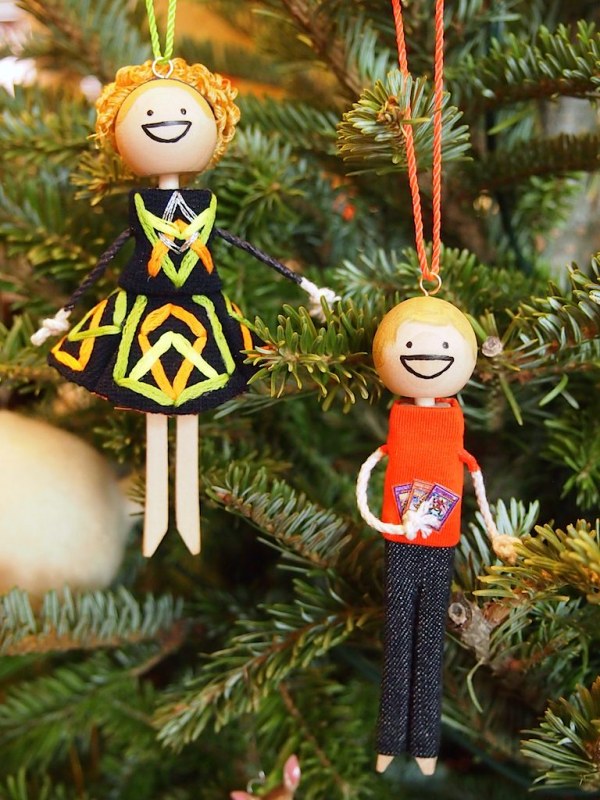
My sister asked me to make her kids x-mas ornaments out of dough, but I don't know the first thing about making and sculpting salt dough. I do know a little something about clothespin dolls, thanks to super genius sara neuburger over at the small object. A few years ago, she offered a kit of naked dolls and clothes patterns. It was a terrific amount of fun to customize them (and take photos of them all over europe). Unfortunately, it was too late to order custom dolls from her, so I tried my hand at making them from scratch.
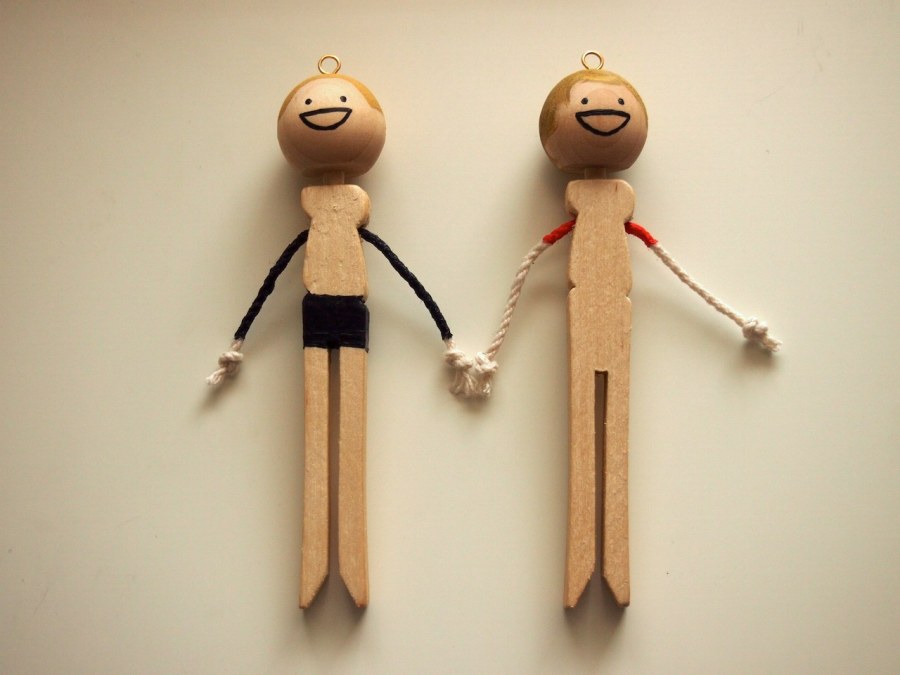
Now, her clothespin dolls set the standard for excellence in crafting. Mine, not so much. It took a ridiculous amount of time and enormous effort to get these nudists made. Sanding, drilling, glueing, painting (which I suck at). And while they don't make your eyes bleed to look at, it's clear that Ms. Neuburger need not worry about me taking any of her business. I'm not posting the process of how these came to be, because she makes a living doing this, and I ripped her off. But I'll gladly share how to make some fabulous curly hair for a doll of your own.
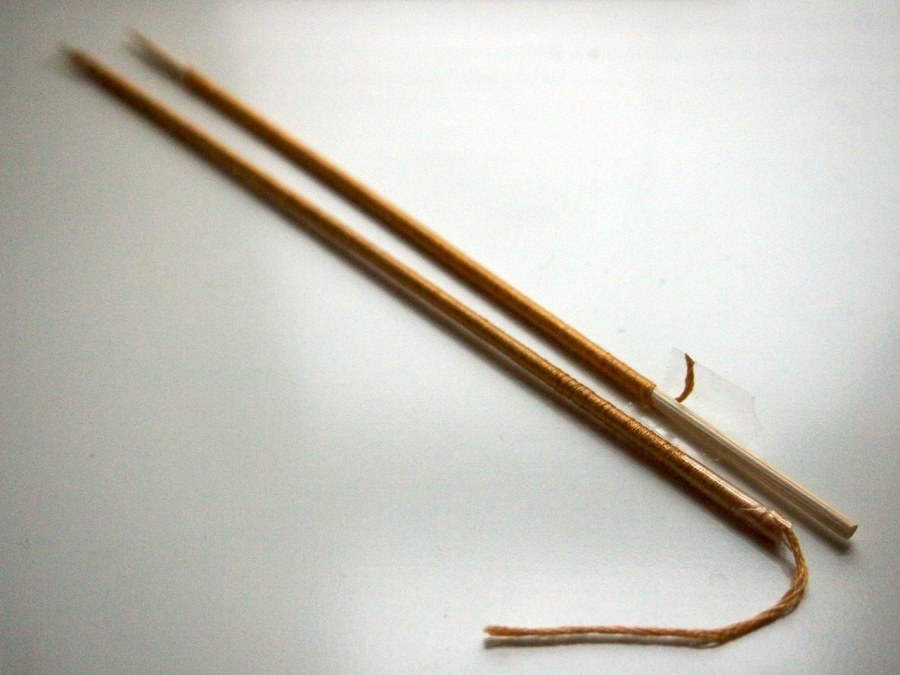
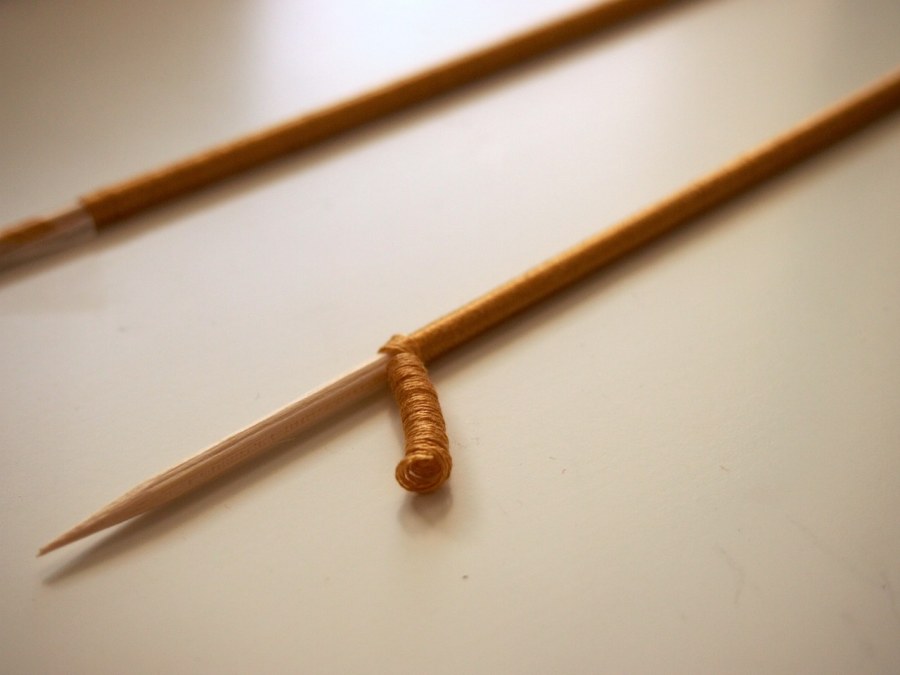
- Wrap a few wooden skewers with DMC embroidery floss. Take care to not overlap the threads as you're winding it around. Tape both loose ends to the skewers.
- Run the skewers under water and let dry overnight, or for a couple days.
- Carefully, unwrap the floss from the skewers.
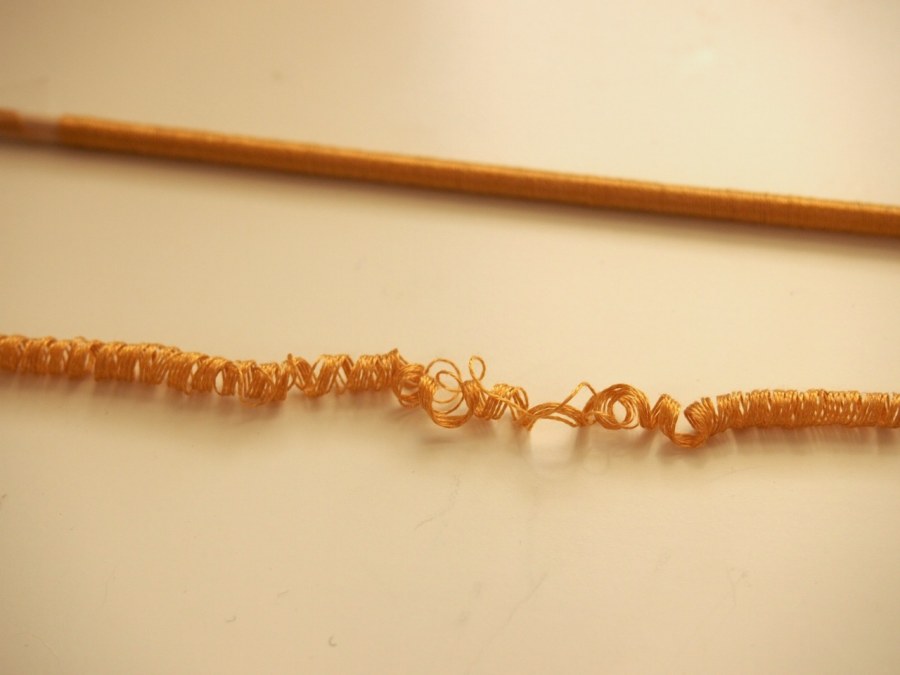
- If you don't take time to unwrap the curls, they'll get all tangled. It's not the end of the world, but it's better to have as many good curls as possible.
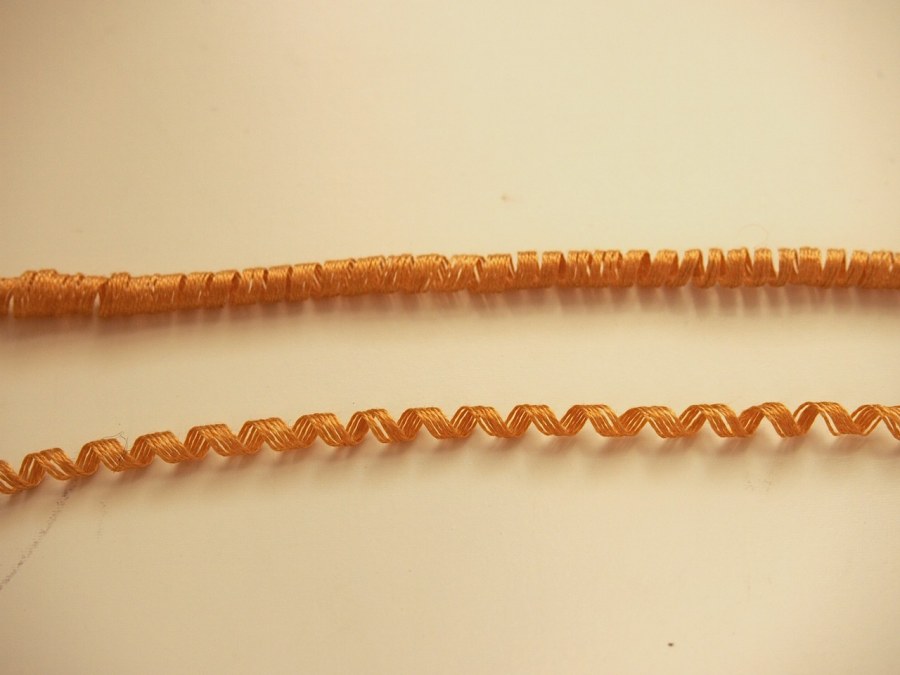
- It's difficult to gauge how tight the curls will be, but even the looser ones are still super curly.
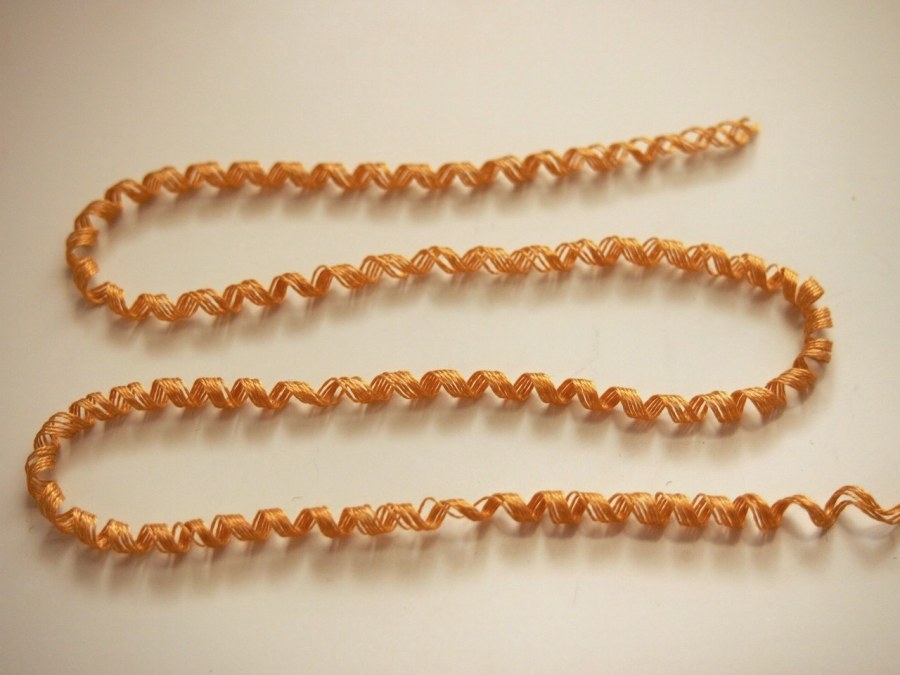
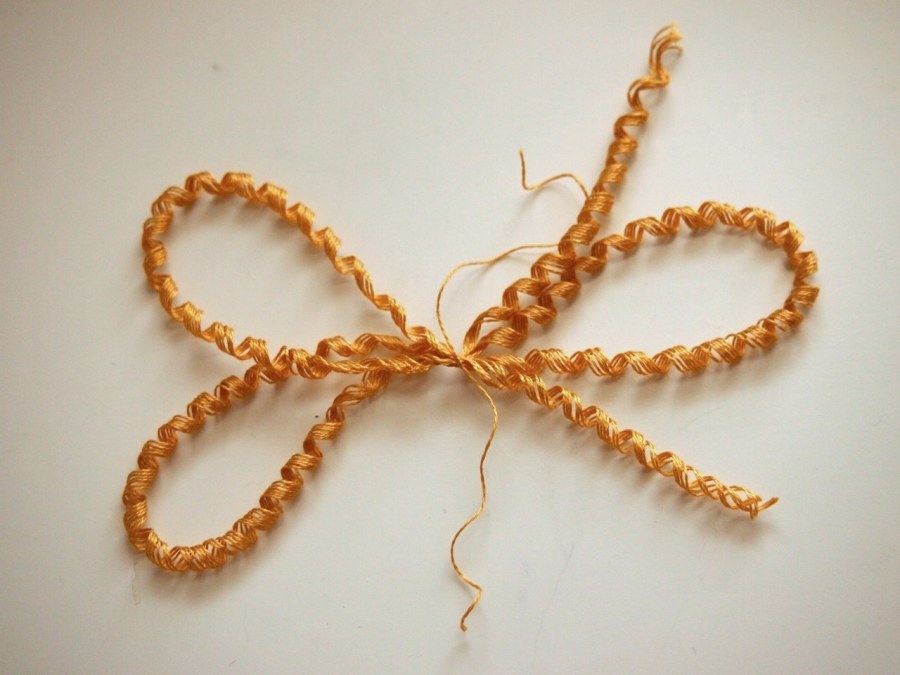
- Zig zag a long strand of curls. The length between each curve should be roughly twice as long as the final length desired.
- Tie together the center of the strands with an extra piece of floss. Cut a few more curl strands double the final length desired.
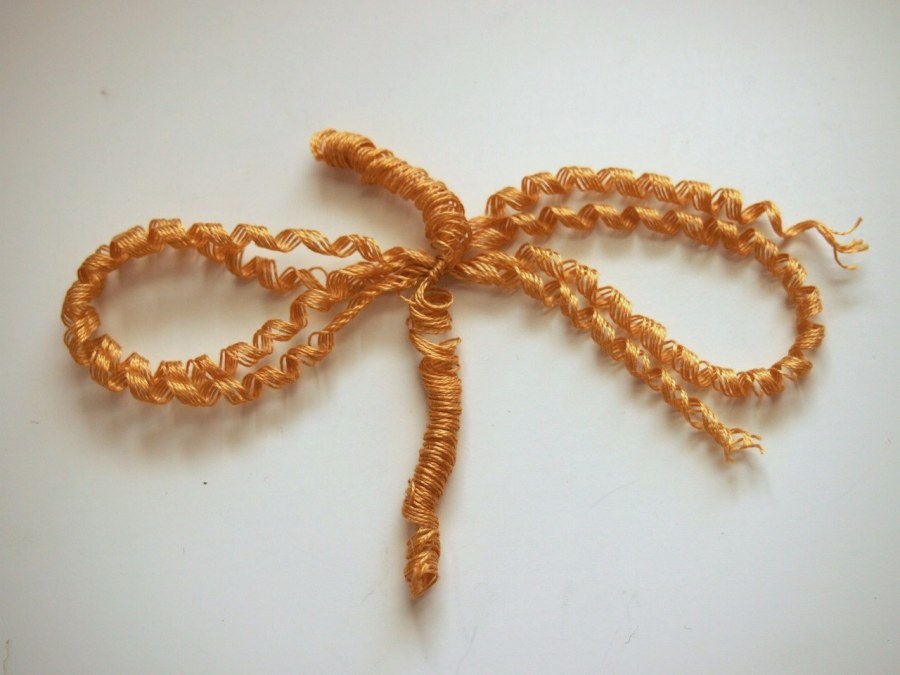
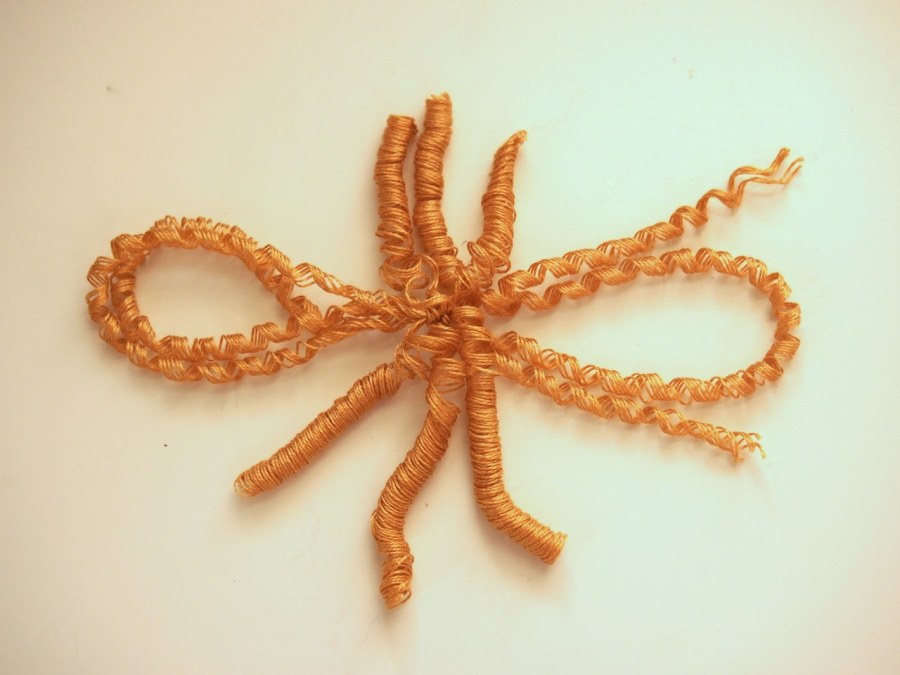
- Tie a loose curl strand around the middle of the curl loops. Add a few more on either side of that one.
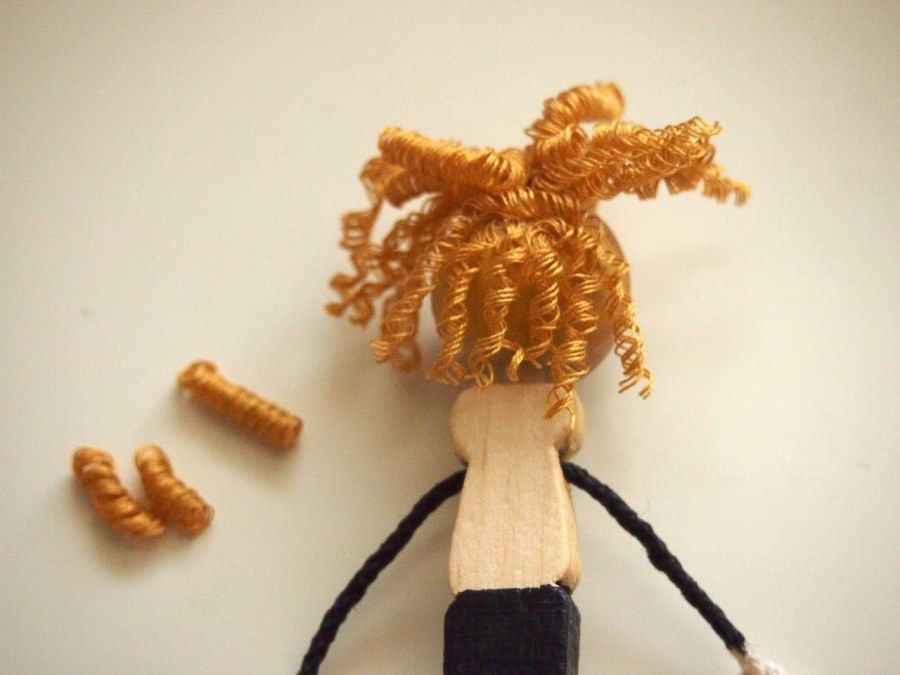
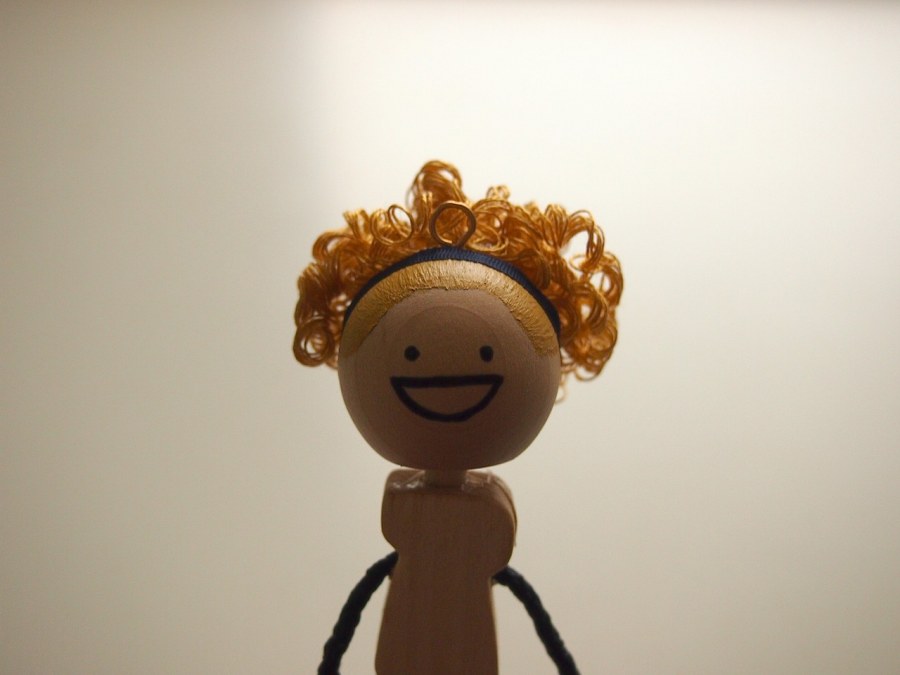
- Glue the center of this little wig on the top back of the head. Magnatac
worked great for this. Cut the loops, and trim all the curls.
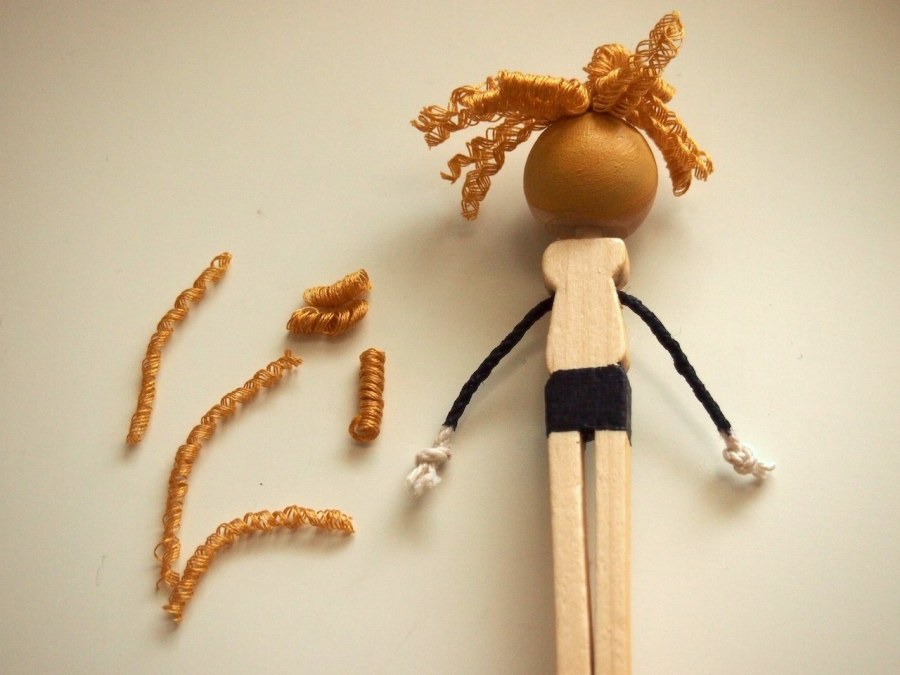
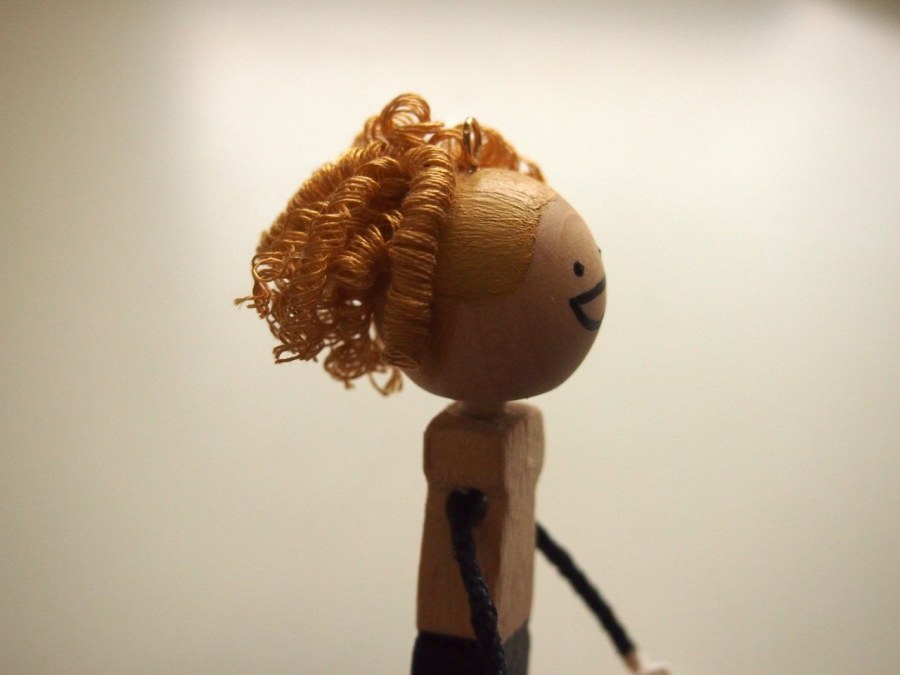
- Flip up the hair, and glue the trimmed curls to the back of the head under her wig.
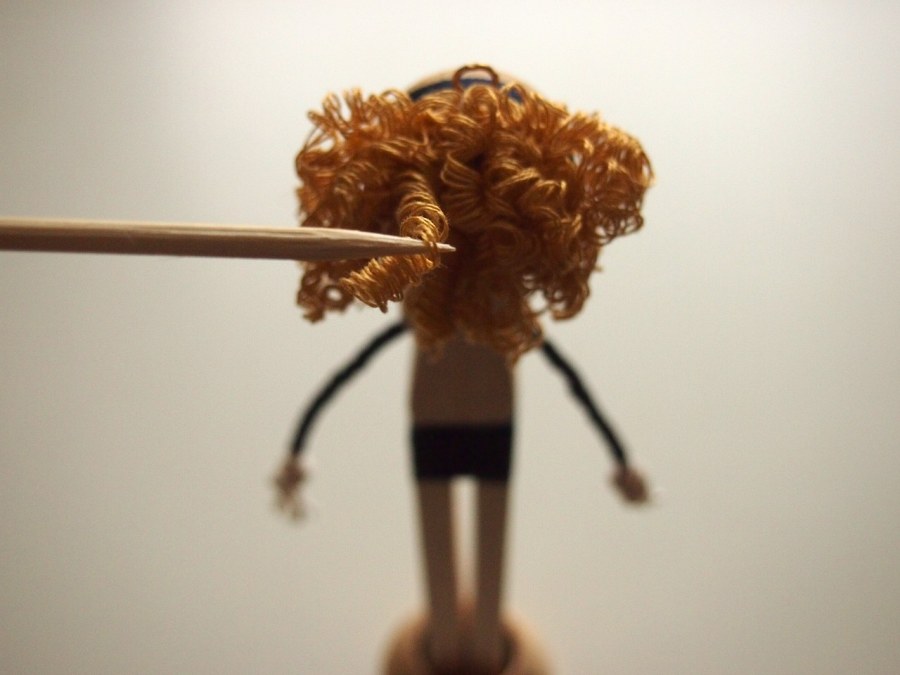
- To separate the curls, run a toothpick through them. Be careful, so they don't get all twisted. Separating them will add a bit to the length, so she may require a trim to get the proper length. Don't waste any of the trimmings- if they're long enough, glue them to her scalp somewhere to fill in any bald spots.
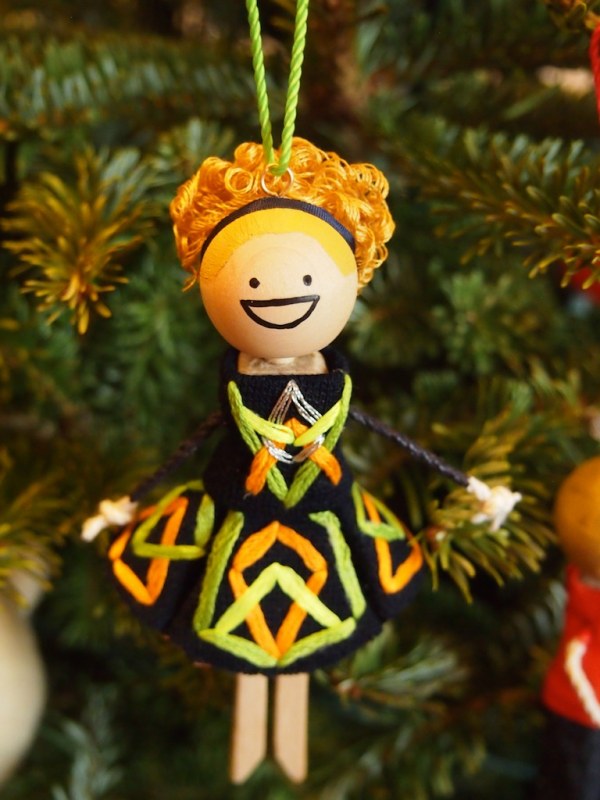
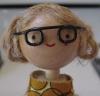
Viola! A gorgeous mane of naturally curly hair.