hermès paper clutch
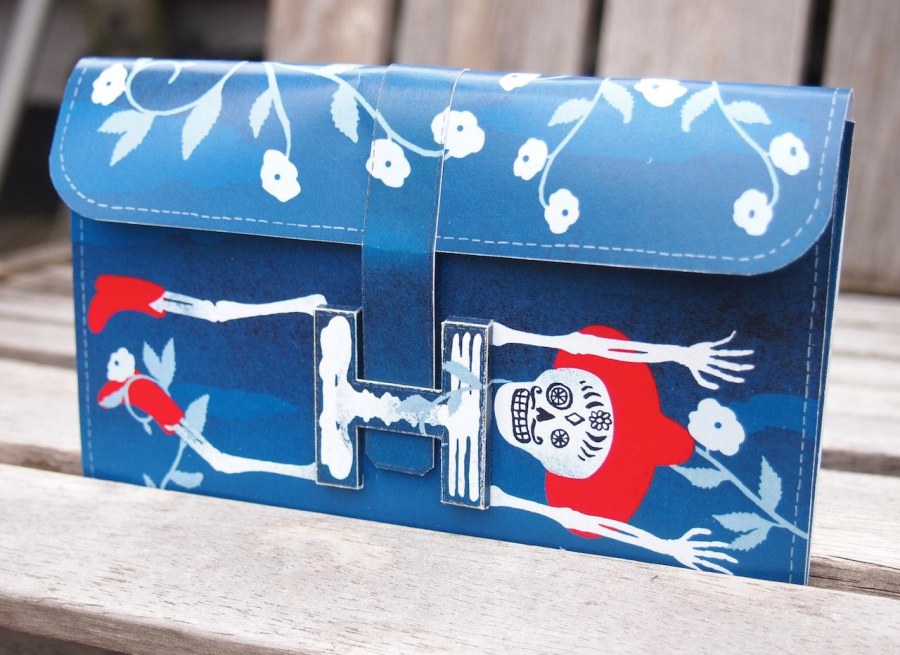
finally an hermès i can afford!
don't have $10,000 to spend on an hermès handbag? no worries! just head over to their website and print up a clutch. they have a some cute designs, (and also blanks to color up your own). i was terribly excited to print them and get cracking. unfortunately, they don't come with instructions.
i printed a few designs on heavy cardstock, but only had time to construct 1 today. assembling it took a few tools:
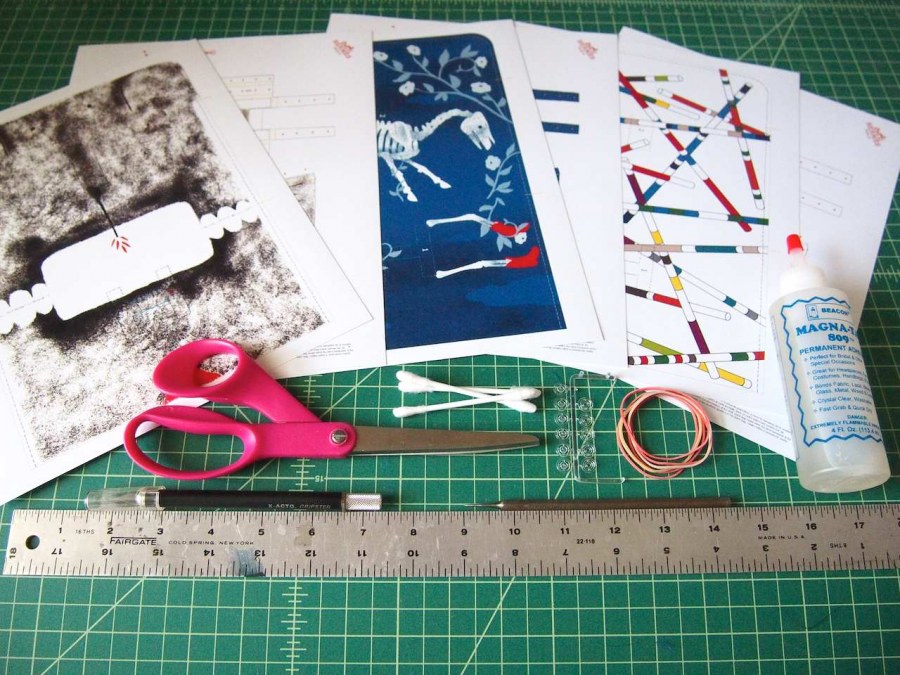
- patterns printed on cardstock
- cutting mat
- ruler
- exacto blade
- scissors
- magnatac
- scoring tool
- q tips
- rubber bands
- invisible snaps

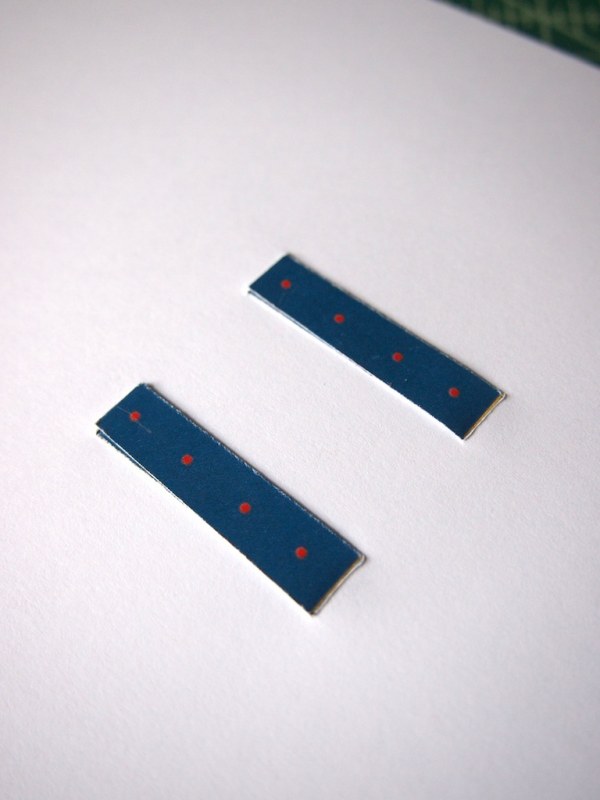
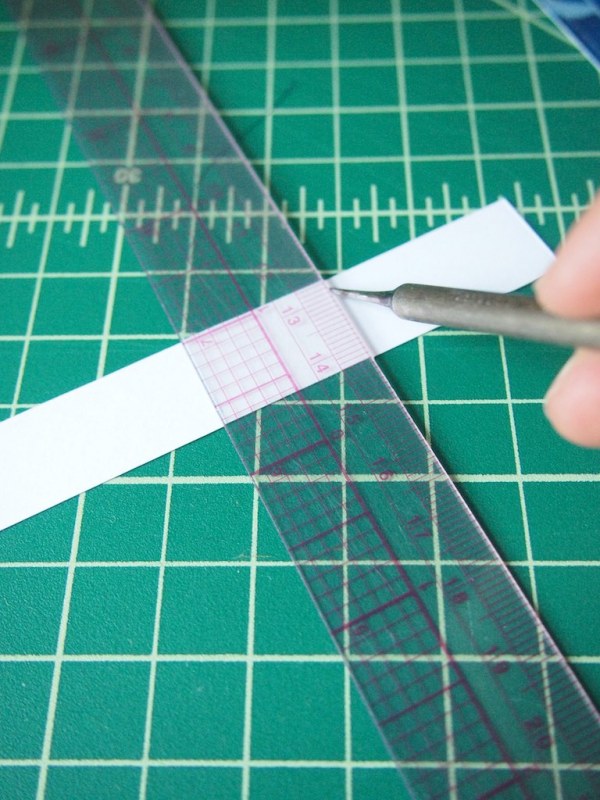
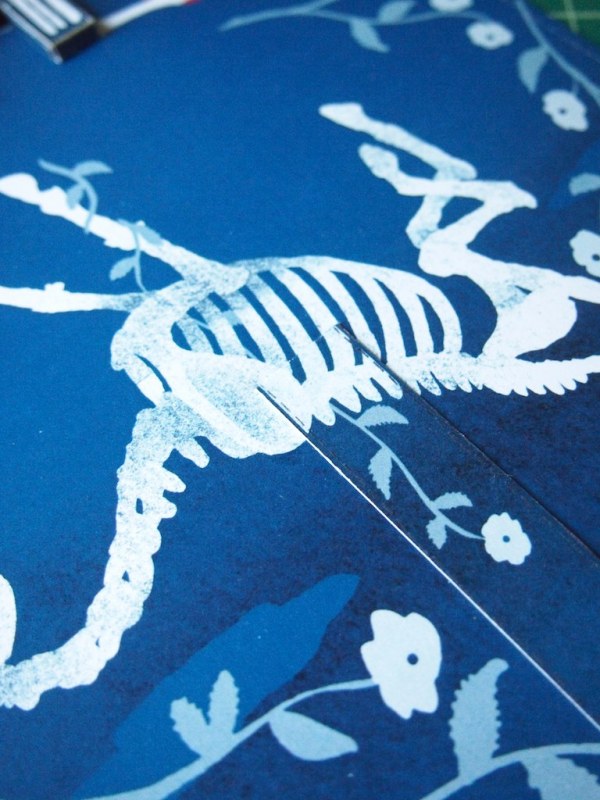
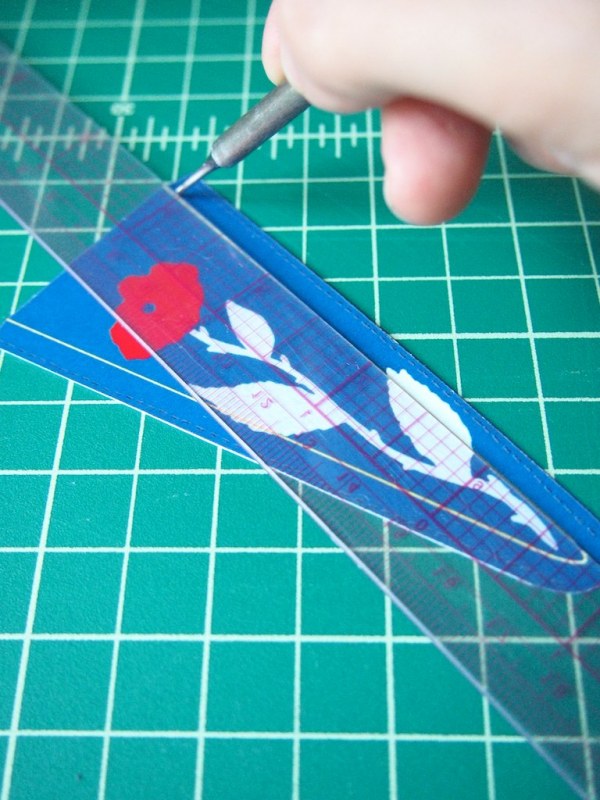
i cut out the pieces using the exacto for straight edges, and scissors for rounded. the first piece to make is the famous H keeper:
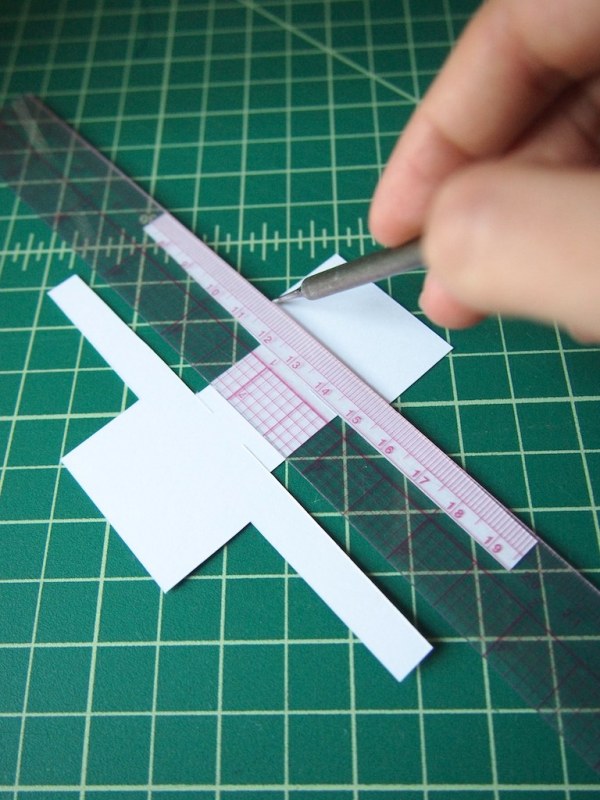
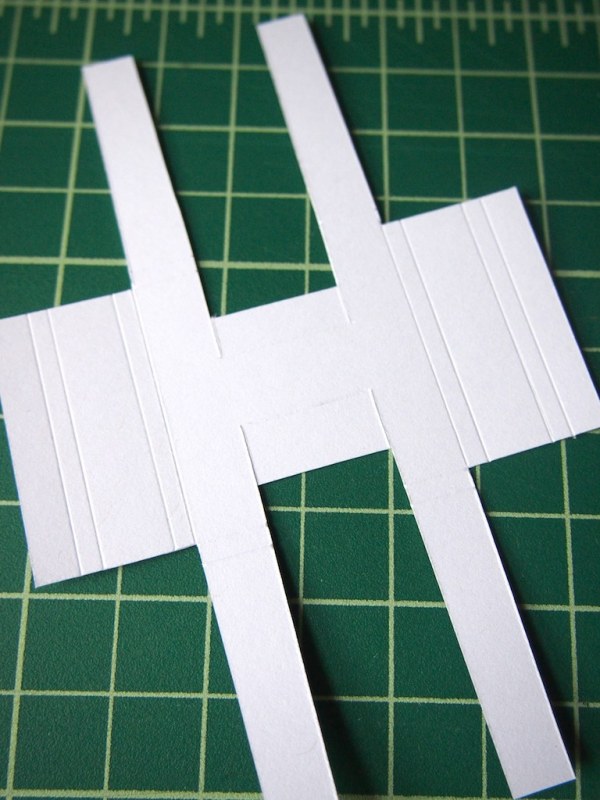
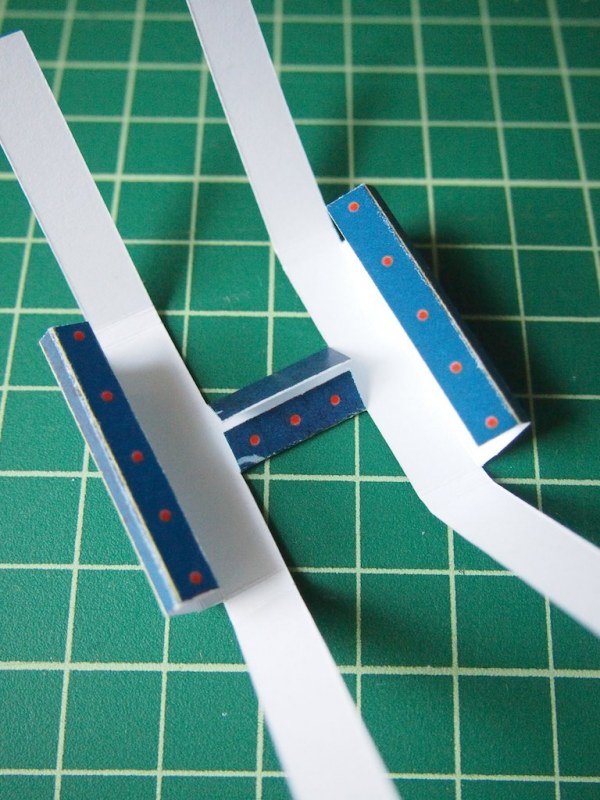
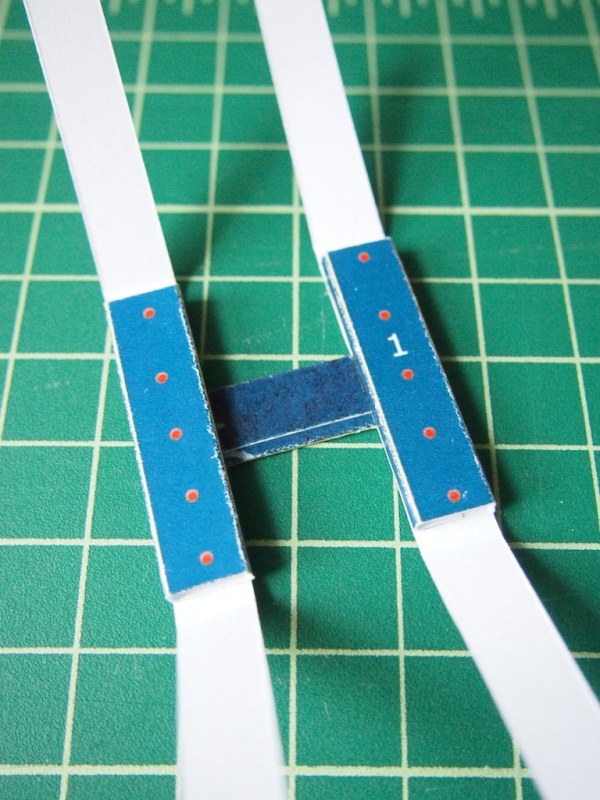
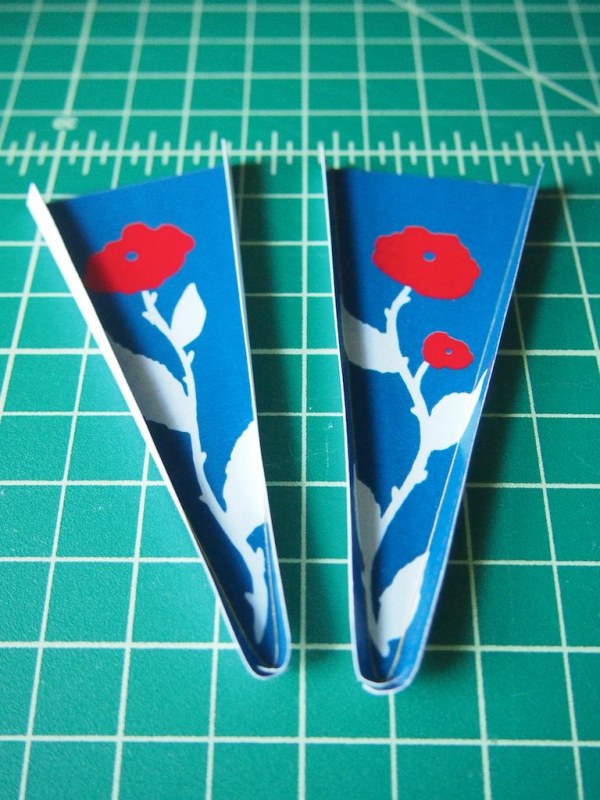
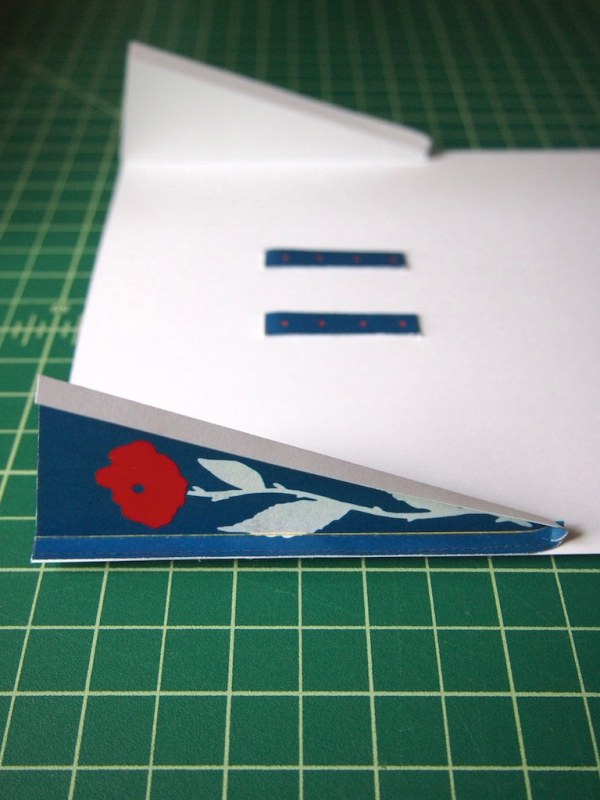
with a ruler and pointed tool (not too sharp though), lightly score the fold lines on the reverse side. fold back the side and center pieces. add a bit of glue where the red dots are printed (q tips helped to spread it evenly, but be careful not to get any fuzz stuck). now time to attach the H to the bag:
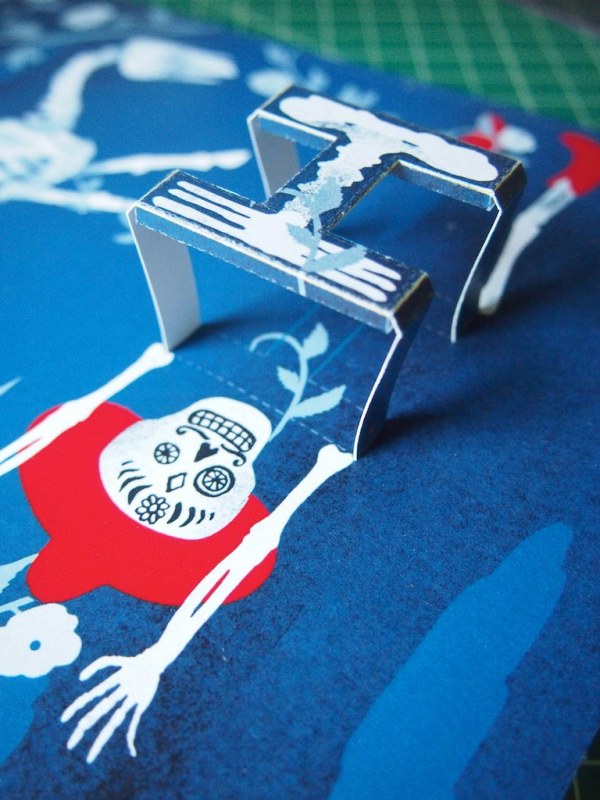
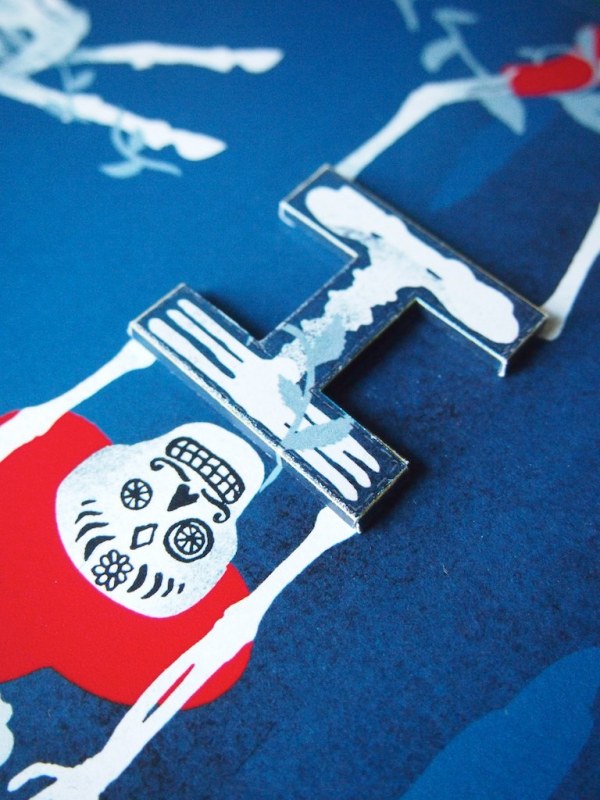
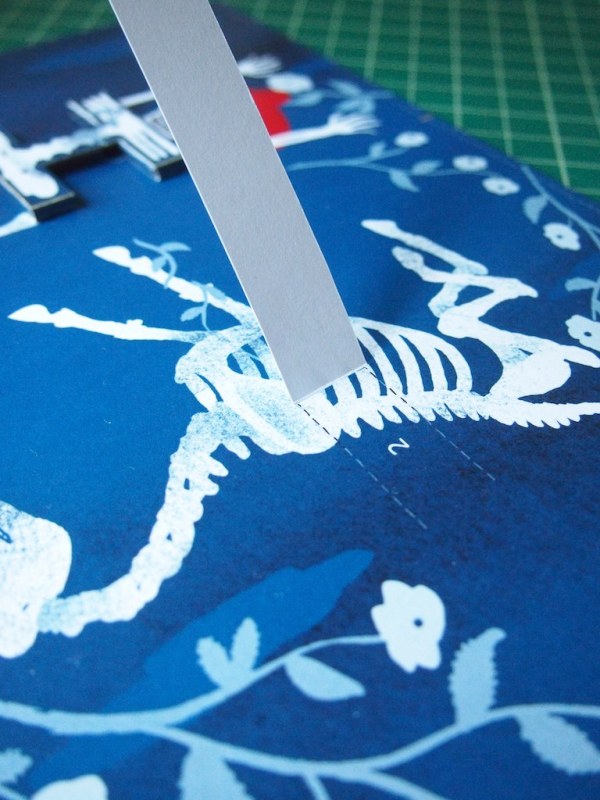
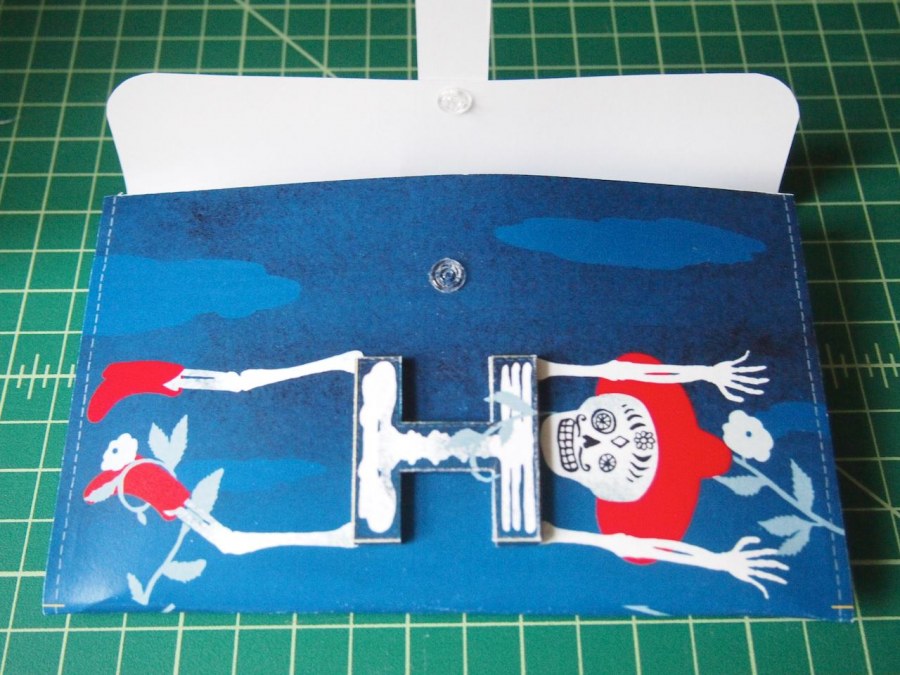
there's an H printed on the front of the bag, where i'm guessing the keeper is supposed to be glued. that didn't seem super secure to me, so i cut slits in the body at the top and bottom of the H. then pulled the strips through and glued them to the reverse side. that H ain't goin nowhere. onto the center strap:
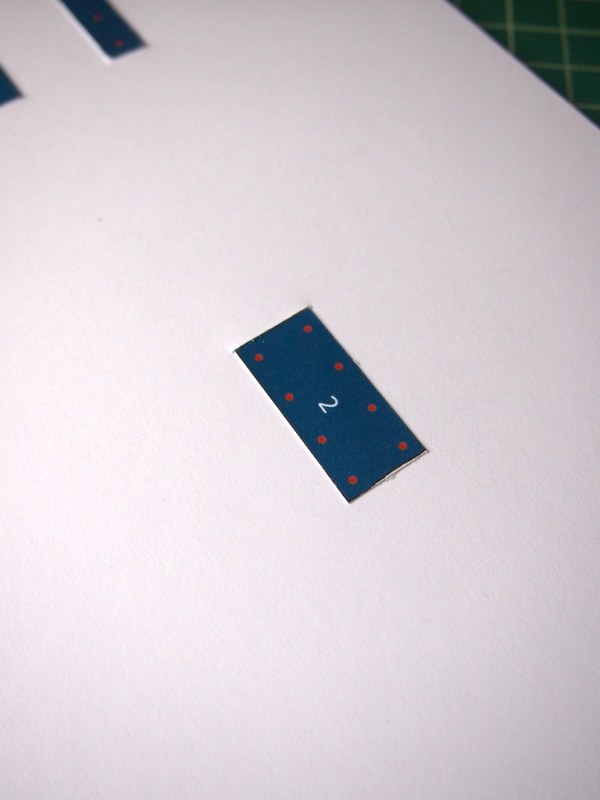
this was done the same way as the front keeper- scored the fold line on the reverse, cut a slit in the body, then inserted the strap and glued it to the inside. hold off on glueing the strap on the outside for a bit and get started on the gussets:
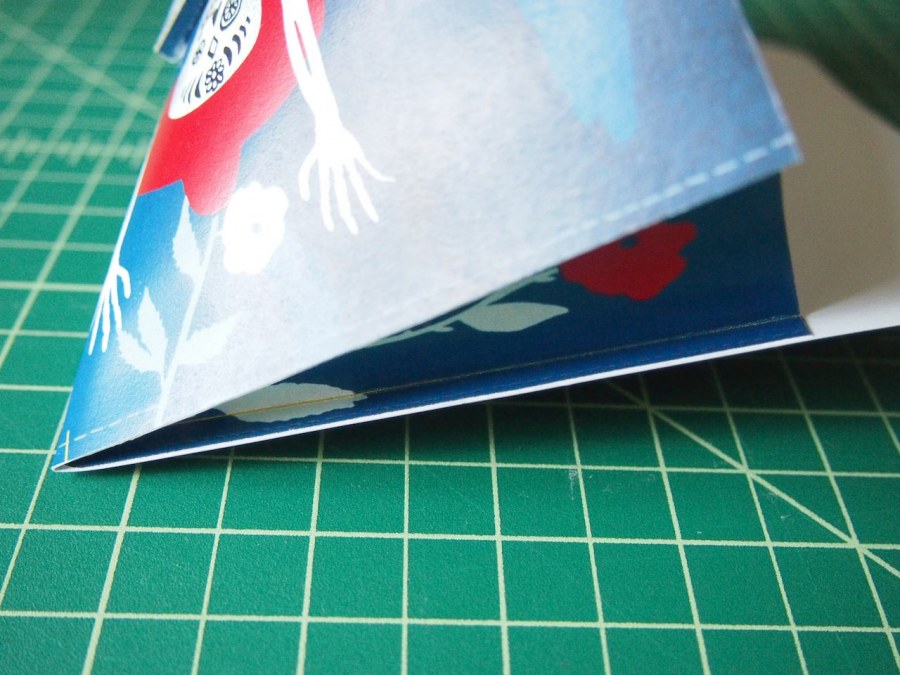
since the gussets get folded in the other direction, they were scored on the front side (but very gently- you don't want to scratch the printing). once the bottom is cut, and the edges are folded, add a thin layer of glue to one edge. line up the top of the gusset with the top of the body and press together at the seam allowance. repeat on the other side and let dry completely. when it's totally adhered, repeat on the other side. you'll notice that the marking on the body to indicate the bottom isn't lined up with the gussets. it is free after all, no complaints here.
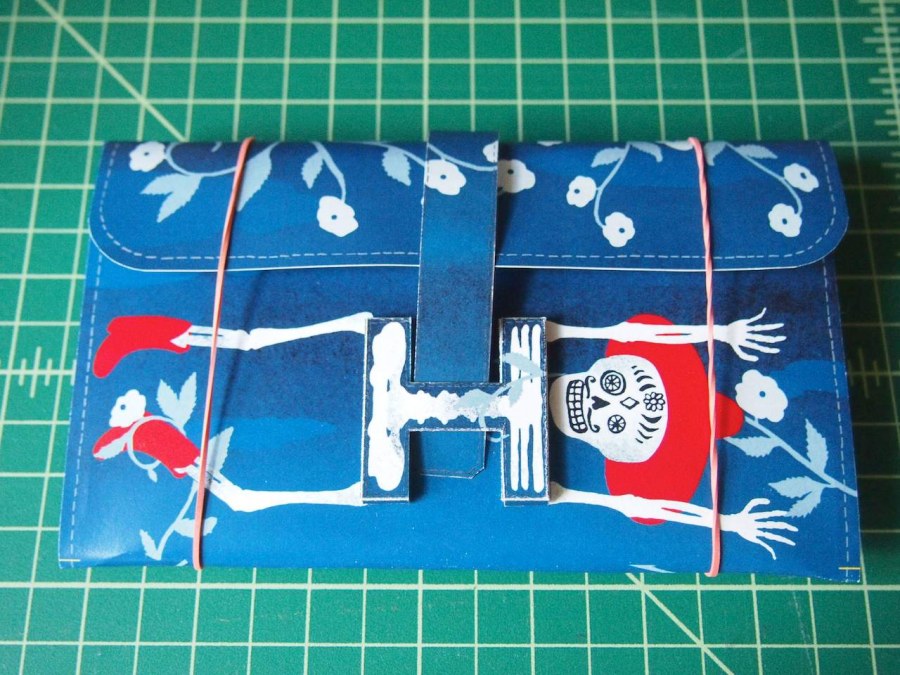
i had a hard time getting the flap to stay closed without creasing the top. i coerced it into the right shape, and added some rubber bands to hold it. after a full day in that position, it still wasn't staying closed. at this point, i glued the strap to the flap at the edge, then glued a clear snap to the inside flap and the front body. this was a risk, and i wasn't sure it would work. i had to poke a hole in the middle of the snap on the body, but it did eventually work. not great or anything, but it does stay closed for a bit. im gonna put the rubber bands back on it and let it sit for a few days- maybe that will help. it's still adorable! look at the back:
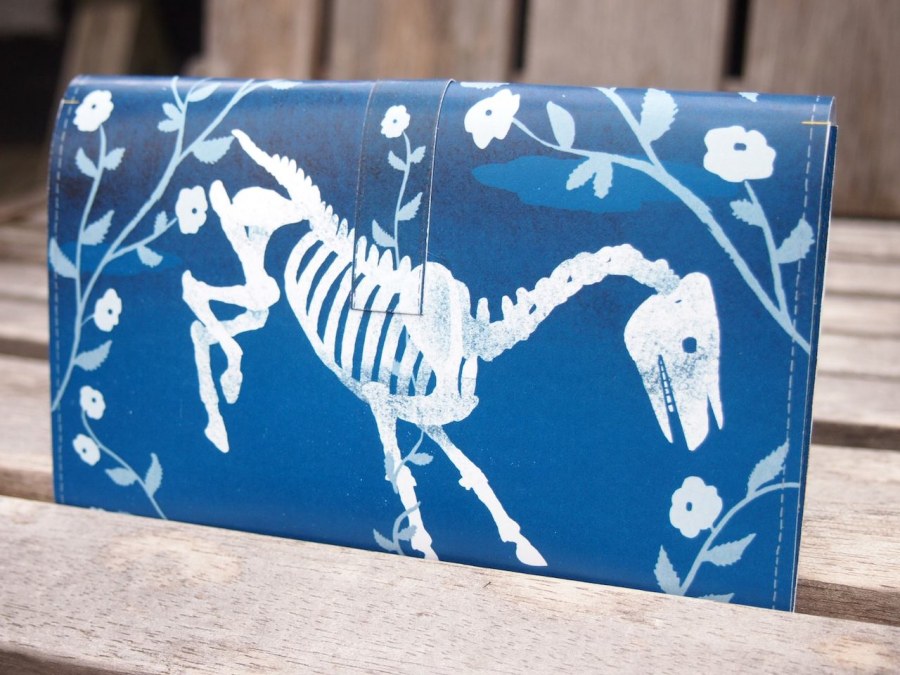
too cute- can't wait to fold up the pachyderm! while working on that one, i'll try not to remind myself that these are probably the only hermès bags i'll ever own.
