Resin Finishing Like a Pro
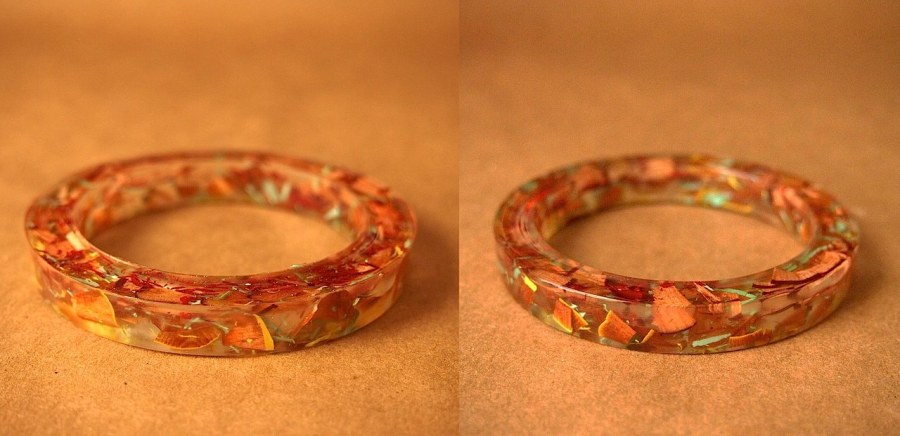
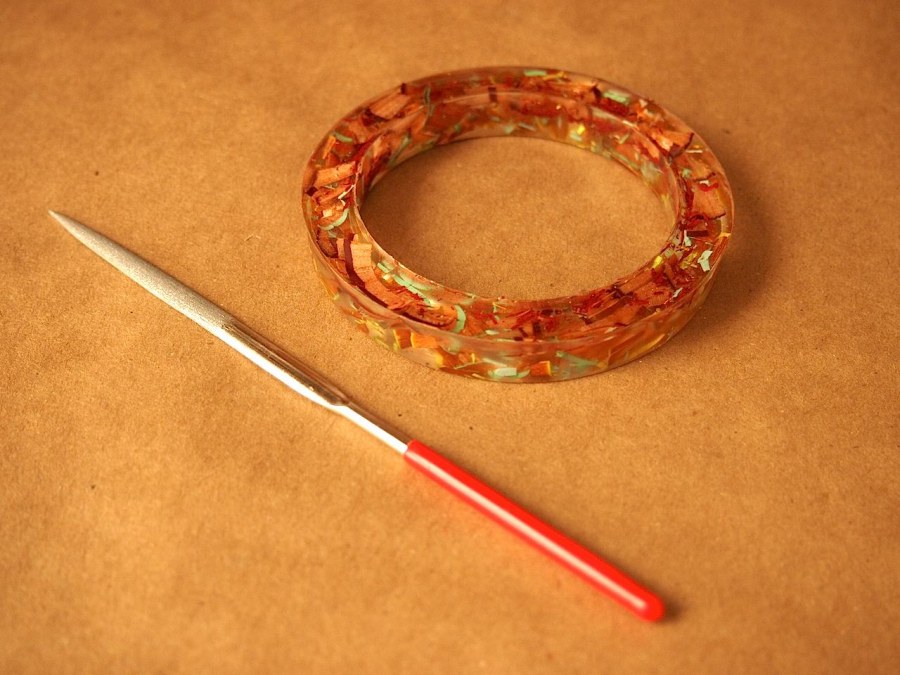
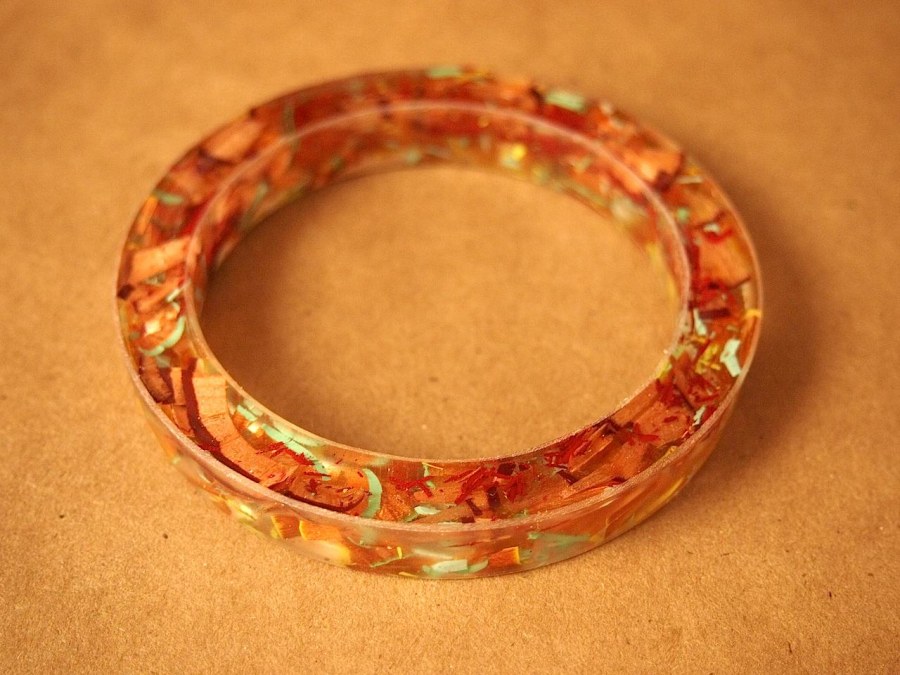
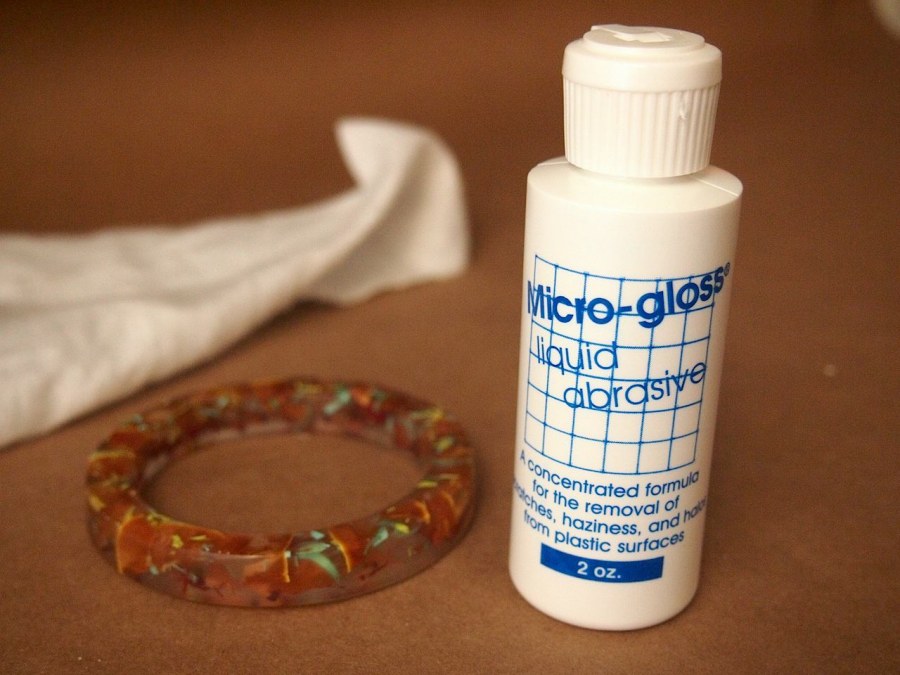
Almost all of the resin explorations from the last year are unfinished. The bangle size doesn't fit my wrist, so why bother? But the last bangle trial does fit, and it was a disaster out of the mold. A friend of mine suggested finishing the resin pieces with Micro-Mesh. I forked over for the NC-78-1 acrylic restoral kit which has 7 grades of sanding paper, a foam block, a bottle of micro gloss, 2 cotton flannel cloths, a bottle of anti static cream, and a bottle of detergent. Let's look at the problem area:
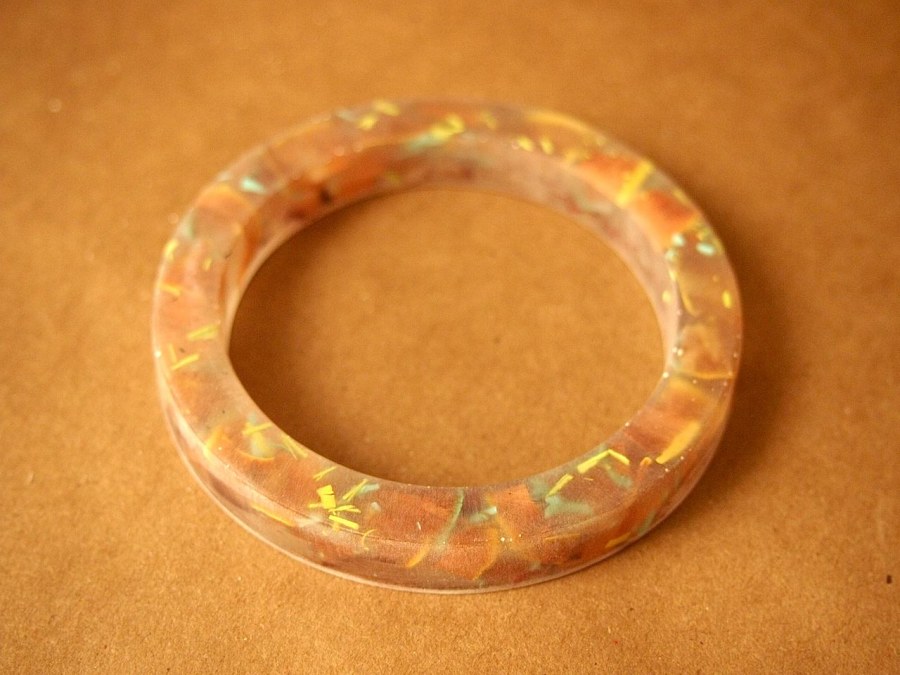
When resin cures, it dips in the center, leaving a sharp edge on the inside and outside of the bottom surface. You can easily fill that in once the piece has cured with a tiny bit of liquid resin, but since this was just a trial, I didn't bother. Also, this mold produces a rather cloudy surface on the top and sides. Could Micro-Mesh eliminate these problems?
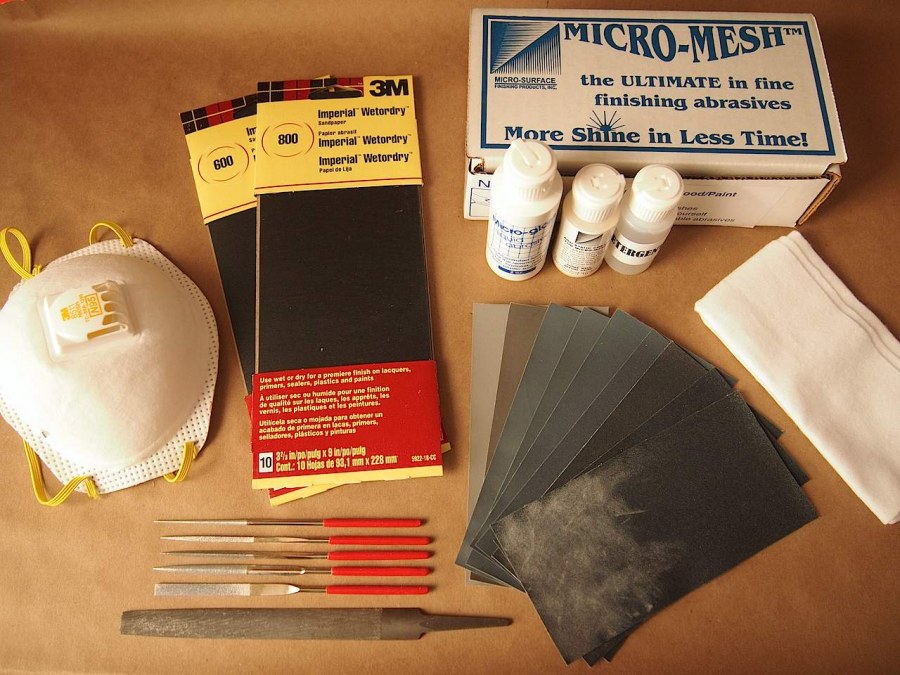
The first area that needed to be addressed was the sharp edges. For this purpose, there's a big file, and a set of smaller diamond files. Gotta wear the mask during this whole procedure too.* To help get a glossy finish all over, the piece was sanded with 320, 400, 600 and 800 wet/dry sandpaper before even getting to the micro mesh. Finally, it was buffed with the micro-gloss and ready to go.
*It is absolutely essential that a face mask be worn during filing and sanding. No one on earth hates wearing a mask more than me. It's the pits- especially with glasses. But all that plastic dust will go straight into your face and directly into your throat and lungs and make you crazy sick. It's completely avoidable by wearing a mask that's made for sanding.
Filing
To get rid of those sharp edges, all that was needed was a small file, flat on one side and rounded on the other. The flat side worked great on the outside edge, but the rounded was much easier on the inside. the goal is to get a beveled edge, at a 45 degree angle from the sides and the bottom. A super important tip when filing is to always keep some part of the piece touching your work surface. A metalsmith would use a bench peg, but since we're low budge, a regular desk top will do. This keeps the filed particles from flying all over the place, and helps control the file while you work.
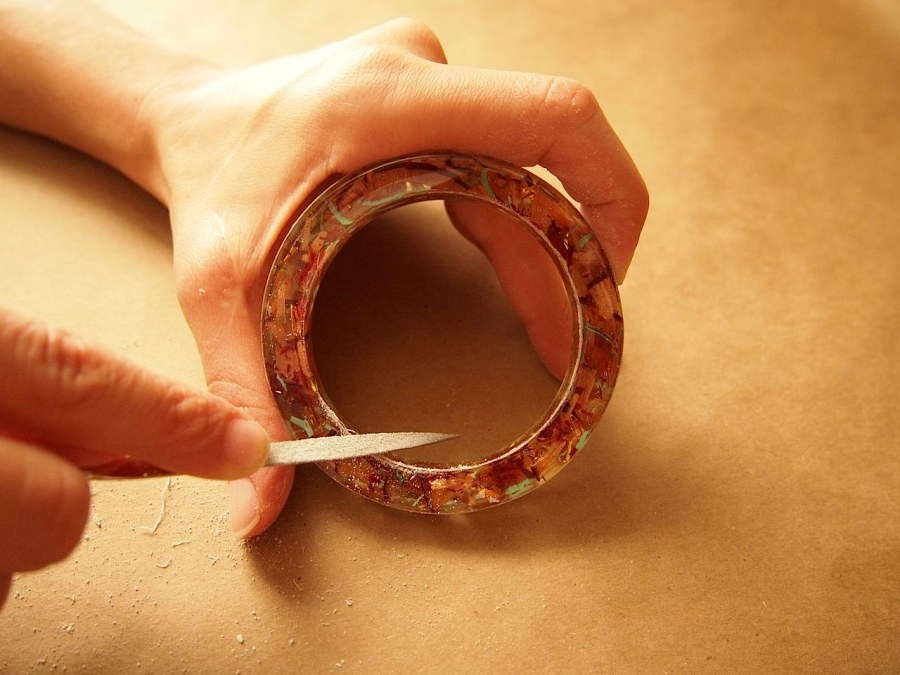
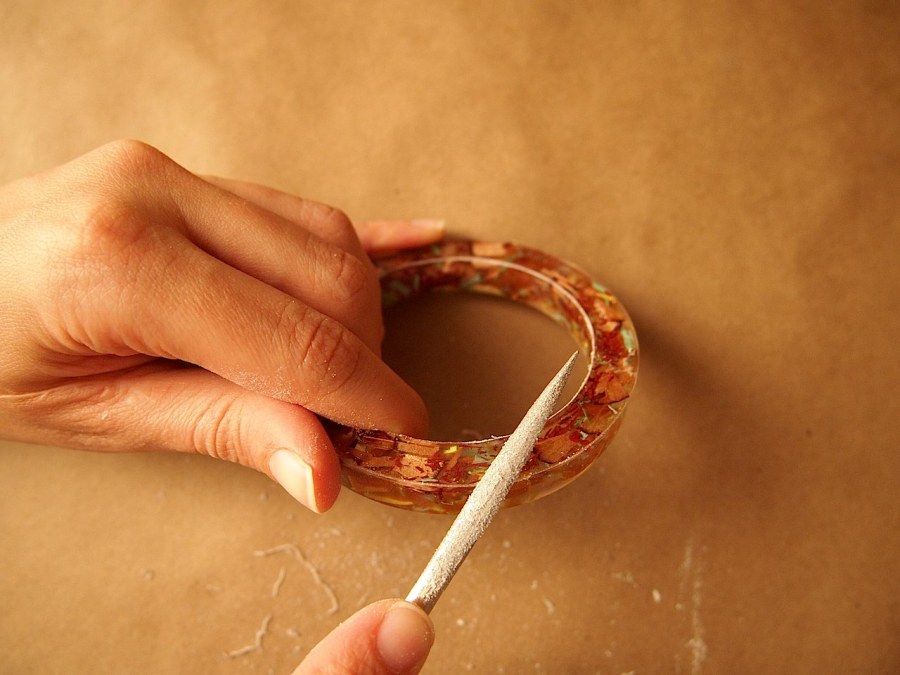
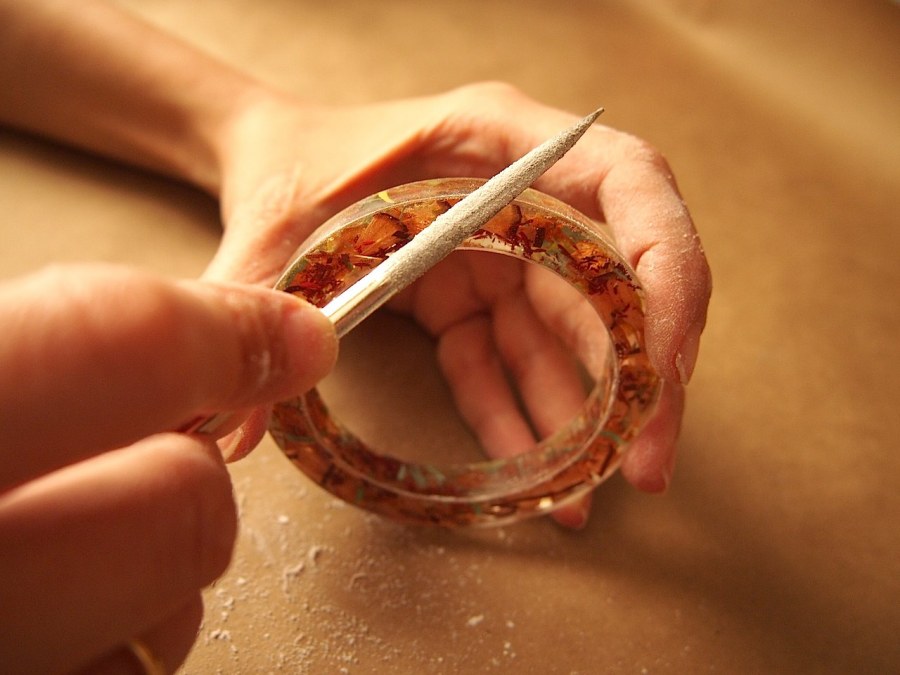
I find that filing the edges at an angle works better than perpendicularly. When both edges are hit in one direction all the way around, flip it over and get them in the opposite direction (also at an angle). Take your time, don't rush it- you're aiming a sharp file at your other hand. use light pressure at first until you get the feel of it. Try it on. Is it still sharp anywhere? File that out. When you're done, it will look bevelled, and frosty.
Sanding
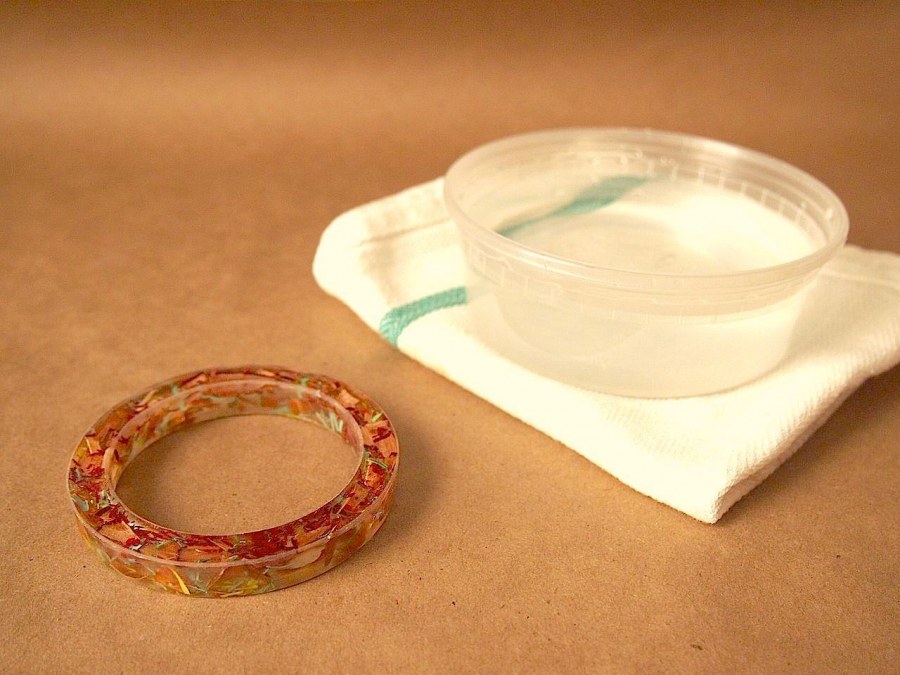
The 320, 400, 600, and 800 grit sandpapers should be easy enough to find at the local hardware store. They're wet/dry, and while they work better when wet, it's impossible to see what direction your sanding. For this reason, I prefer to work with a small container of water and an old dishtowel. Dip the sandpaper into the water before using, then dry off the piece with the towel to see what marks you've made.
A couple of tips for sanding:
- Don't sand in circles. Always sand in a straight line.
- Start with the lowest number of grit, and work your way up to the highest.
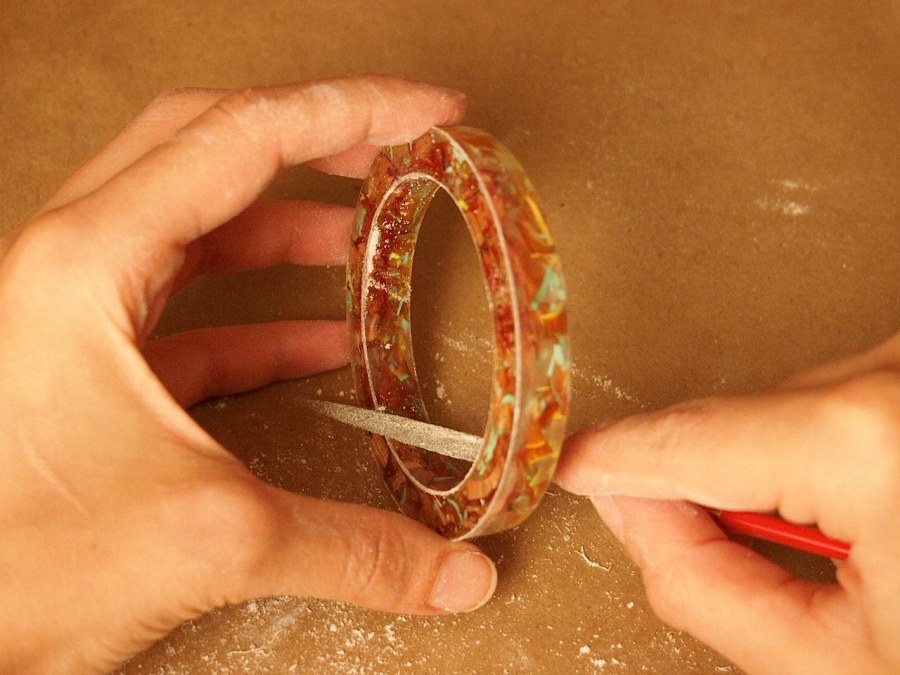
- When the whole piece is sanded in one direction, rinse it with clean water, dry it off and refresh the sanding water. Using the next level of grit, start sanding the piece in the opposite direction. The first photo above is the piece sanded in one direction with 320. The second photo is the piece sanded in the opposite direction with 400.
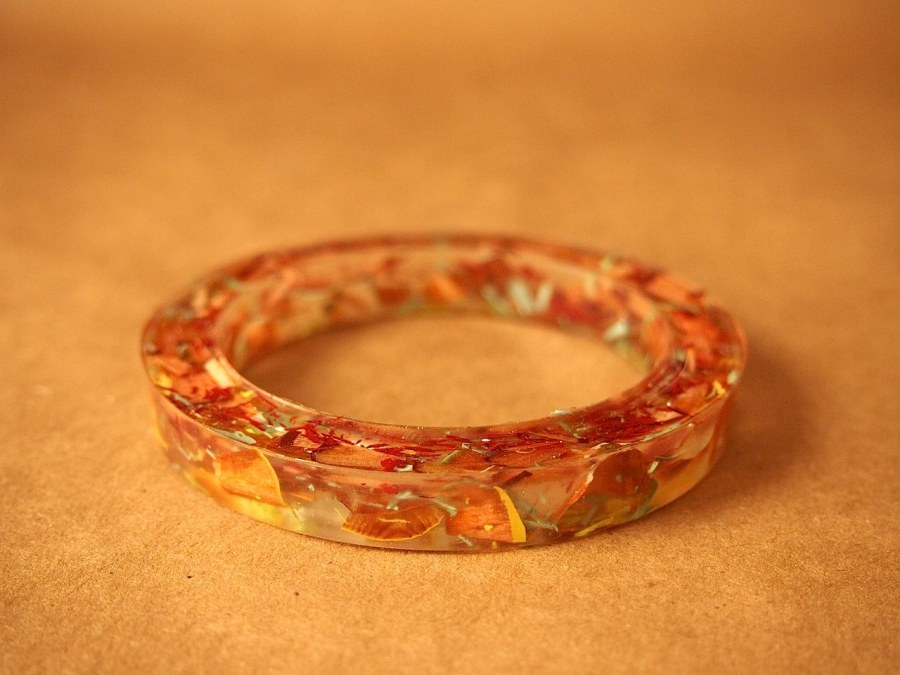
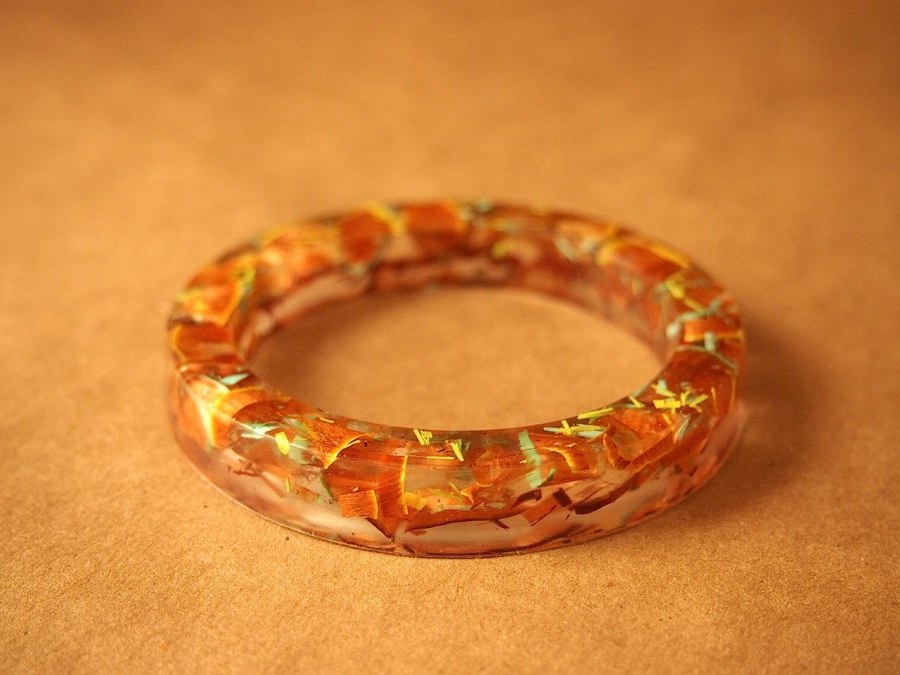
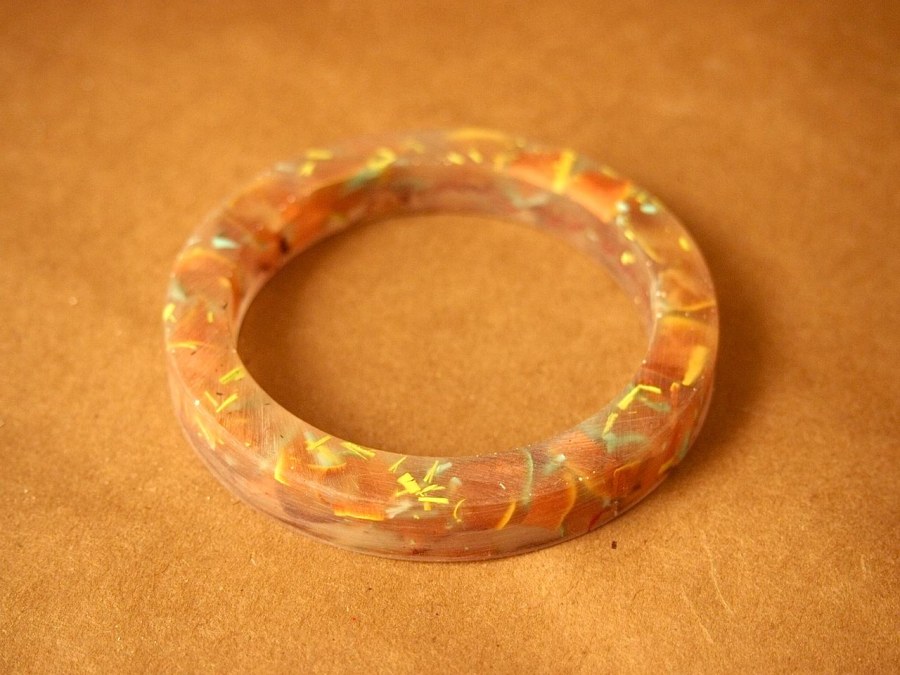
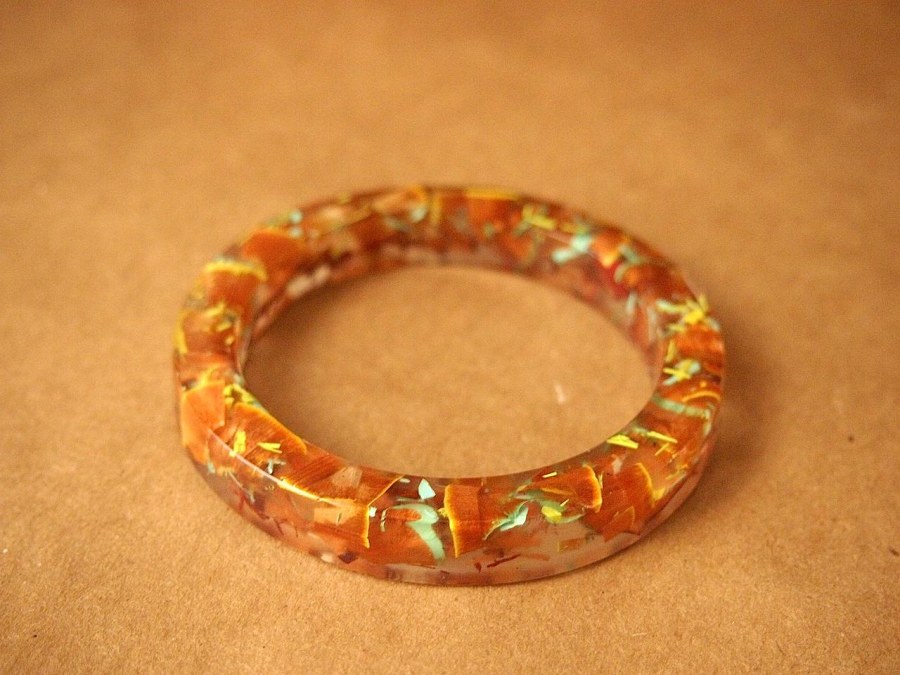
- Once the 800 has been used, break out the Micro-Mesh and watch the magic happen. Micro-Mesh starts at 1500 and goes up to 12,000 grit. That's insane. And for awhile, when you move onto the next level of grit, it doesn't seem like much is changing. But then you hit 12,000, and all of a sudden:

It starts to look great. The filed edges not only loose the frostiness, the angles get rounded out too. Micro-Mesh is backed with fabric, so once a sheet is used, just rinse it off and hang to dry. It can be used over and over again.
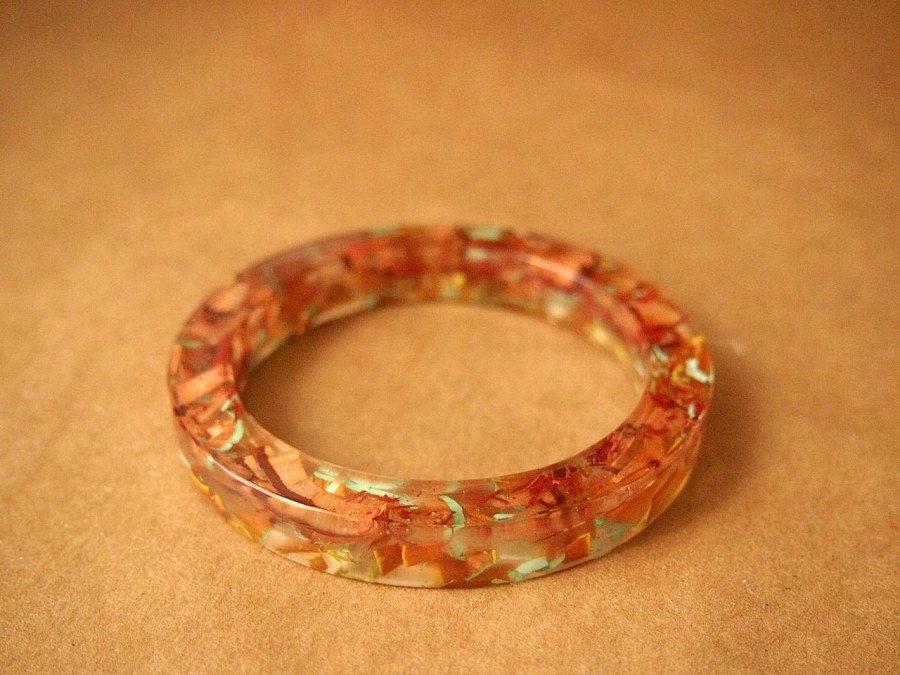
Glossing
Once the piece is micro-meshed, a little buffing is in order. All it takes is rubbing a tiny dot of micro gloss onto the piece with a clean cloth. This fills in any imperceptible grooves left from the sanding, and it really makes it shine like crazy. And viola! This merchandise is ready to move.
