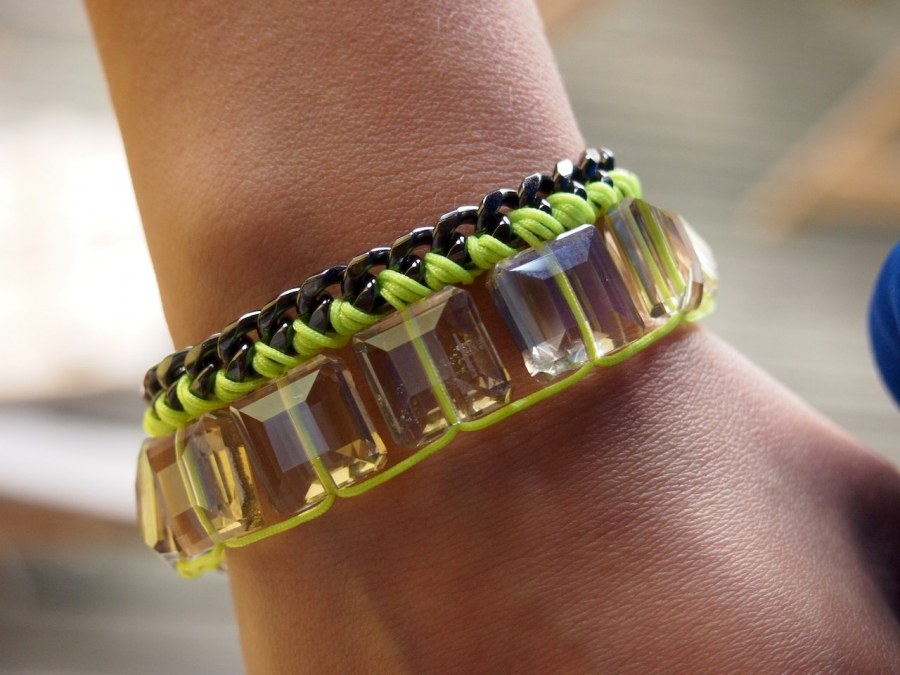
square gem bracelet
December 4 2012, 11:00 pm
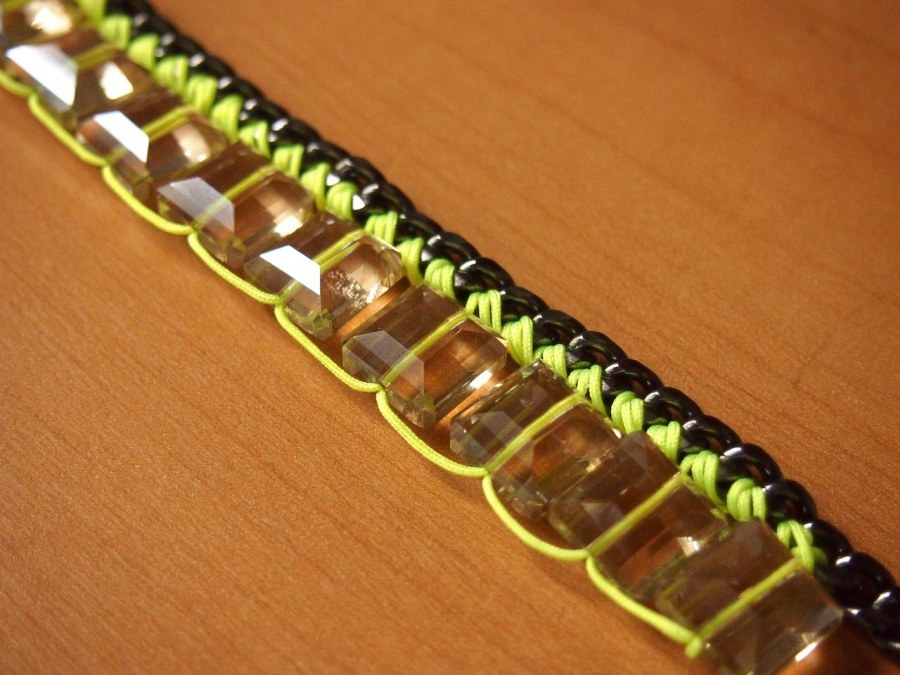
all the bead stores in new york city are carrying these cute square facetted glass gems:
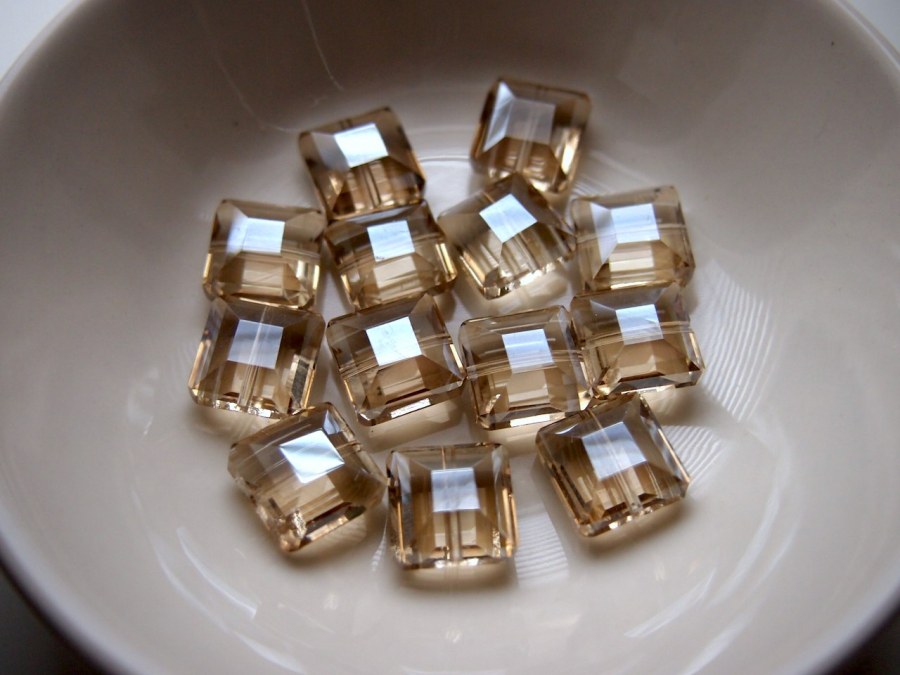
so adorable! like little pillows of glass. they have them in every color imaginable, but these neutral ones caught my attention. the trimmed chain bracelet construction came to mind, and it didn't take much more than that to put these in action:

- 2 pairs of flat needle nose pliers
- scissors and lighter
- gunmetal toggle clasp
- 2 gunmetal jump rings
- gunmetal curb chain
- approx 10 square cut glass gems (you can find similar here)
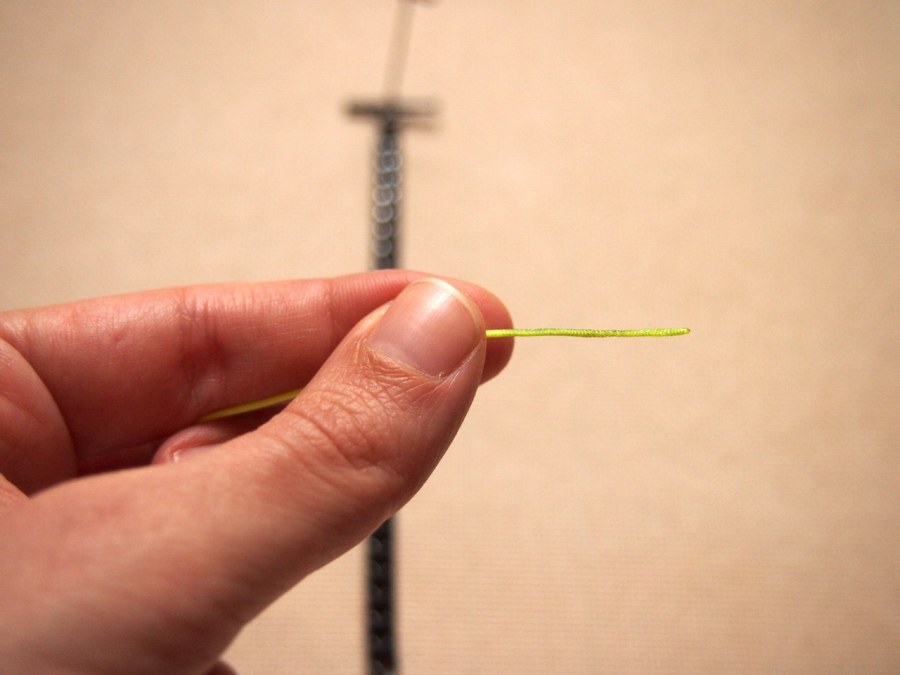
- about 1 yard of 1 mm nylon cord
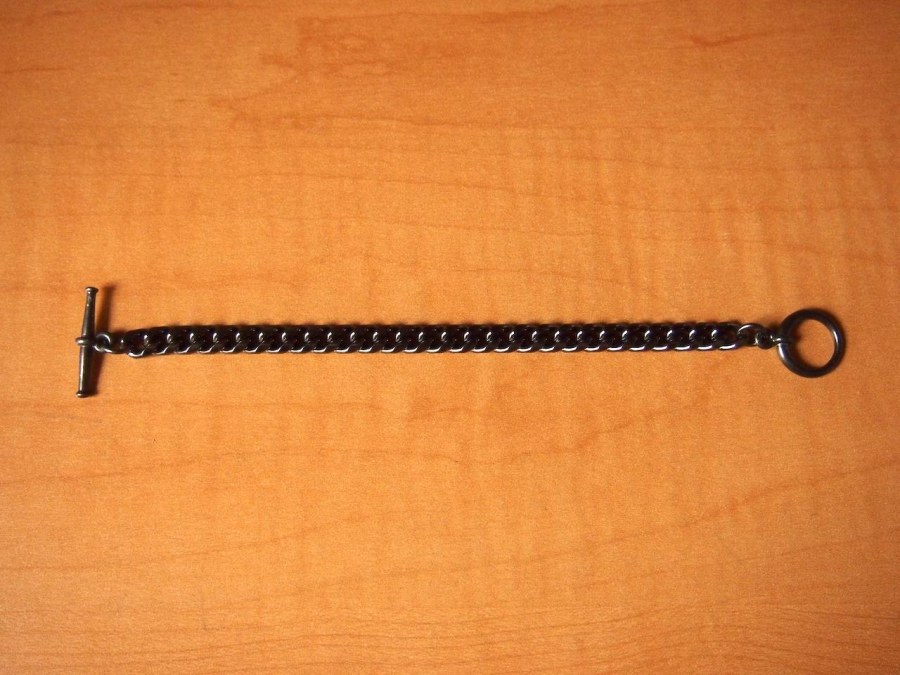
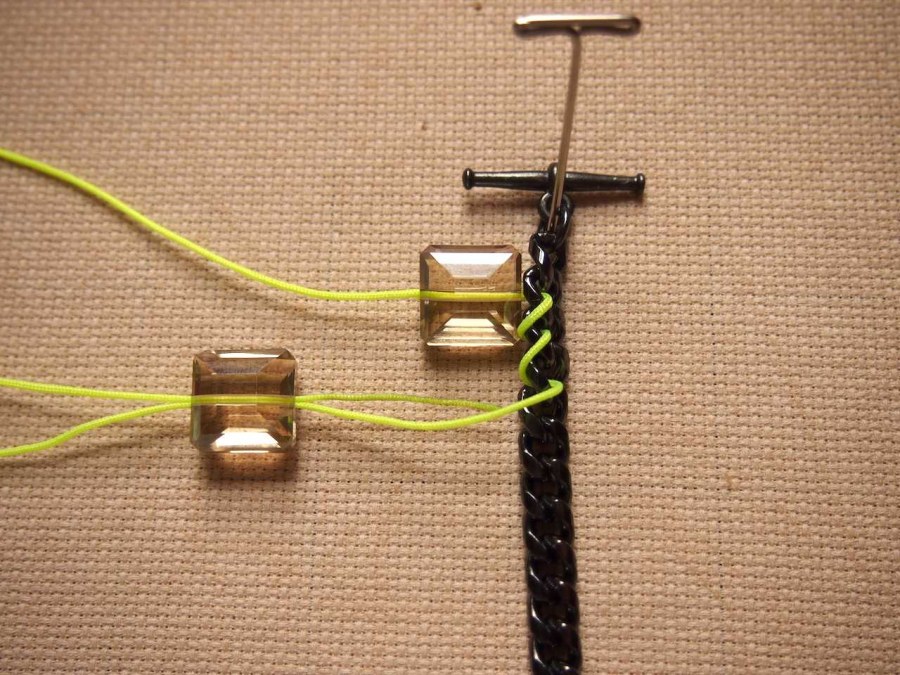
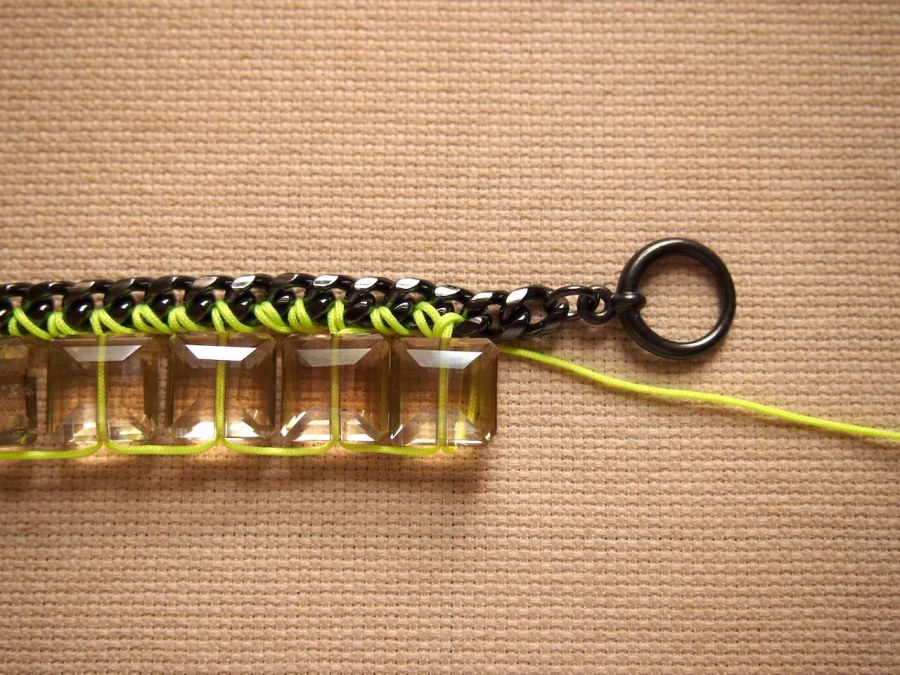
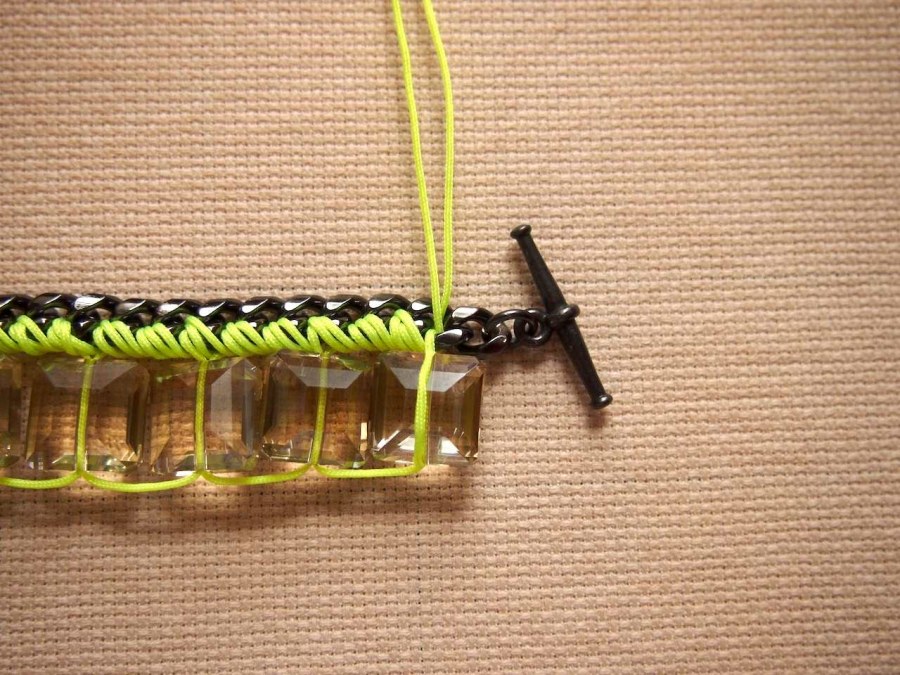
- use the pliers to twist open the jump rings. attach the toggle clasp to each end of the chain.
- using the lighter, carefully heat each end of the cord. ideally, you need each end to be hard for about 1 inch. this helps tremendously when stringing the beads. press the cord between your fingers while it's still hot (very carefully- it's hot!), to keep it as straight as possible.
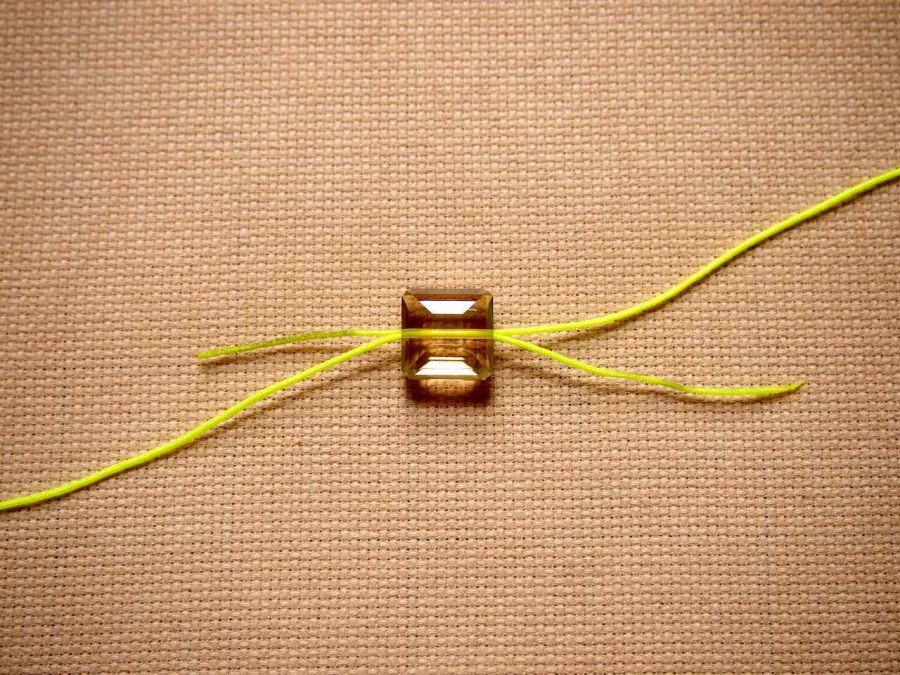
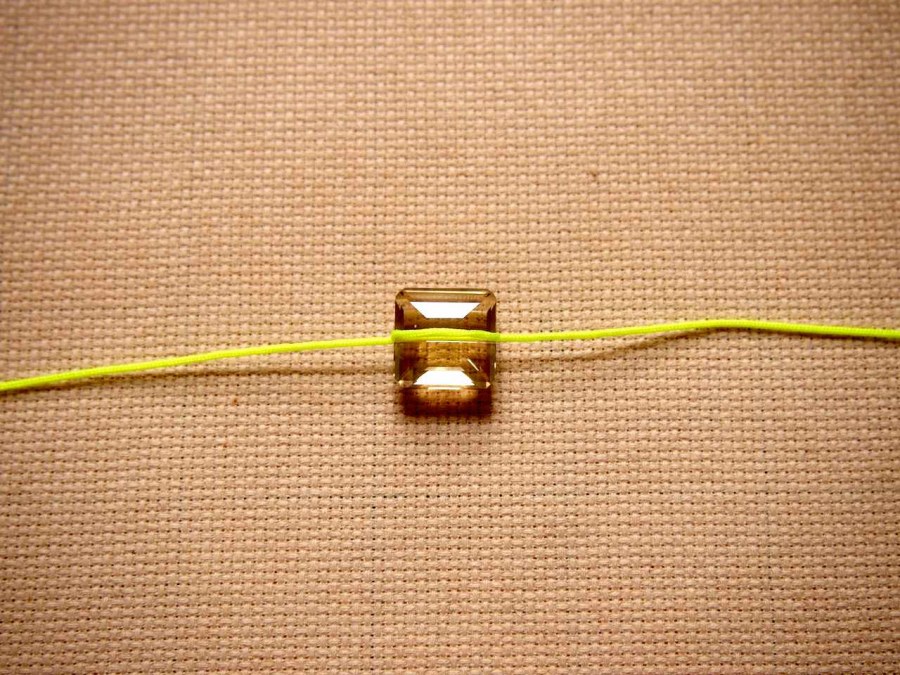
- bring each end of the cord through the bead in the opposite direction. the easiest way to do this is to string it on one end first, then hold that tight while pushing the other end through where the cord just came out.
- pull both sides tight, and what you're left with is the gem with a loop on one side of the face, and the cord coming out the middle in both directions.

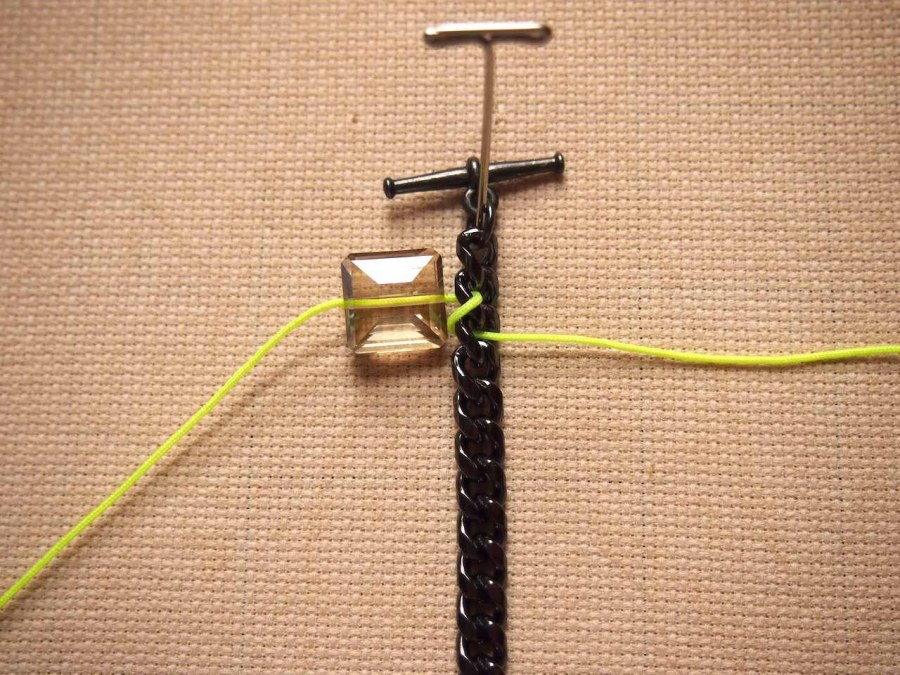
- it helped to pin the chain to a work board. lay out all the gems along the chain to determine where the center is, and how far apart to space each bead. take one end of the cord through a link in the chain.
- wrap it around the chain, and bring it through the next link. (essentially, it's whipstitching)
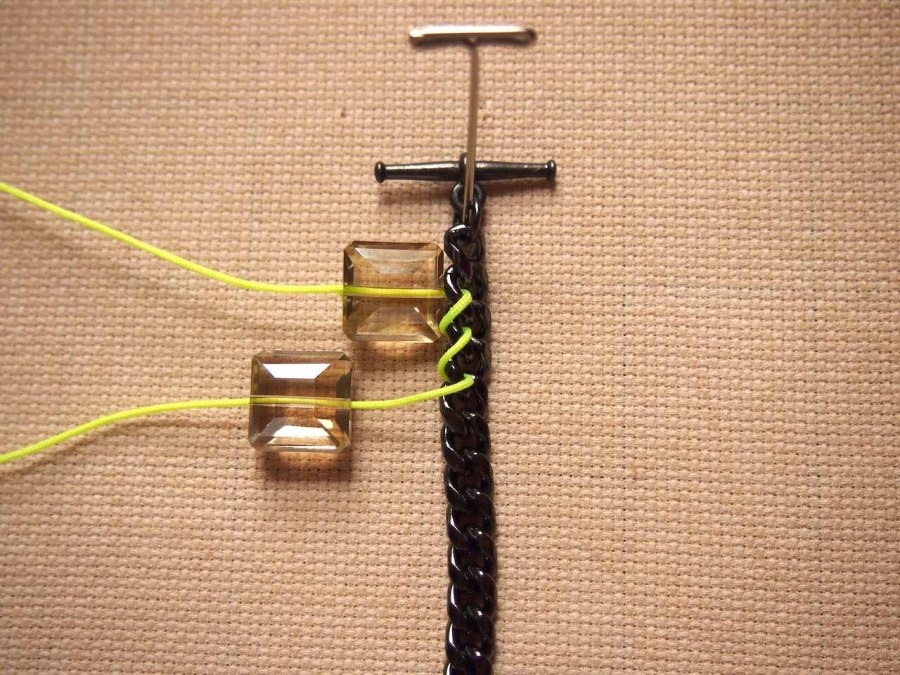
- continue to whipstitch a couple of links until you reach where the middle of the next bead will be. string a bead onto the cord.
- slide the other end of the cord (that's coming out of the first bead), into the second bead in the opposite direction.
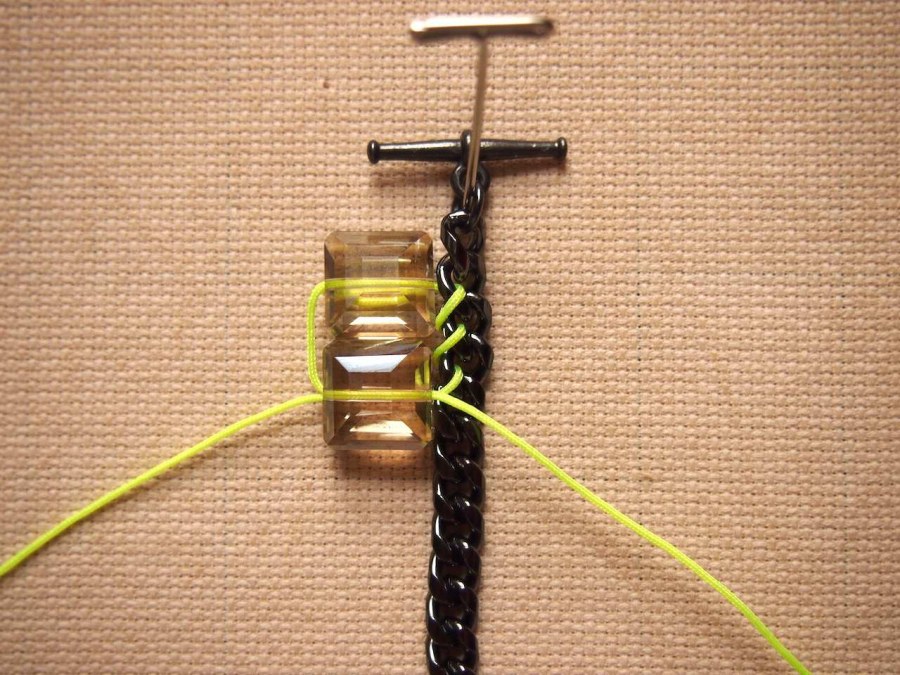

- pull both cords gently to secure the second bead by the chain.
- continue to whipstitch the chain and add more beads in the same manner.
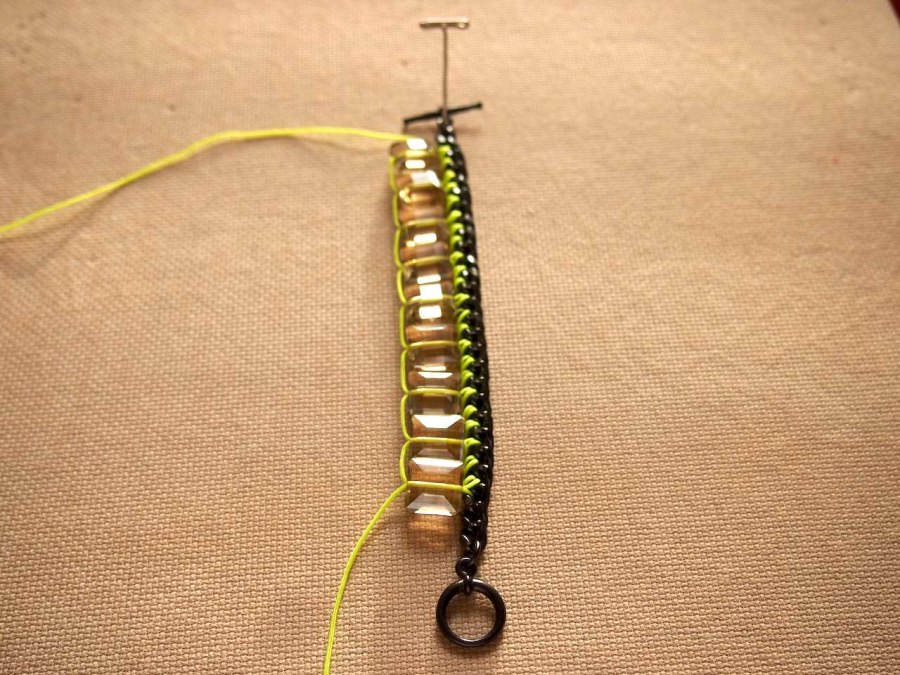
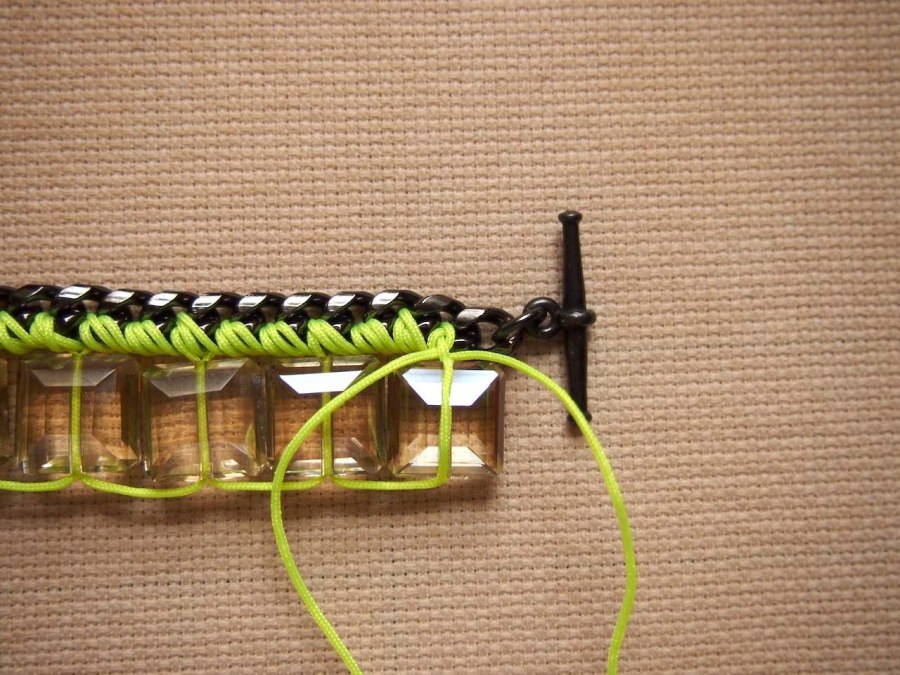
- when you reach the end of the chain, whipstitch the cord closest to it back through to the beginning.
- pull the cord from the other side of the bead up through the last link of the chain.
- loop the cord around to secure the last bead, and whipstitch it back through the chain to the beginning.
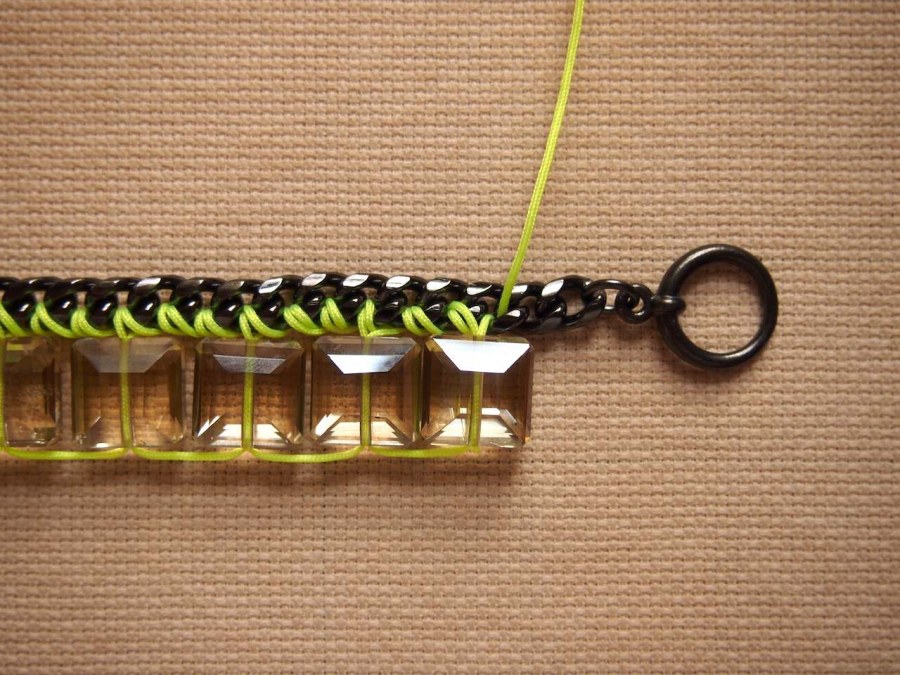
- now both cords should be at the same spot, coming through the first link you stitched.
- bring each end down behind the cord holding the first gem to the bracelet in opposite directions.
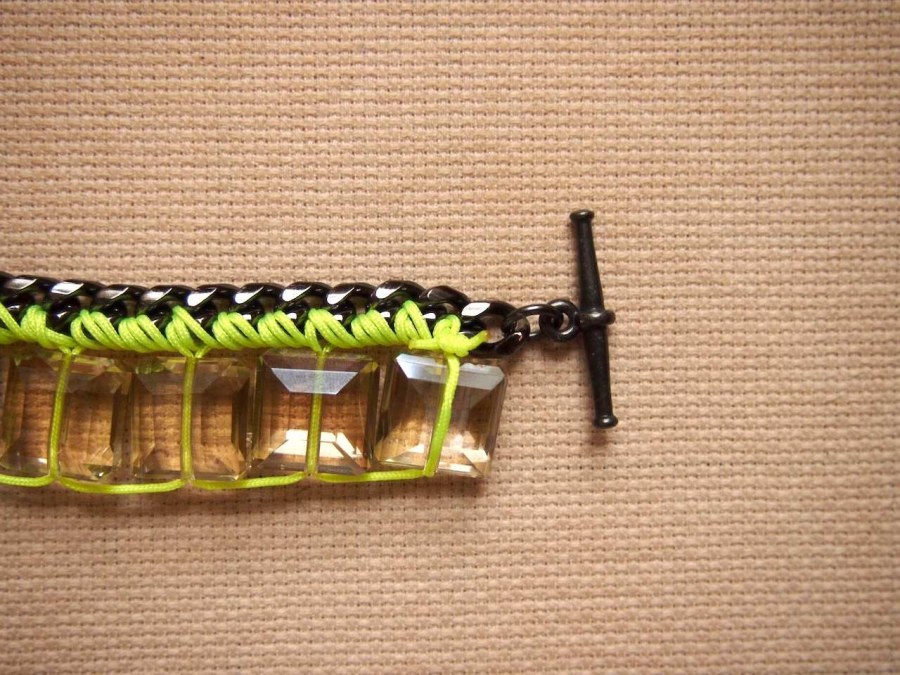
- tie a square knot around that cord and trim the ends. very carefully, melt the tails and the knot with the lighter to keep them from untying.
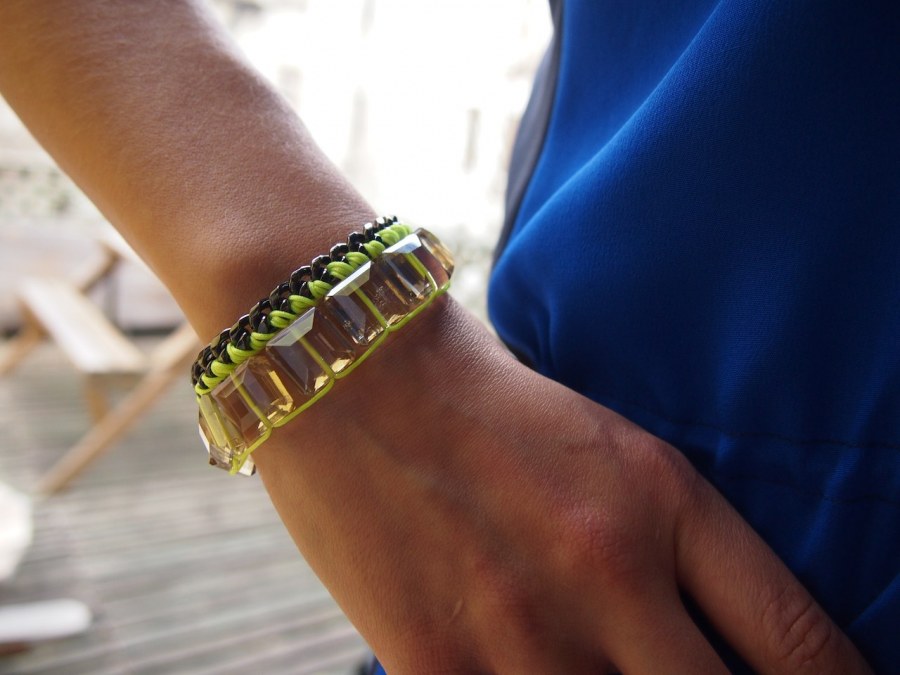
i was moving pretty fast while putting this one together, and the whipstitches look kind of sloppy. i'd hoped that going through it 3 times with cord would cover that up, but it really didn't. otherwise, i couldn't be more pleased! it looks fantastic with the 4 panel dress.
