Tatted Bracelet
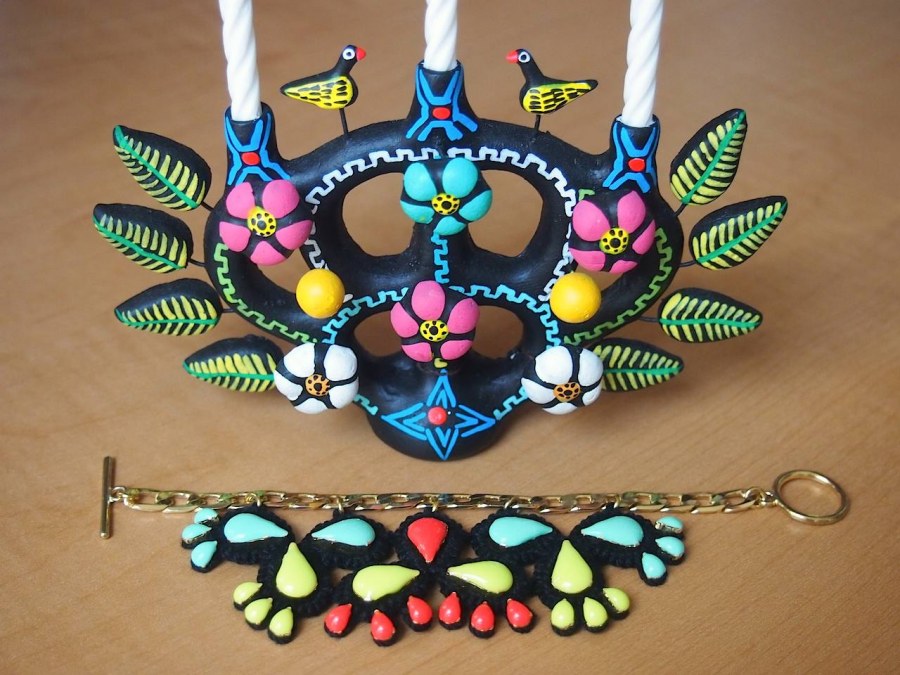
The Inspiration:
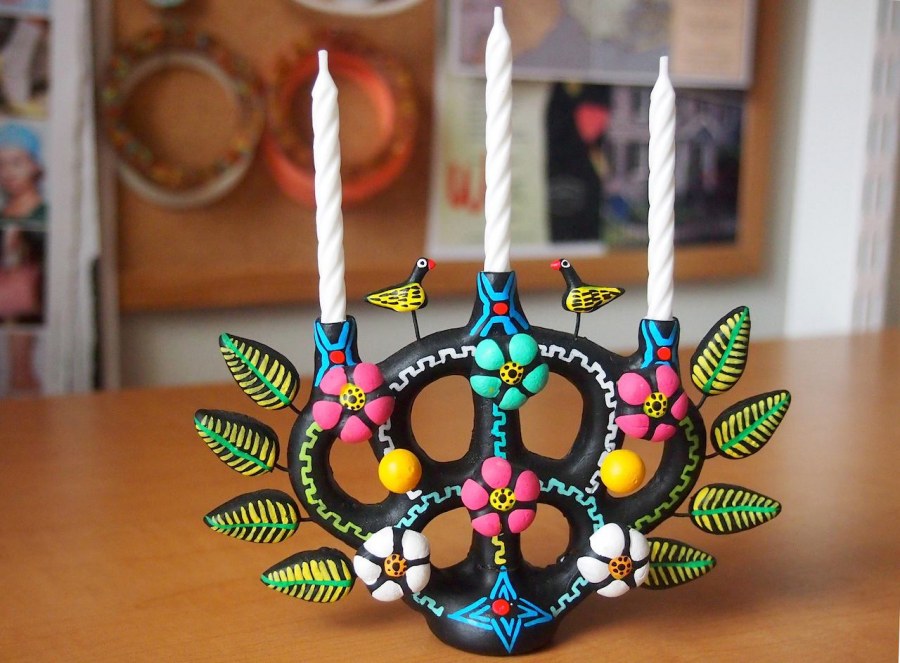
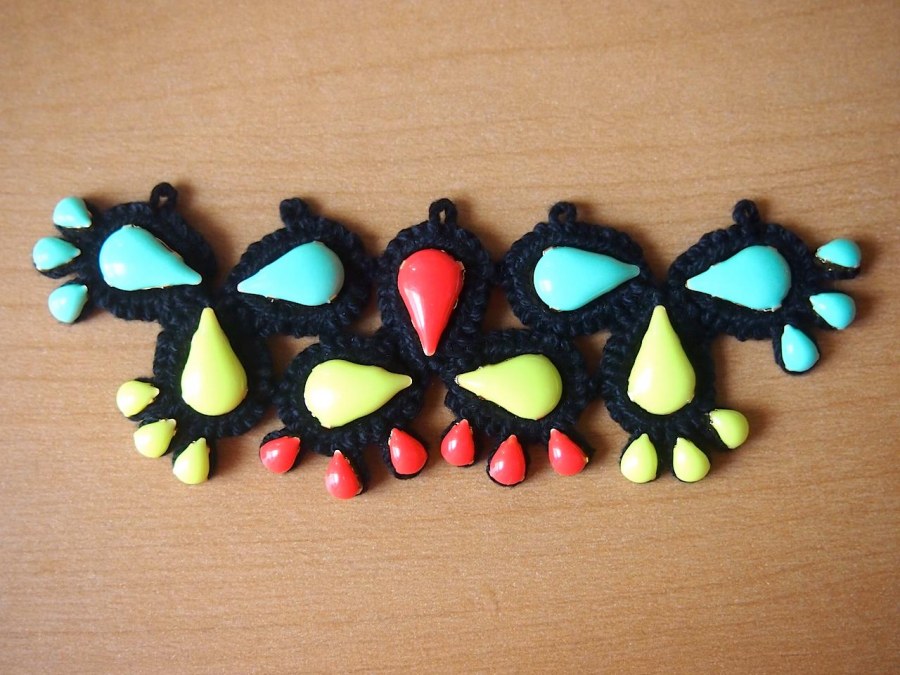
"Tree of life" candelabras are all over Mexico, and come in a multitude of shapes, sizes and complexity. The curves and tear drop shapes really lend themselves to a tatted interpretation. While I'm fascinated by my latest granny craft, the results are a bit... frilly. Adding a few opaque acrylic gems took care of that, though.
The Tat:
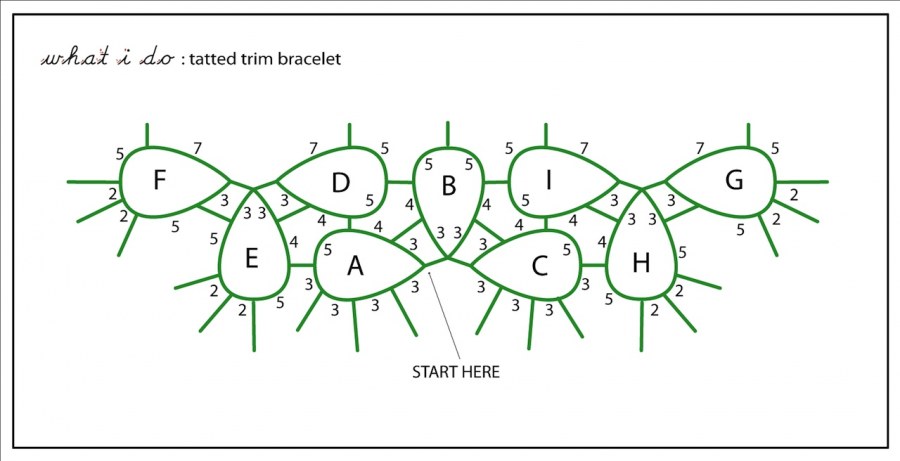
Click here for printable pattern
This is my first shot at writing a pattern, so bear with me. Hopefully along with the photos below, it will make some sense. For instructional purposes, white cotton microfiber #3 and contrasting thread were used.
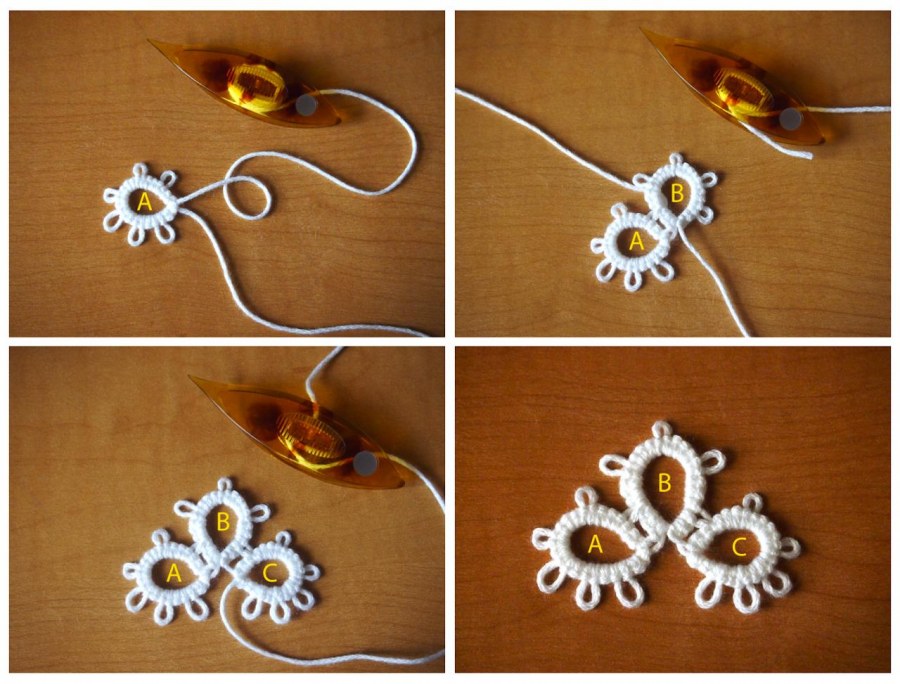
Started with the center 3 loops, tucking the tails from loops A and C into the sides of loop B.
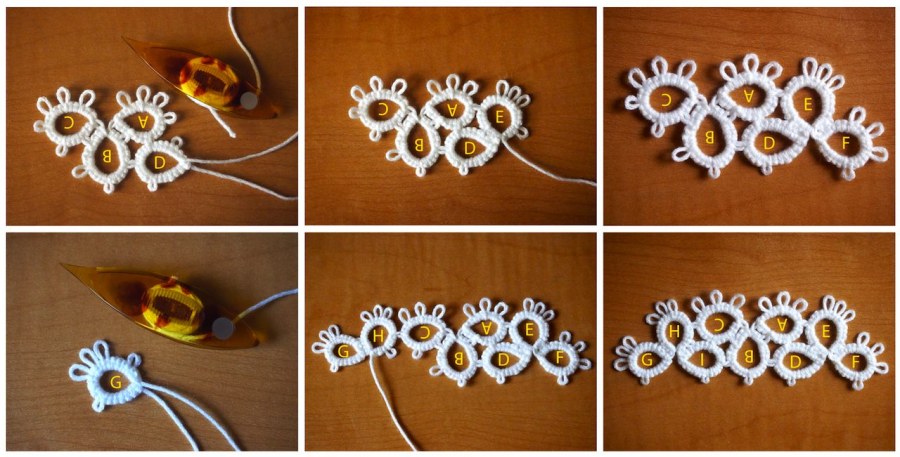
Turn the first 3 loops upside down and start the next motif, joining to the right side. Tuck the tails from the outer loops into the sides of the middle loop. The third motif starts as a separate piece and joins to the left side, tails tucked as before. You can see in the photo that the 3 lil loops on F and G are spaced differently. The final pattern is based on loop G.
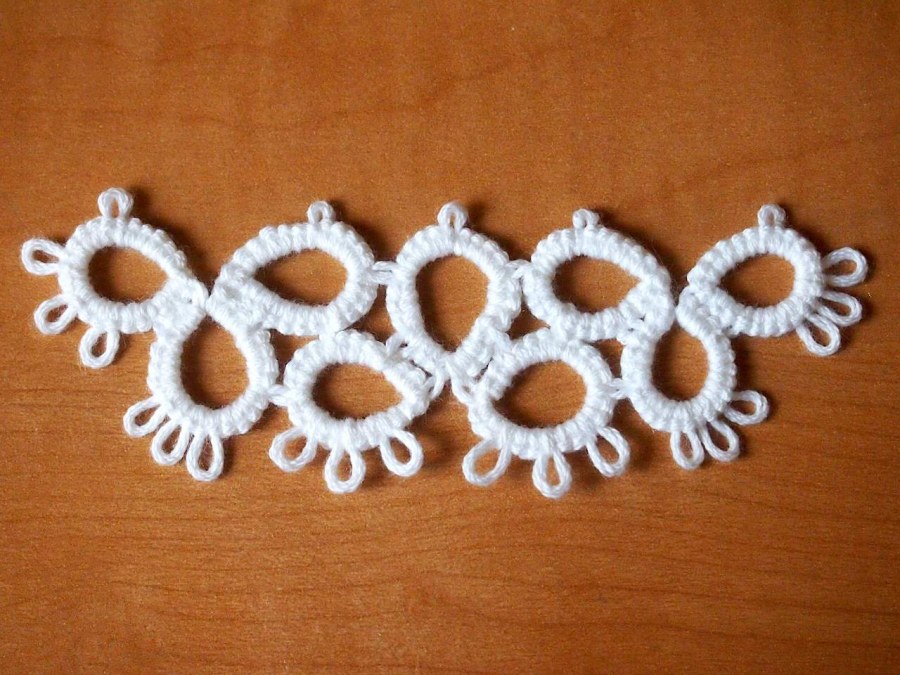
And this is what it looks like when it's done. It didn't take very long, but sewing on the acrylics made up for that.
The "Gems":
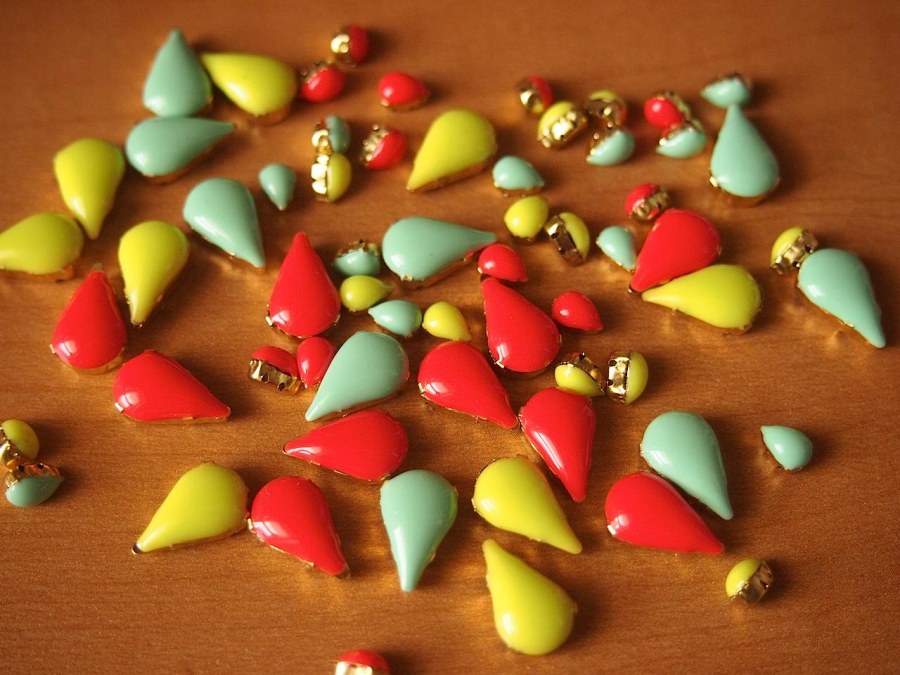
Purchased at Beads World for an exorbitant retail price (considering they're domed acrylic). Color and shape selection there right now are amazing. The backs have 4 holes for attachment.
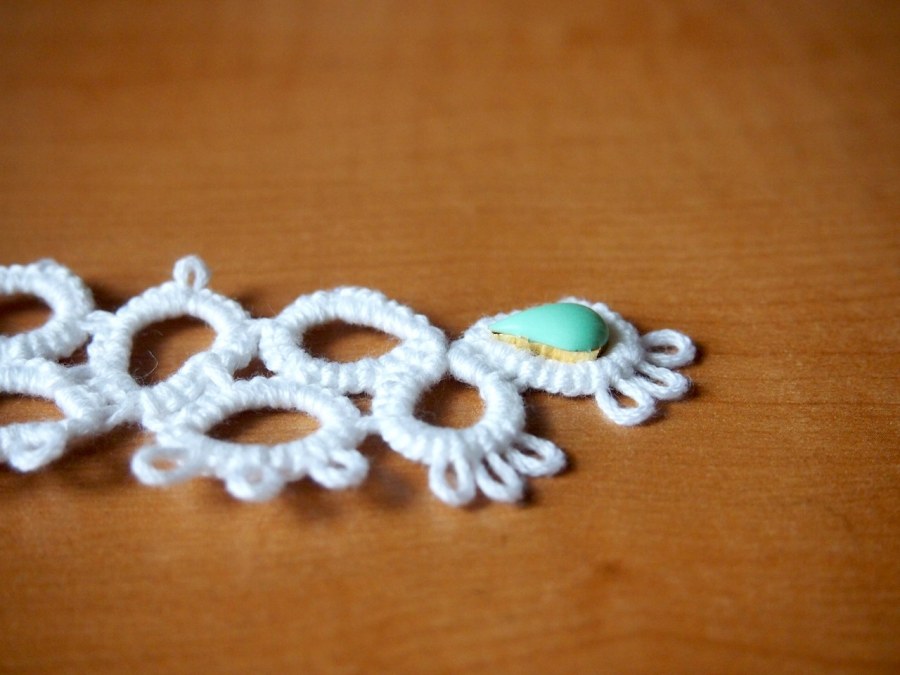
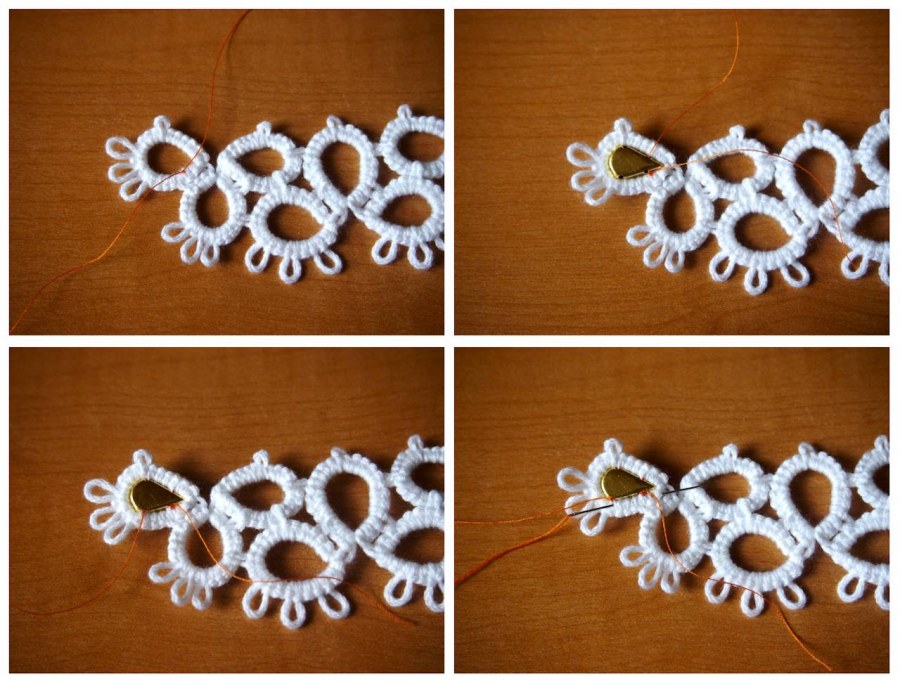
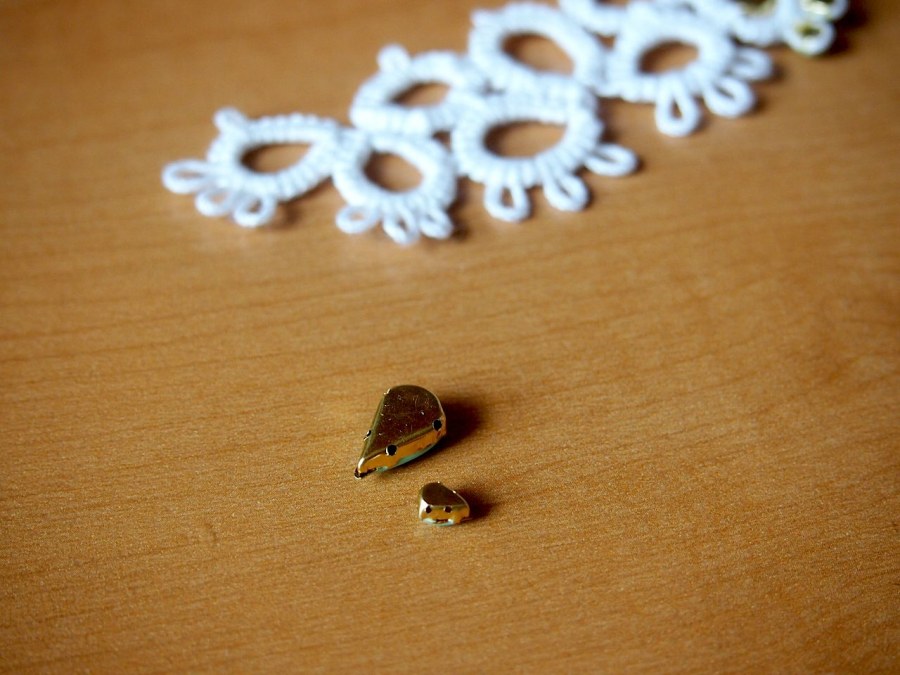
Big guys: Pretty easy to stitch on the reverse side of the trim. Tails hide well inside the knots.
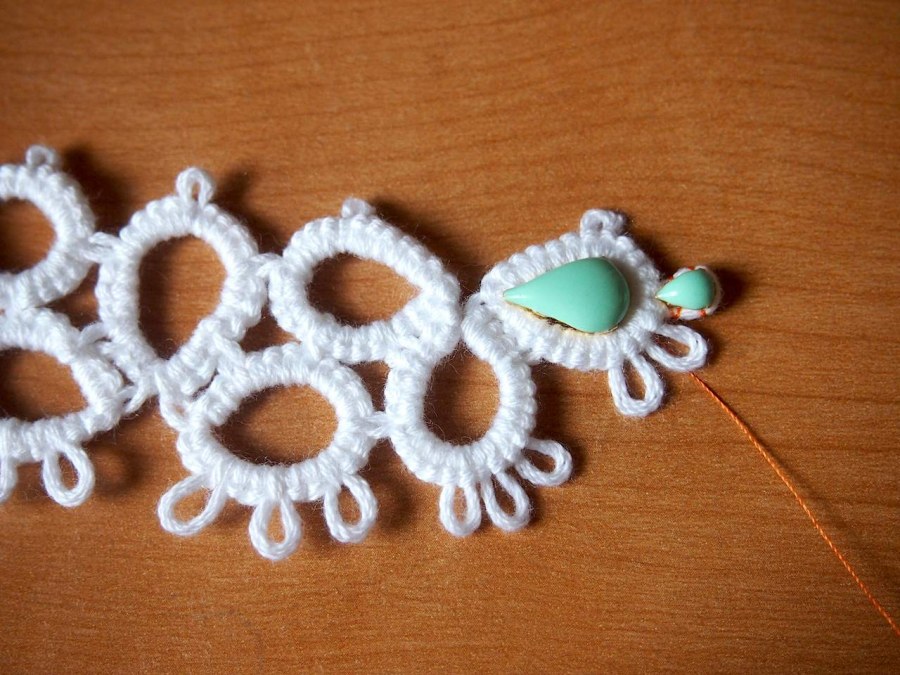
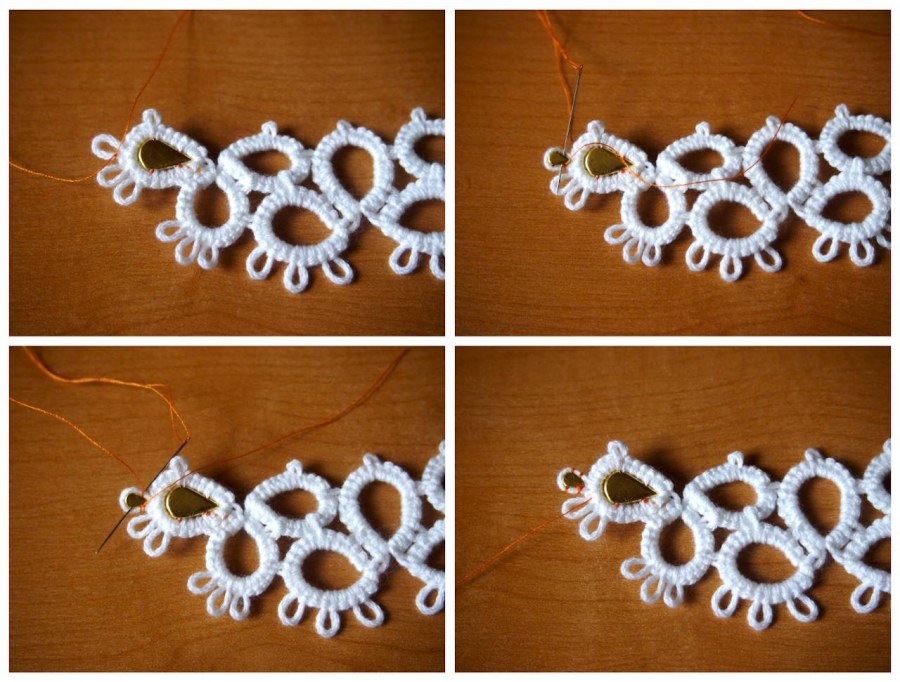
Lil guys: These took forever. Thread wraps around the loop completely at each of the holes. It's easy to hide the thread on the reverse side, going from loop to loop.
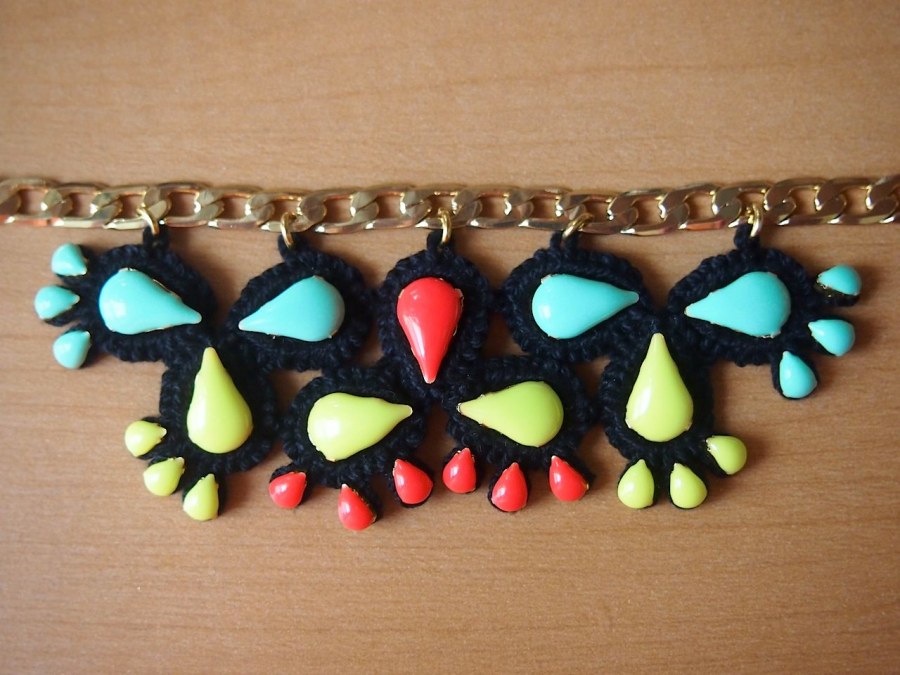
The Real Deal:
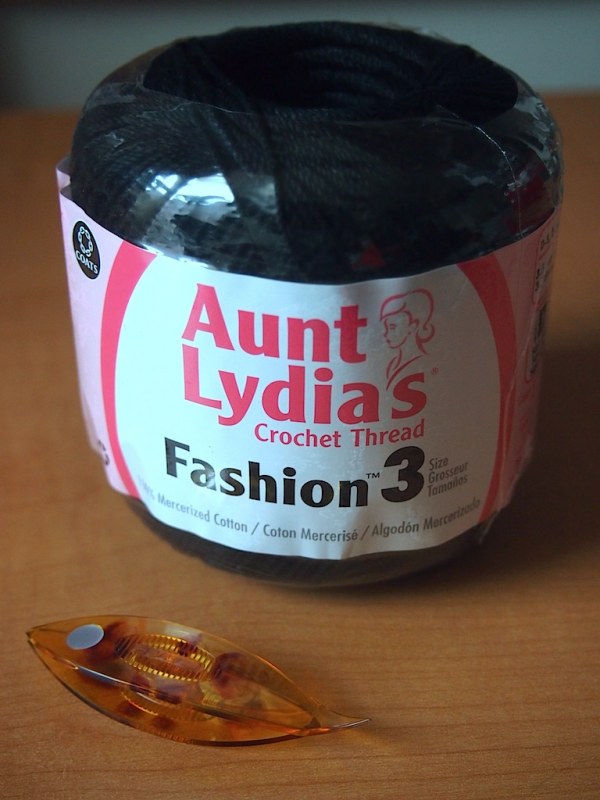
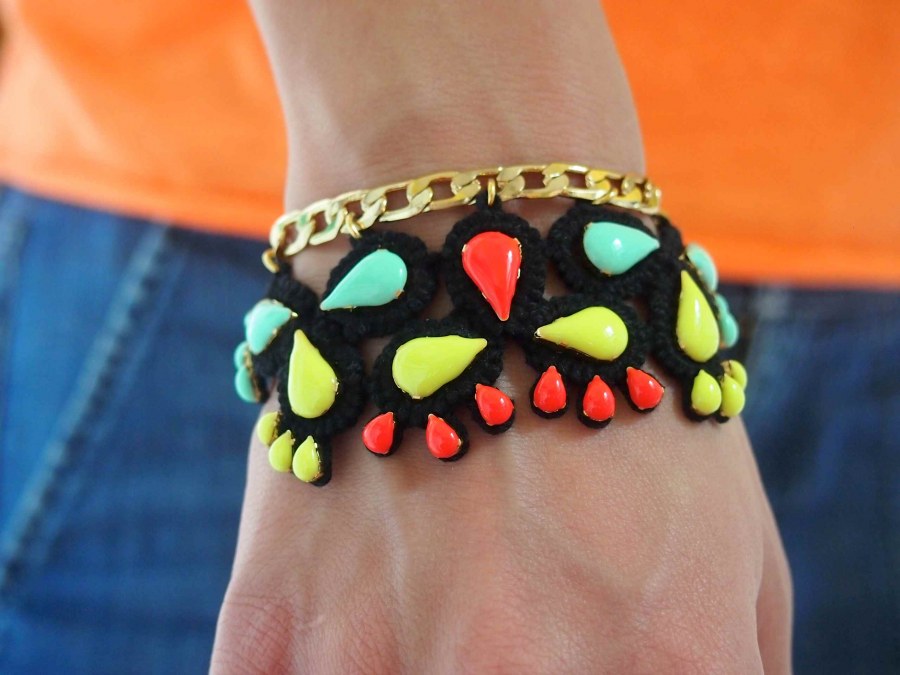
They were out of microfiber cotton in black at the store, so I had to go with mercerized #3.
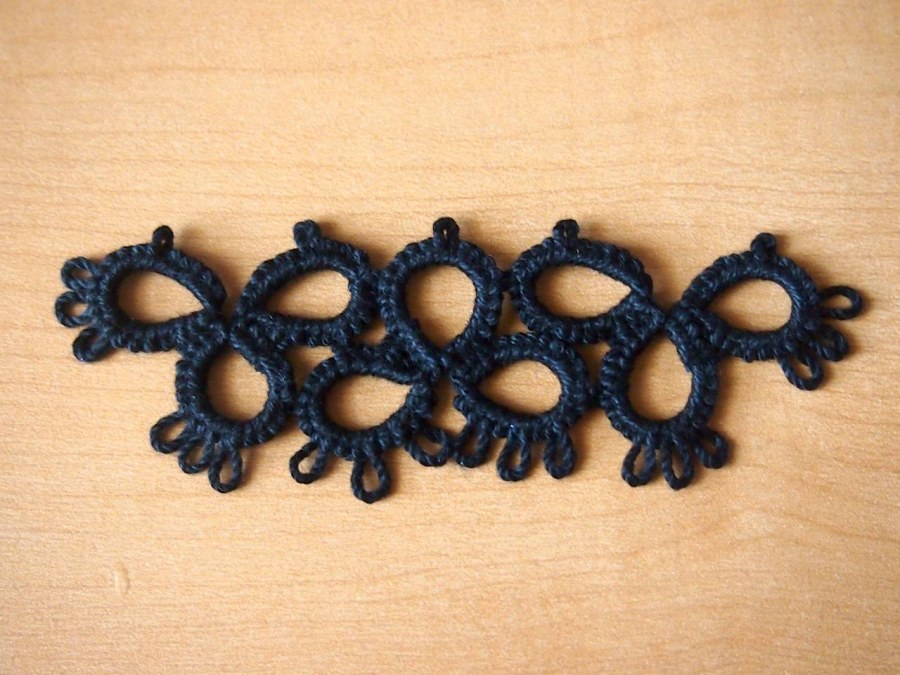
The resulting trim turned out smaller than the previous version, but all the acrylics fit (some a little tight), so I'm considering it a win. It took at least twice as long to sew on the acrylics once the thing was tatted.
The Chain:
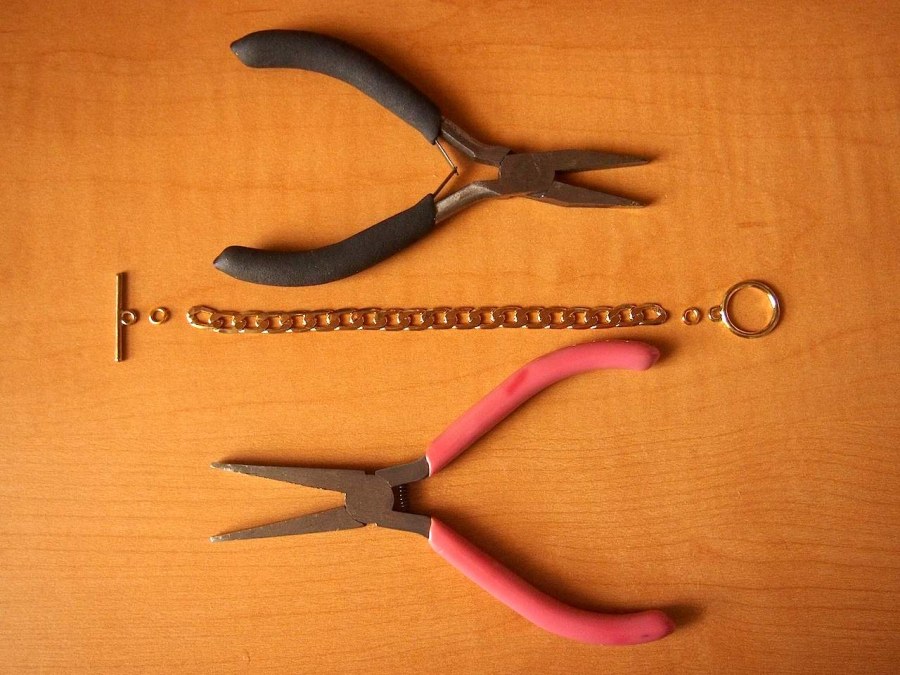
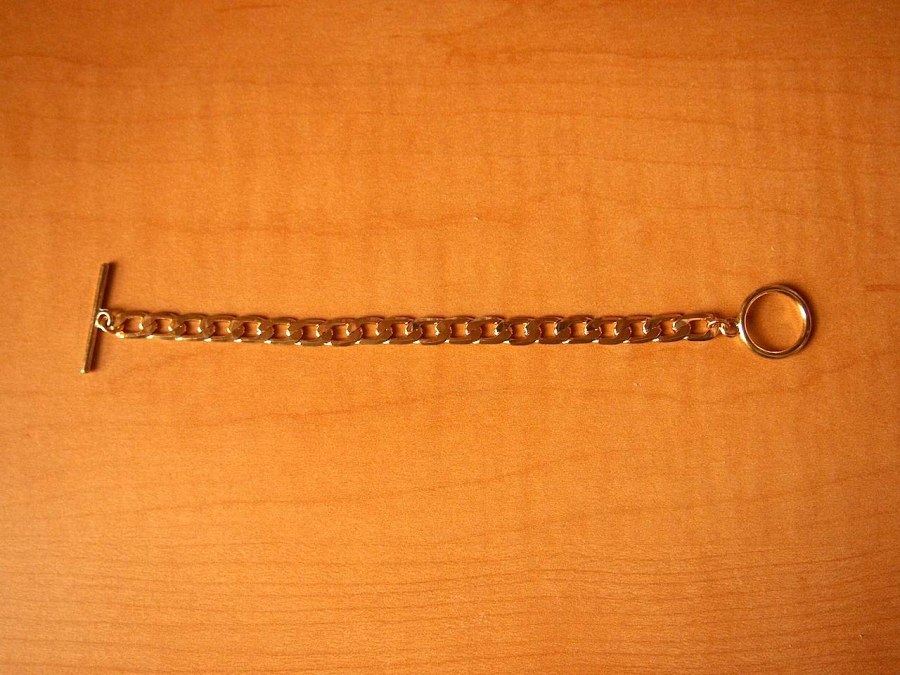
The flat bracelet chain was leftover from the medicine pouch. With a couple of jump rings and a toggle, you are in business.
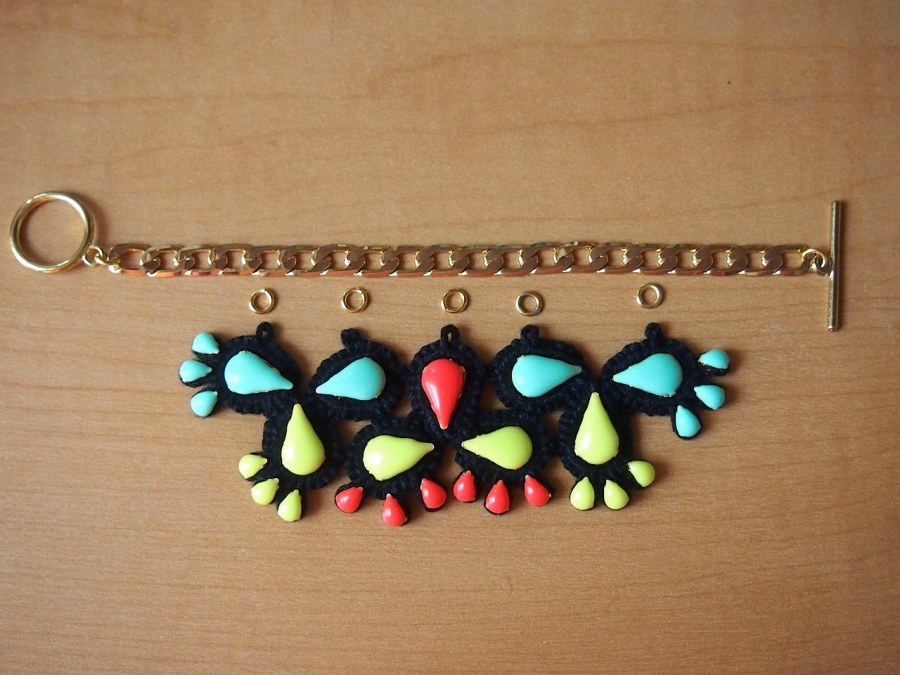
As you can clearly see, the trim turned out a bit short. Ah well, such is life. I toyed with the idea of stitching the trim to the chain (ala the trimmed chain bracelet, but in the end a jump ring attachment was cleaner.
The Finale:
